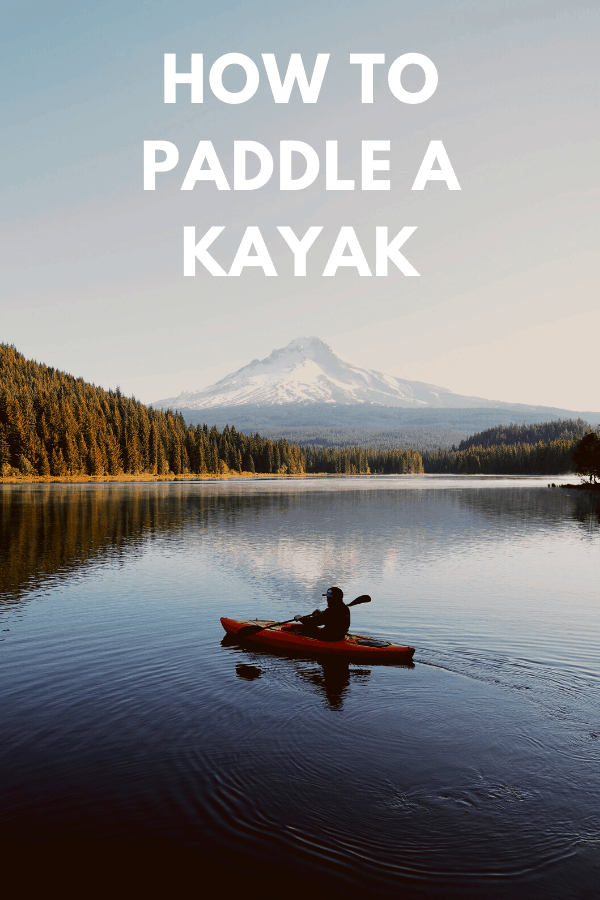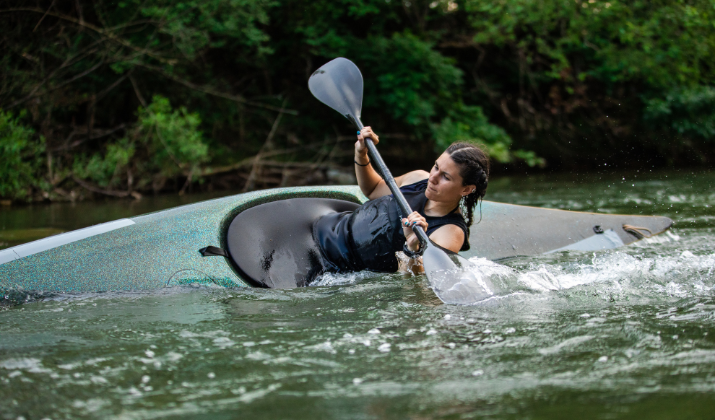
We’ve all heard the phrase, “Up the creek (without a paddle).” A kayak, whether you’re floating on a river, on the ocean, or even on a lake, won’t get you very far without a paddle and you would be, “up the creek.”
Trying to use a paddle without knowing even the most basic of skills won’t get you very far, either. Kayaking is fun, and it’s even more enjoyable once you’ve mastered using a paddle.
That’s why we’re going to detail how to paddle a kayak so you won’t get stuck and you can enjoy your adventure, regardless of the body of water.
How to Hold A Kayak Paddle
The kayak paddle, which is made up of a shaft (the part you hold) and two blades (that pull the kayak through the water), may seem very basic.
However, if you fail to hold the paddle in the correct manner it is really nothing more than a stick. Holding a kayak paddle the correct way will help you navigate more efficiently and may prevent your arms from getting tired.
Before we tell you how to hold the paddle correctly, let’s briefly discuss the parts of the paddle:

Shaft
The shaft is the “handle” of the paddle, which is attached to a blade at each end and is the part you will hold with both hands. There are 2 different styles, bent and straight shafts.
There are right and wrong ways to hold the shaft. Too tight of a grip can cause your arms to tire quickly and too loose will make kayaking difficult.

Blades
You may notice that the blades, one on each end of the shaft, may look different from one paddle to the next. Some blades are curved while others are flat (symmetrical); flat blades are typically the best for beginners, but it often comes down to personal preference.
Size Matters
Just like other sporting equipment, it’s important to have the right paddle size. The best way to figure out the right paddle length is to stand up straight, extend your arm above your head, and hook your fingers over an imaginary paddle blade. That’s the appropriate length. Have someone measure for you, just to be sure.

Holding Your Paddle
Now, that you’ve selected the right size paddle, place your hands on the shaft. They should be positioned a little further than shoulder width apart (imagine grabbing a barbell).
Your grip will also be about six inches away from the blades; this space between your hands and blades is often called the “throat.” Some paddles have grips on the shaft.
You can place the center of the shaft on top of your head and position your arms, so your elbow makes a 90-degree angle.

If your paddle has flat blades, there is no “up” side. If you have curved blades, you should pay attention to the angle. When holding the paddle, you are holding it correctly if the long edge is at the top and the short edge is at the bottom.
Your grip should be firm, but not too tight and your right hand will have a firmer grip than your left hand.
Good Kayak Paddling Technique
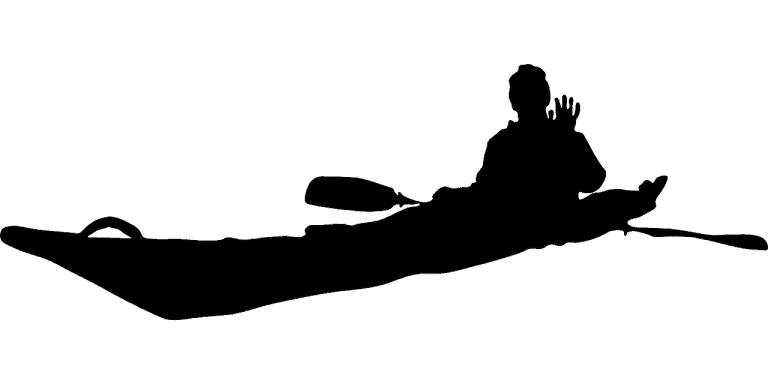
If you are holding your kayak paddle correctly, it should be easy to maintain a proper paddling technique. First, determine which hand will be your “power hand,” most often this is your dominant hand (such as right-handed).
Your “power hand” has a more secure grip on the paddle than the other hand, which creates an “O” shape to maintain a loose grip.
Posture
Although some kayaks have a design for lounging and leaning back, you can have a better paddling technique if you have good posture. The ideal position for kayaking involves sitting up and using any available back support as it can help you paddle longer and more consistently.
When you keep your legs together, you have better torso rotation, and your paddling will be more efficient. If you need to have extra balance, you can spread your legs slightly, so that they press against the inside of the kayak.
Your footpegs should be adjusted so that your knees are slightly bent.
The power of paddling comes from your torso and legs; the right posture is essential.

The Right Stroke Technique
The key to a good stroke is keeping your motions consistent and fluid. Over exaggerating your moves, will make your paddling less efficient and make your body work harder. At the start of your stroke, place the blade in the water by your feet, keeping your lower arm barely straight.
Next, relax your upper arm with a slight bend, putting your upper wrist closer to your eyes.
When you begin paddling, you will be “spearing” the blade into the water. Put more power into the beginning of the stroke rather than the end and keep your feet and legs pressed against the side for extra support.
As you paddle, keep your upper arm relaxed and keep your upper hand at eye level, allowing it to move across your body to keep the paddle vertical. End the paddle stroke when your lower hand is level with your stomach.
There’s no need to extend the stroke any further; repeat on the other side.
Wind-Up
In kayaking, the wind-up refers to the position of your body throughout the stroke. If your initial stroke is on the right side of the kayak, you will need to wind your torso in that direction, thus allowing you to place the paddle near your feet on the right side. The same is true for the subsequent paddle on the left side.
As you do these strokes, try to keep your lower arm fairly straight, while the upper arm should be bent in a way that your upper wrist is near your face.
Catch
As your blade enters or “catches” the water, simply unwind your torso, which will pull the blade through the water. Keep your feet on the pegs located inside the kayak. This will ensure that your core, and not your arms, is doing the bulk of the work.
Recovery
Recovery happens at the conclusion of each stroke. As you finish the first, right-side stroke, lift the paddle out of the water towards the hull (seating compartment) of the kayak, which will allow you to wind up towards the left side for the next stroke. Let your elbow guide the paddle and your wrist will follow.
Paddle as Stern Rudder
In all types of watercraft, a rudder is responsible for steering and keeping you on course. Most kayaks rely on the paddle as the rudder. Using your paddle as a stern rudder is particularly helpful when you encounter waves, current, or even wind. The best way to try this stroke is to practice before it needs to be performed.
To use your paddle as a stern, you should start with a normal forward stroke. Next, you keep the blade in the water and position the paddle until it becomes almost parallel to the kayak.
By controlling the blade, either at a vertical angle or tilting towards the kayak, you are controlling the direction the kayak moves.
Paddling as stern rudder is also known as the stern draw, a technique that requires a good amount of momentum. Here is how it’s done:
- Begin with tight rotation of the torso, one that enables you to place the paddle in the water towards the stern or back of the boat, behind your hip, with the paddle facing inward towards the kayak.
- As you make your stroke, be sure to keep the kayak pole low and horizontal, nearly parallel with the boat. This will ensure proper torso rotation, and thus a more powerful stroke.
- Steer the boat in the direction you desire, whether toward or away from the paddle blade, by employing gentle force to the paddle against the water.
- Until you are ready to make the next stroke, continue to trail your blade in the water, steering the kayak in the desired direction.
- Once you are comfortable performing this stern draw, continue to practice the technique, increasing your momentum with every draw.
Forward and Reverse Sweep Strokes
Kayakers of all expertise levels use these basic strokes: forward and reverse. These strokes are all you need if you are planning on paddling in a straight line, but that’s not likely. To turn, you need to know how to do sweep strokes.
To do a forward sweep stroke, lean slightly in your kayak while maintaining balance. Place the blade into the water as far forward as you can easily and comfortably reach. Your aim is to position the blade in the water (where your feet are located in the kayak).
Next, make a large arc that starts close to the bow (front of the kayak) and finishes at the stern (back of the kayak). This motion requires posture control and twisting in your torso. To do a reverse sweep, start from stern to bow (back to front).
Sweep strokes are an important part of the kayaker’s tool box and can accomplish a few things. These include turning the boat in a new direction while stationary, correcting course when paddling forward, and initiating a turn in fast water. There are two types of sweep strokes: forward and reverse.
Forward Sweep Strokes
Here are a few tips for performing a proper forward sweep stroke.
- Sit in an upright position, and keep your right elbow nearly straight. Place the right side of the paddle blade in the water as far forward as you can reach.
- While continuing to sit upright, begin your right side wind up, and pull the blade towards you, keeping the paddle and your right arm nearly straight.
- With your right arm still as straight as possible, continue to pull the blade towards the rear of the kayak, until the blade is about 10 inches from the side of the boat.
- Repeat these steps until the kayak is facing the desired direction.
Reverse Sweep Strokes
The reverse sweep stroke is very similar to the forward sweep stroke, only in the opposite direction.
- Turn your torso to the left side, keeping your left arm as straight as possible.
- Twist the left side of the paddle to the rear of the boat until it is nearly parallel with the kayak itself.
- While looking over your left shoulder, and maintaining a straight left arm, allow the blade to enter the water as far back as you can reach without causing discomfort.
- While rotating your torso in the opposite direction, pull the blade through the water towards your left foot until it nearly touches the front-left side of the kayak.
- Although you may be tempted to change your grip while performing the reverse sweep stroke, there is no need to do so. You will use the reverse side of the blade for this maneuver.
Carving Turns
A carving turn is a versatile move in a kayak because it can be used as a turn on its own or it can help enhance other turns, like forward sweeps. You are most likely to use a carving turn when you try to maintain or regain control during high gusts of wind.
If you want to make a carving turn, you must edge your kayak. Edging your kayak takes practice and is best practiced on calm waters. Edging your kayak is much like what it sounds; you’re tilting your kayak on its side (the curve of the hull is submerged).
If you want to turn right, you will edge to the left and vice versa. You can use regular strokes or sweep strokes with your paddle.
Rolling to an edge, which can be practiced with the boat stationary, is accomplished by putting pressure on your right or left hip, and lifting your opposite knee until it hits the inside of the hull.
Putting pressure on the right hip and lifting your left knee, for example, will slightly drop the right side of the kayak, and lift the left side. This boat position is known as an edge.
At first, you may feel like you will tip completely into the water, but you’re only tipping the kayak slightly. Remember, you are in control.
Good posturing is important when carving a turn because you’re pushing one knee up against the foredeck (the front area above your knees) and weighting the opposite hip at the same time.
When carving a turn, always look ahead (at something on the horizon) rather than looking down at your kayak. Keeping your eyes focused on something will help you stay balanced and maintain a strong and steady posture.
- While paddling forward with momentum, choose a target in the distance, something to the right side of center. Then, roll to a right-side edge (pressure on your right hip and left leg elevated) and hold the position. At this point the boat will begin to turn in an arc from the momentum you have gathered.
- As the boat turns, don’t steer. Allow the edge you have established to turn the boat.
- Facing forward, simply perform a basic forward paddle (as opposed to a steering stroke). This technique, which combines an edge and basic forward stroke, is what’s known as carving.
- When you feel you are growing weary from holding the edge, roll the boat back down to flat and rest.
- Next, pick a target to the left side of center, again paddling quickly to gain momentum. Perform a left-side edge maneuver, and use forward carving strokes until you reach the target, resting as needed.
- Once you feel you have completely mastered the front-stroke edge and carve turn, you can then practice the same maneuver while paddling backwards.
Moving Sideways with Sculling Draw
Moving sideways in your kayak may not be the easiest move to make, but once you figure it out, it may come in handy. Why would you need to go sideways?
This may be a helpful maneuver when approaching a dock on a lake or want to get closer to your fellow kayakers.
First, you will hold your paddle as you usually would turn your torso to the side, and put the paddle in the water at a vertical angle. Keep your upper arm high and at a 90-degree angle. If you are using a paddle with an angled blade, make sure the power face is facing the kayak.
Next, start to move the blade around in the water, slowly and parallel to the kayak. Think of stirring something back and forth (not circular) in a pan, using a big spoon.
This move is called a sculling draw, and if you do it correctly, your kayak will start moving sideways rather than forward or backward.
If you use too much force or don’t have the angle quite right, you will end up going forward or backward in your kayak. Moving sideways takes some practice and adjustments, depending on the water (calm vs. eddies).
The sculling draw is a useful and potent stroke that will allow you to move the boat sideways. Here are the basics.
- Sitting straight, rotate your body to one side, holding your kayak paddle upright (near vertical).
- Holding the shaft at a 90-degree angle from your hip, plunge the paddle blade into the water and hold that position. Keep in mind that the blade will always remain in the water with this maneuver, eliminating the recovery phase.
- To move the kayak sideways, you will now perform the sculling motion or draw: moving the paddle blade front and back along a short path, with the paddle remaining in the water about a foot from the side of the boat.
The key to a proper sculling motion is maintaining a blade angle that opens your paddle’s power face to the oncoming water and pulls your paddle away from your kayak. This allows the force of the water to do most of the work.
Paddling Backwards
Forwarding paddling may be the only move you’ll use in your kayak, but you never know when you may need to paddle backward. Maybe you encountered an area that will be too narrow for your kayak or one of your fellow kayakers needs assistance or needs to catch up.
The chances are that you won’t be paddling backward for an extended period or distance, but balance is important. If your kayak is a bit “back heavy” in the stern, you may struggle to backup, but all you need to do is lean forward to create a more stable balance.
The reverse stroke or paddle backward consists of paddling stern to bow. Don’t forget to look behind you before you make another reverse stroke.
Paddling backwards is a very useful skill that all kayakers should master. Here are just a few tips to help ensure you pull it off without a hitch.
- Sitting in an upright and basic paddling position, grip your paddle exactly as you would if you intended to paddle forward.
- Wind-up: As you bring the paddle to the back-left of the kayak, follow the movement of the paddle by turning your left shoulder and torso to the left.
- Catch: As the paddle blade enters the water, pull it strongly towards the front of the boat, allowing your body to rotate in the same direction as the paddle.
- Recovery: Remove the blade from the water and repeat the process on the right side.
The key to a powerful and accurate back paddle is great rotation, both backwards and forwards. For beginners, the best way to accomplish this initially is to follow the movement of the paddle with your eyes, from catch through recovery.
When the head turns, the body will follow, allowing your core to do the brunt of the work and thus minimizing the potential for elbow and wrist injuries.