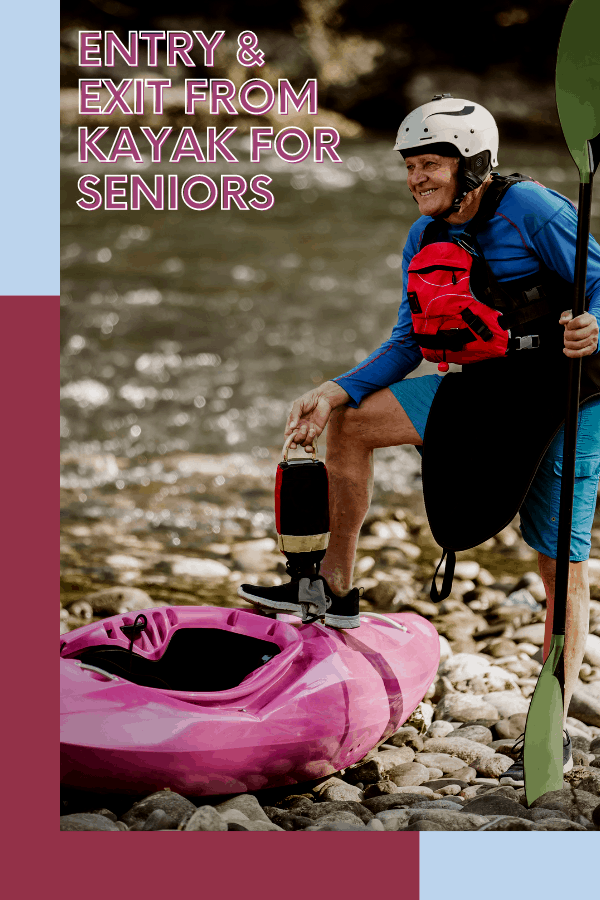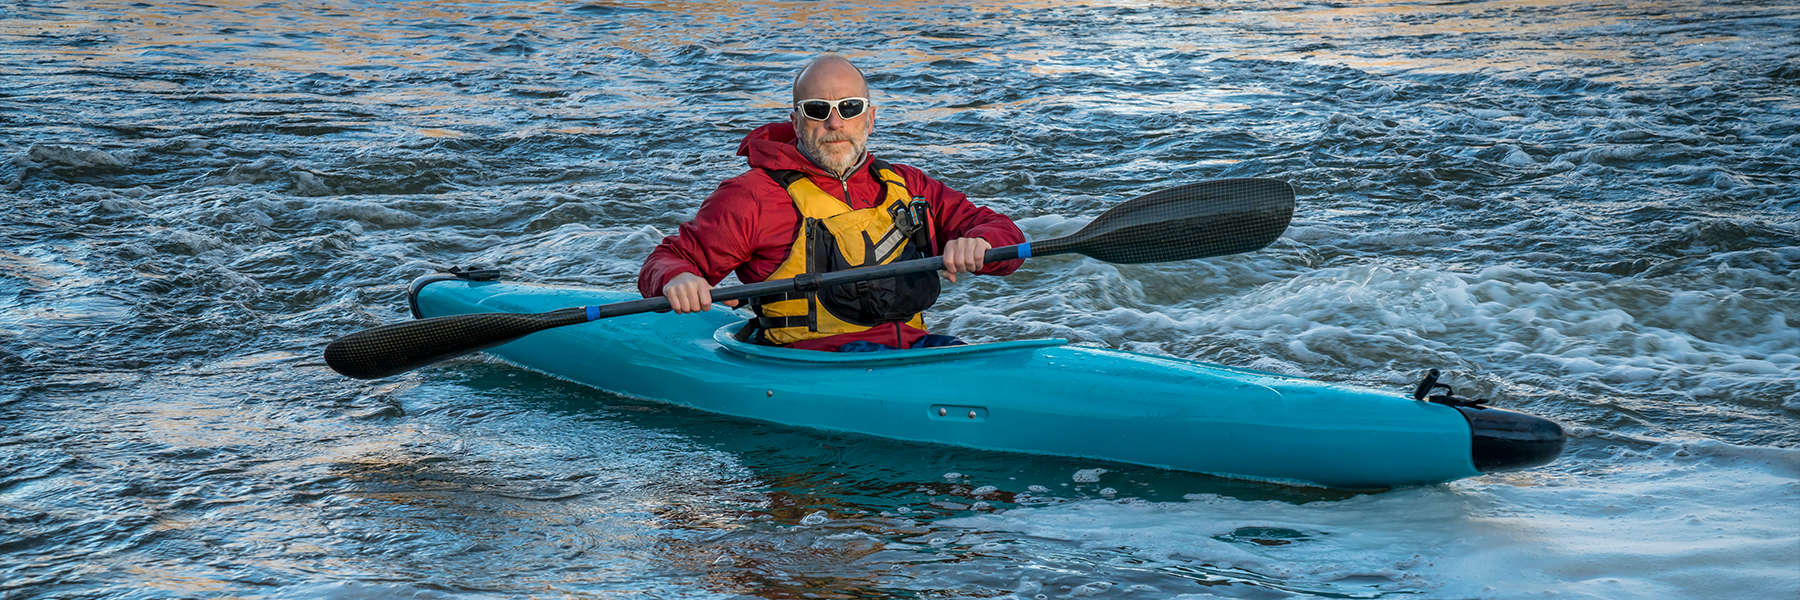
As we age, it becomes important that we choose sports that we are comfortable with. Kayaking is definitely one of those sports, but it may need some changes as we grow older.
If you’re a senior, entering and exiting a kayak can be a roadblock to enjoy kayaking with growing age. But if you’re familiar with the best techniques for entry & exit from a kayak, things become easier.
These techniques help you avoid uncomfortable bending at the knees, hips, or back to enter or exit your kayak. You can also avoid injuries.
If you correctly follow these techniques, you may not need to spend on kayaks specifically meant for seniors.
Let’s find out more.
General Tips For Entry & Exit From Kayak For Seniors
For starters, there are some tips you can use to easily enter and exit your kayak. Some of these tips involve healthy lifestyle habits while others are more technical. But they are all useful for easy kayak entry & exit.
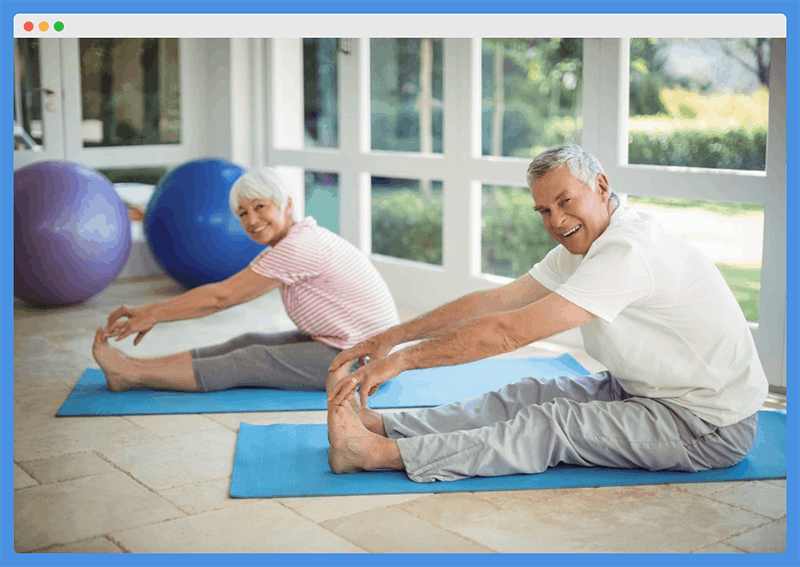
Make Stretching A Daily Habit
The best way to stay active is to keep participating in the activities that we love. We firmly believe in “if you don’t use it, you lose it”.
However, if getting into your kayak gets more difficult than it used to be, consider incorporating 20-30 minutes of stretching in your daily routine. This will help you loosen up your legs, back, and shoulders.
If you don’t quite know where to start with a stretching routine, we recommend a quick YouTube search. This will turn up several videos with quick and easy stretching routines you can do at home.
When your muscles and ligaments are relaxed, you can easily bend and squat to get into your kayak.
The added benefit of stretching is that you’ll be more comfortable once you’re in the kayak. It will also help you to enjoy those longer days on water.
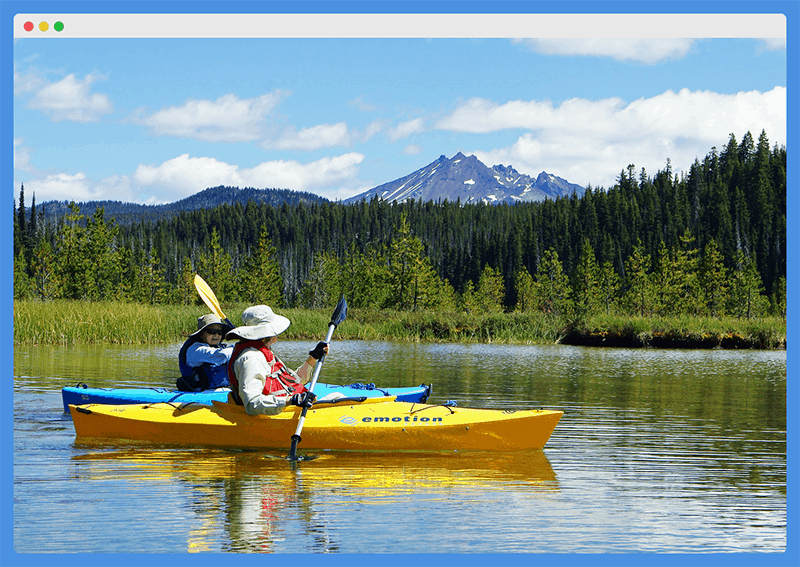
Always Kayak With A Partner (or Partners!)
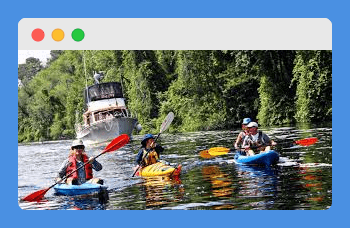
This is a general recommendation for safe kayaking. In fact, many experienced kayakers follow this even after having countless hours of kayaking experience under their belt. There are benefits for easier kayak entry and exit if you paddle with a partner (or partners!).
Some techniques require a helping hand to execute properly. You may need an extra set of hands to work together to get in and out of your kayaks if you find one of these techniques better.
Of course, there’s the argument for having at least one younger, able-bodied kayaker in your crew. But the reality is that having a partner of any age or physical stature helps.
You will also have a trusted companion by your side if anything goes wrong. Not only can you converse with him but can also share your kayaking adventures.
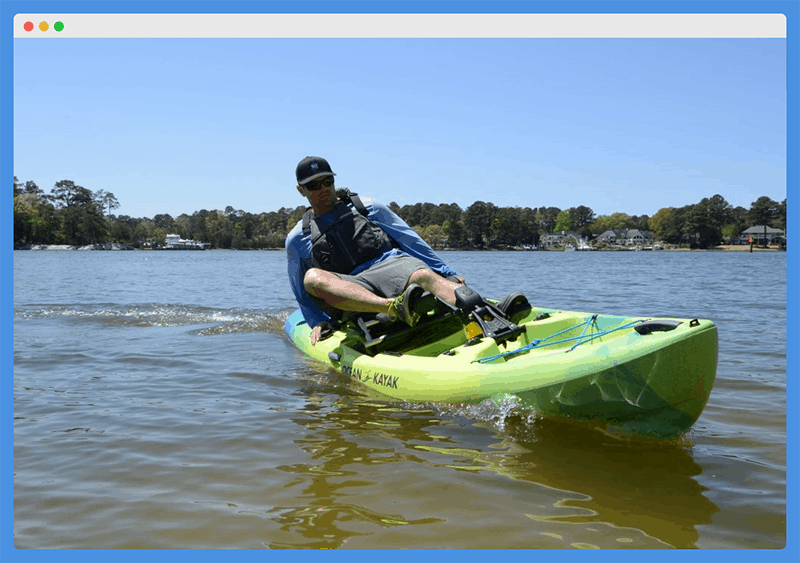
Choose A Sit On Top Kayak When Possible
Sit-on top kayaks have a larger cockpits than their sit-inside counterparts. This makes it easier for you to enter. They also give you more space to find a comfortable position once you’re seated in.
This is why you should try to have a sit-on top kayak whenever possible. But these kayaks are also much easier to climb back in deep water. Hopefully, it doesn’t happen to you.
Sit-on top kayaks require less upper body strength and balance to climb back into in deep water. They allow you to recover from capsizing with little effort.
Find An ADA-Accessible Dock In Your Area
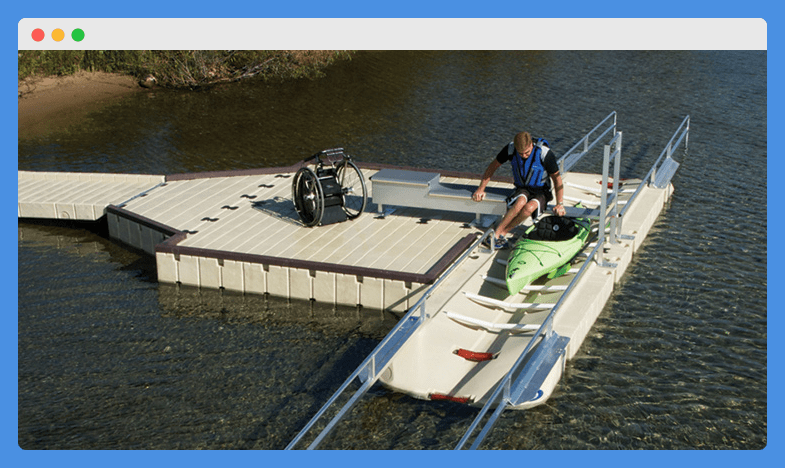
One of the most clever tricks for easy entry & exit from a kayak for seniors is to find an ADA-accessible dock in their area.
This can come in handy even if you don’t have a specific handicap. Many locations allow seniors to launch from their docks for little or no charge.
These docks are equipped with easy launch accessories designed to make kayaking accessible for individuals with physical disabilities.
One of the best accessories is the EZ-Launch System. It allows you to get into your kayak on a dry dock and then slide into the water using handrails. (See the picture below)
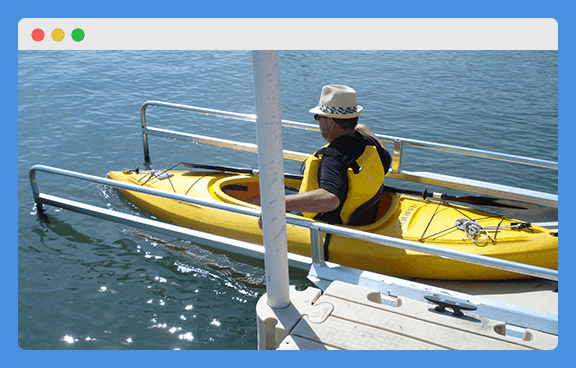
Many of these docks also have seats that make it easier to sit and then slide over gently into your kayak. These seats are designed to help individuals with partial paralysis to enter a kayak. They can also be useful for seniors with tight hips or knees.
ADA-accessible dock sometimes also have additional accessories. They are all meant to make entering and exiting kayak easier. This is why finding and gaining access to one of these docks is imperative for easy kayak entry & exit.
Easy Kayak Entry Methods For Seniors
The Straddle Method
The straddle method is useful if you’re launching from a beach or a shallow shoreline. It does require that you get your feet wet. You should be able to stand comfortably in the water without battling a current or struggling to maintain your balance on an uneven lake bottom.
Though if you can find a nice sandy beach or shoreline with sand bottom, you should be able to employ the straddle method. To set up for this method, get your kayak into the water deep enough so that it’s not touching the bottom.
Aim for water that’s ankle-to knee-deep. You won’t get stuck trying to push your way into deeper water using the blades of your kayak paddle. This is a surefire way to break a paddle before you even get started.
Also, make sure that everything you want for your day is loaded onto your kayak before executing it.
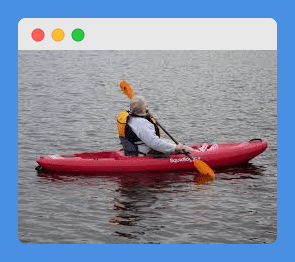
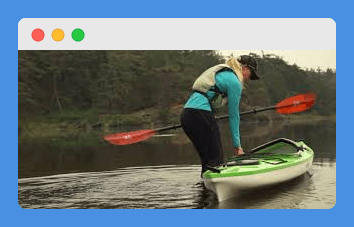
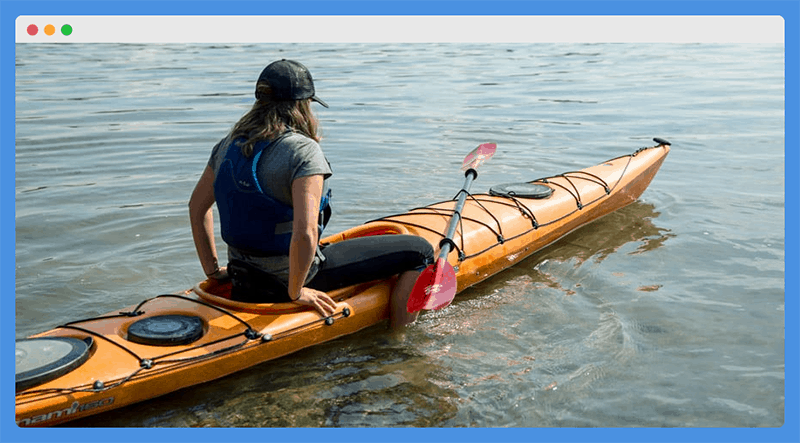
Once you have those criteria met, set up with your paddle in one hand and the bow of your kayak between your legs. Using your free hand, bring the kayak forward between your legs until the seat is positioned directly underneath your hips. (as shown below)
You’ll most likely need to widen out your legs as the widest part of your kayak comes underneath you. Moving the kayak instead of walking one way or the other, allows you to keep your feet more stable and take advantage of the fact that your kayak is floating.
Once your kayak seat is directly underneath your hips, squat gently until your hips are settled into the seat. You’ll then need to bring your legs into the cockpit and re-adjust for comfort before you set out paddling.
If you do have a paddle partner close by, you can ask him or her to help stabilize your kayak from the stern as you sit into it.
If you want to keep both of your hands free, you can use your paddle parks by asking your partner to hold your paddle. You can also slide it into the cockpit as you’re entering your kayak.
This method is much easier when you’re paddling a sit-on top kayak. You won’t have to bend your knees into your chest to get your legs into the smaller cockpit of a sit-inside kayak.
If you do have a sit-inside, check out this next method!
The Modified Straddle Method
If you’re intent on sticking to your sit-inside kayak, then you can modify the straddle method to work for you. To modify, however, you’ll want to keep the bow of your kayak on the shoreline for extra stability.
Then, you’ll want to set your paddle into the cockpit or secure it using the paddle park on the gunwale so that your hands are free. From here, stand on one side of your kayak with your hips facing away from your kayak.
Your goal for this next step is to sit on the deck of your kayak just behind the cockpit. To do so, gently bend at the knees until your hands can reach the sides of your kayak to give you a little extra stability.
In terms of hand placement, you’ll want to reach the hand that’s closest to the bow of your kayak over to the opposite gunwale. This will keep the kayak stable as you put more weight into it.
With your hands on opposite gunwales, gently set your hips on the deck of the kayak just behind the cockpit. From here, it’s time to twist so that your upper body is pointing towards the bow of your kayak.
Now, set your first foot into the cockpit. You’ll want to lead with whichever foot is closest to the bow of your kayak.
As you set your first foot into the cockpit, your second foot may need to slide forward towards the bow of your kayak. This would keep you stable.
Once you have one foot in, your entire torso should be facing towards the bow of your kayak. Your hips should be comfortably in the center of the kayak.
By sitting on the deck behind the cockpit, you can slide your legs into the cockpit without bending too far at the knees.
But this next step should be done with caution. If you have a paddle partner, now is a great time to ask him to stabilize your kayak from the stern.
If you don’t focus on keeping your weight aligned with the midline of your kayak, it will roll to one side or the other.
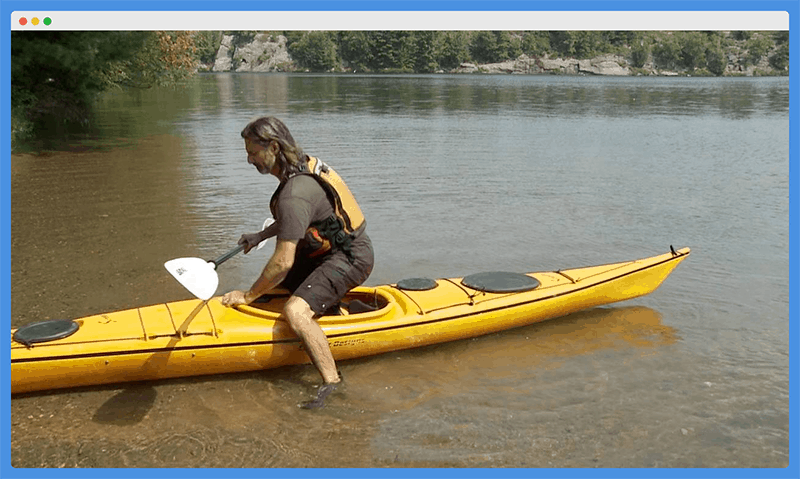
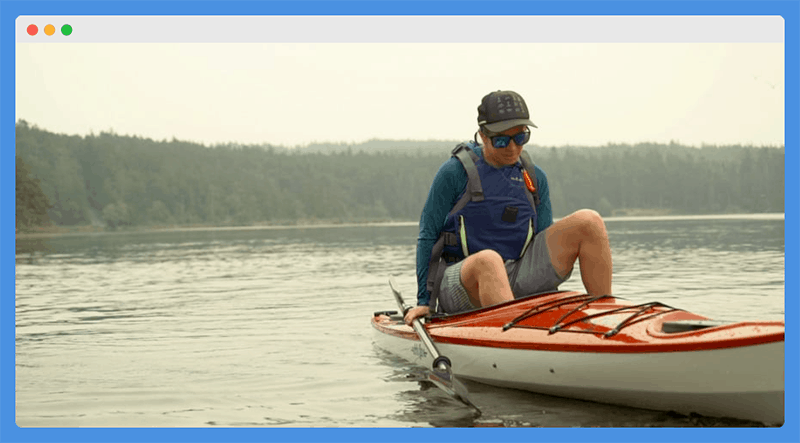
With your hips remaining on the deck of your kayak behind the cockpit and your hands providing additional points of contact on opposite gunwales, you can lift and slide your second foot into the cockpit. That is until you find yourself in a similar position as the kayaker in the below photo.
From here, you’ll want to slightly lift your hips and slide forward until you’re sitting in the seat of your kayak. During this step, getting into your kayak seat as quickly as possible can help reduce the likelihood of tipping when you’re still seated on the deck of your kayak.
That’s why many experienced kayakers will lift their second foot into their kayak while simultaneously lifting their hips forward and into the cockpit. But if you’re unsure of yourself at first, it can be good to complete these steps in sequence.
Remember that quickness doesn’t always lead to accuracy. A better word for the movement you should be shooting for here might be decisive.
The more decisive you can be in lifting that second foot in and sliding your hips forward, the higher your chances of success.
Also note that a higher center of balance always translates to less stability. So the higher you lift your hips when you go to slide them forward into the cockpit, the less balanced you will feel.
Easy Kayak Exit Methods For Seniors
It’s time now to get back out of your kayak safely and easily.
Check out some of these easy kayak exit methods for seniors.
Reverse The Straddle Method
The first technique for getting exiting from a kayak for seniors is a simple reversal of the straddle entry method we detailed above. But it does come with a few considerations that we should mention.
It can actually be useful to use the shore or beach this time around. As you approach the beach, gather as much speed as possible so that you can beach the bow of your kayak as far up onto the shore as possible. Of course, this relies on having a sandy shore that won’t damage your kayak.
If you’re exiting your kayak at a concrete boat launch, you’ll want to be gentle with your approach. And if you’re exiting on a rocky shoreline, reconsider exiting at an alternative location.
Once you beach your kayak, you can toss your paddle up onto the shore to keep your hands free.
If you don’t want to toss your paddle, you can also attach it to the paddle park on the gunwale of your kayak or set it down in the cockpit.
Once you have your hands free, lift your feet out to either side of the kayak to set up for the reverse straddle. If you have enough upper body strength, you can place your hands on the gunwales at your hips. Left your hips until your feet touch the beach on the sides of your kayak.
From here, you can walk your hands toward the bow of your kayak until you’re in a comfortable position to stand. If you don’t feel comfortable lifting your hips, you can simply skip that step and roll forward until you can place your hands in the cockpit in front of you (as seen below).

This will allow you to push up from a position that uses your larger upper body muscles. And, if all else fails, you can even slowly crawl your way all the way up and out the bow of your kayak until you’re safely onshore.
The Roll-Out Method
This method of exiting a kayak is useful for seniors with especially tight hips and knees. But the only problem with this method is that it does require you to get wet. So we only recommend using it on very warm days or when you need a lake shower anyway.
That said, it’s a relatively simple method that lowers any stress or strain on your knees, hips, ankles, or back when exiting a kayak. It simply requires rolling out of your kayak and then standing up and walking into shore.
That said, there are a few general pointers that will make this method easier if you’ve never tried it before. For starters, you’ll need to make sure that your kayak is in water that’s shallow enough for you to stand but deep enough for you to avoid hitting any submerged objects.
That’s where you can use your kayak paddle for gauging water depth and also the safety of the submerged water underneath your kayak. By sticking your kayak paddle straight down into the water, you can estimate how deep it is depending on the length of your paddle.
For example, let’s say you’re utilizing a six-foot paddle and you stick it straight down into the water until it touches the bottom. The water level then reaches the exact midpoint of the paddle shaft. This allows to estimate the water depth at approximately three feet.
In addition, you can also use the paddle to feel around on the bottom for any large rocks, stumps, or other hazardous submerged objects.
This is especially useful if you’re attempting the roll-out method in locations where the water clarity doesn’t allow you to visually see the bottom.
We recommend aiming for a minimum water depth of four feet when you’re attempting this exit method. That will give you enough clearance to avoid hitting anything and will still be shallow enough for most folks to stand once they roll.
When you’re comfortable with the water depth, hold onto your paddle, and lean one direction until you’re enjoying the brisk waters of your favorite paddling location. If you’re paddling a sit-on top kayak, exiting the kayak and then standing up comfortably shouldn’t be an issue.
But if you’re paddling a sit-inside kayak, there is a bit more nuance to making sure you exit your kayak when you roll. So if a sit-inside is your kayak of choice and you’re interested in trying the roll-out method, we also recommend studying our article on how to execute a wet exit properly!
Final Thoughts
Kayaking is truly one of those sports that should not have an age limit associated with it. Many folks get into kayaking later on in life as it provides amazing opportunities to slow down. It allows them to unplug from the fast-paced lifestyle they’ve lived for many years.
With these techniques for entry & exit from a kayak for seniors, you can literally enjoy kayaking for as long as you desire.
Don’t let age or tight joints hold you back from exploring new waterways and enjoying the sport of kayaking!