As a new kayaker, there is a lot more to learn than just your basic forward stroke. Of course, you should most certainly take the time to perfect that, but then you can move on to other kayaking strokes to improve your kayaking.
If you are brand new to this watersport, take the time to read up on the basics of how to paddle a kayak. Once you are familiar with those techniques, come back here to learn about these more technical paddling strokes.
Believe it or not, there are more ways to move your kayak than just forward, backward, and in circles. With the right strokes, you can maneuver your kayak in a variety of ways that many beginners would never imagine.
Knowing more kayaking strokes also comes in handy when we are talking about your basic safety on the water. When you have more tools in your proverbial tool kit, you will be prepared to get yourself out of sticky or precarious situations.
So let’s talk about seven of the most important kayaking strokes to improve your kayaking, starting with highlighting them in this brief list.
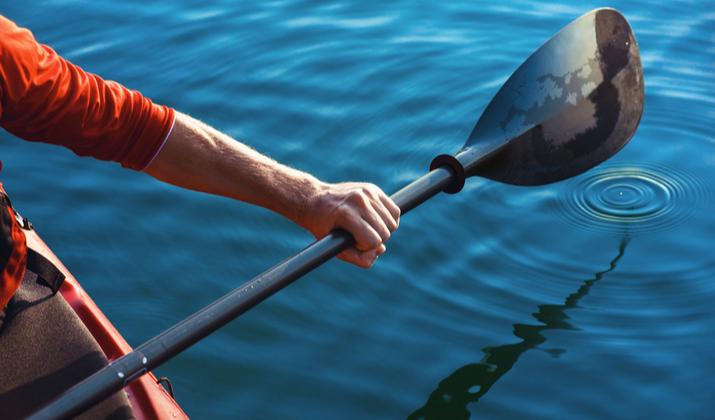
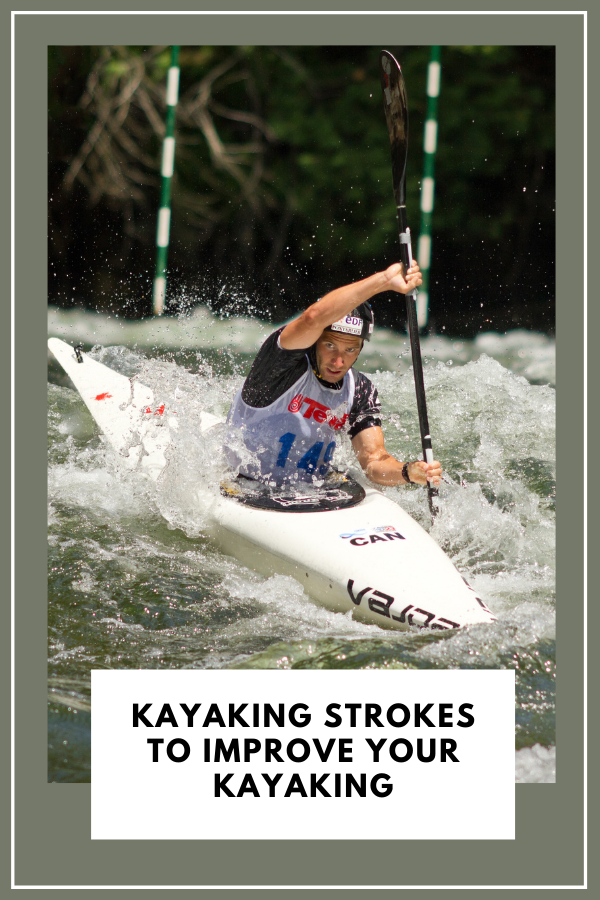
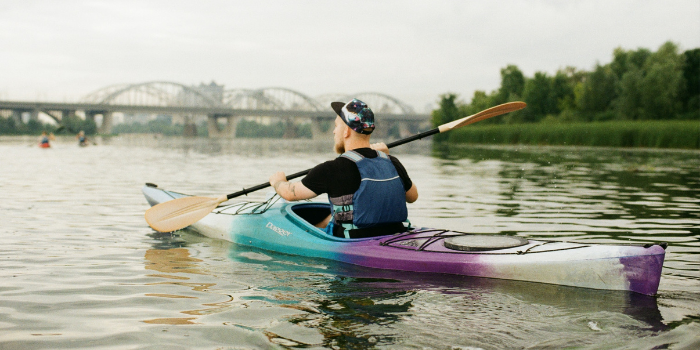
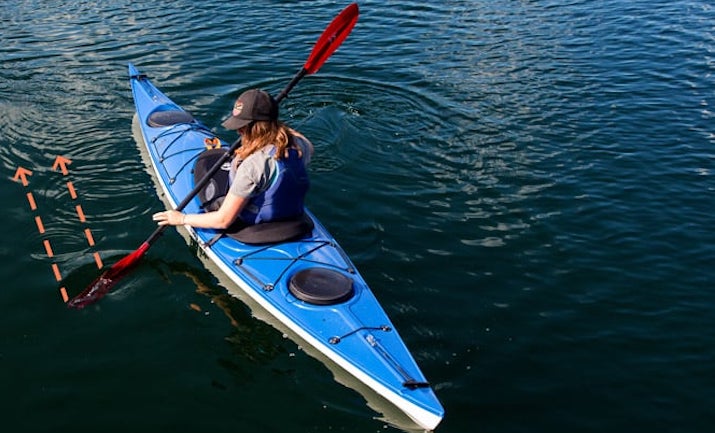
Photo by sergua via Shutterstock
Kayaking Strokes To Improve Your Kayaking
- The Forward Sweep Stroke
- The Sculling Brace
- The Low Brace Turn
- The Bow Rudder
- The Balance Brace
- The Draw Stroke
- The Reverse Stroke
Jargon Buster
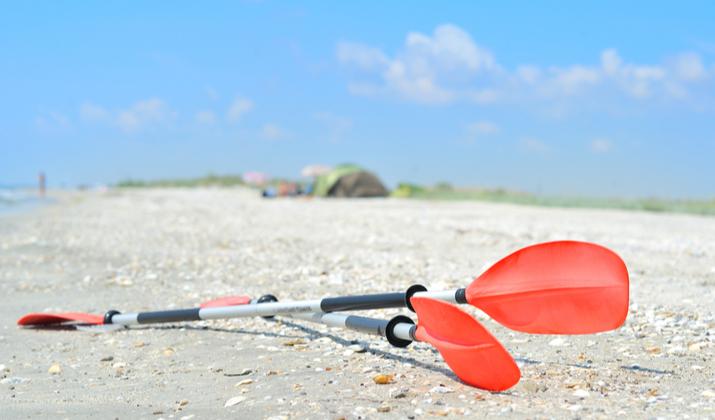
Photo by PhotoStock10 via Shutterstock
To help you visualize the strokes we are going to outline below, it is important that you are familiar with the various aspects of the best kayak paddles. So let’s take some time here to define some terms you’ll run into throughout the rest of this guide.
Paddle Shaft Versus Blades
Let’s begin by defining the two basic elements of all kayak paddles: the shaft and the blades. The shaft connects the blades on either end and provides a comfortable place for your hands to grip the paddle.
All kayak paddles have two blades on either end of the shaft and this is what makes them unique from canoe paddles or paddles used for stand-up paddleboarding. This design makes kayak paddles extremely efficient and allows you to execute many of the strokes we’ll talk about later.
Power Face Versus Back Face
The blades on modern kayak paddles are curved and most are also asymmetrical. The reasons behind modern blade design mostly have to do with maximizing efficiency, but we don’t have to dive too deeply into that topic today.
For our purposes, we need to know the difference between the power face and the back face of the blades on a kayak paddle. The power face is the concave side of the blade that should be facing towards you when you are seated in your kayak.
This side is aptly named because you use it to generate the power that is required to move your kayak forward (and in other directions as well). If you think of your kayak as a spoon, the side that would hold your favorite dish from your plate to your mouth is synonymous with the power face of the blades on a kayak paddle.
As you’ve probably already guessed, then, the back face is the other side that is convex. This side of the blade typically has a rib that runs along it that helps your paddle cut more smoothly through the water with each stroke.
Drip Guards
The last element of all kayak paddles that you should be familiar with are the drip guards. These are small rubber rings that are placed around the shaft of the paddle and they typically slide along the entire length of the paddle as they get loose.
With newer paddles, these drip guards will be tighter and they should stay aligned at the ends of the shaft where it meets the blades. Over time, however, these guards can loosen and you may need to push your back out towards the end of your paddle shaft.
Your drip guards should always be somewhere between where your hands are placed on the paddle shaft and where the shaft meets the blades. Don’t let your drip guards work they way along the paddle shaft until they are somehow in between your hands.
The purpose of drip guards is to stop water as it runs off the blades and along the paddle shaft. Thus, this is an instrumental part of all kayak paddles when it comes to paddling a kayak without getting wet.
Without drip guards, water will run down the paddle shaft onto your hands or drip into the cockpit of your kayak. That’s why they should be aligned as far to the outside of the paddle shaft as possible so water drips off your paddle and back into the lake or river you are paddling on.
7 Kayaking Strokes To Improve Your Kayaking
Now that you are familiar with the basic components of all kayak paddles, let’s talk about strokes that can improve your kayaking ability.
1. The Forward Sweep Stroke
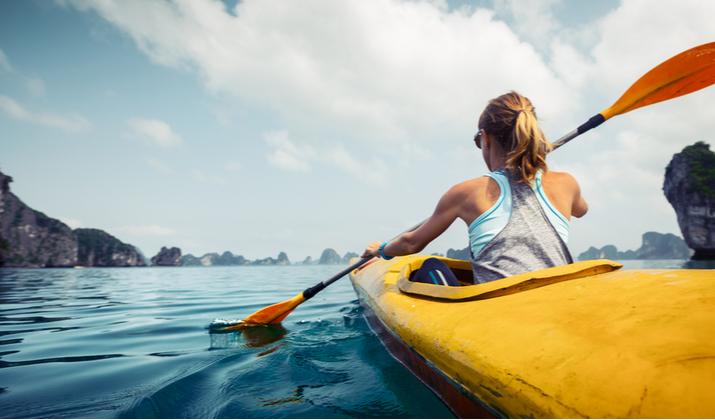
Photo by Dudarev Mikhail via Shutterstock
The forward sweep stroke is an adaptation of the regular forward stroke that you use to propel your kayak forward. Just like that stroke, it starts at your toes and concludes roughly at your hips.
However, it differs in some very important ways and the purpose of this kayaking stroke is to steer your kayak left or right without losing forward momentum. This stroke is useful for all types of paddlers, but it is especially important for long-distance paddlers seeking to paddle their kayak as efficiently as possible.
The stroke begins with extending one of your paddle’s blades out towards your toes. Instead of keeping the blade perpendicular with your kayak, however, you will turn it so that it’s parallel with your kayak with the concave side (the power face) of the blade facing away from your kayak.
You are then going to dip the blade into the water until it is roughly halfway submerged-the more you submerge the blade, the more effect this stroke will create. From there, you are basically going to draw a wide arc out and away from your kayak and then back towards it.
This stroke should finish just behind your hip on the same side of your kayak that you started on. By drawing that wide arc (sometimes referred to as a ”˜rainbow), you’ll be moving the bow of your kayak in the opposite direction from the side you paddle on.
In other words, doing a forward sweep stroke on the left side of your kayak will move the bow to the right-and vice versa. During the first third of the stroke, you’ll essentially be pushing your kayak’s bow in your desired direction.
During the final third of the stroke as you bring the paddle back in towards the side of your kayak, you’ll be pulling the stern towards your paddle-and further pushing the bow in the direction you want it to turn.
Finally, the middle third of the stroke is what is responsible for continuing your kayak’s forward momentum. This stroke, then, is great for making minor course corrections if you’re aiming at a particular spot on the horizon without losing the speed you have already worked hard to generate.
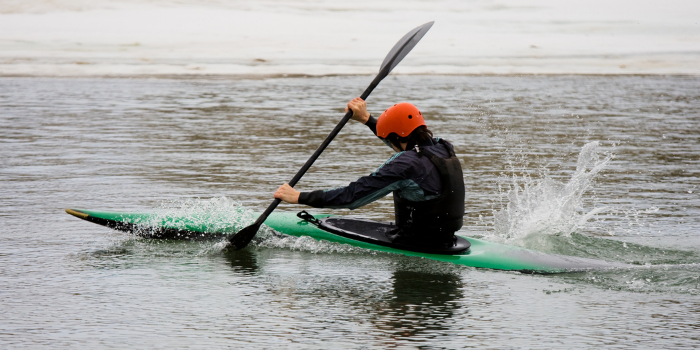
2. The Sculling Brace
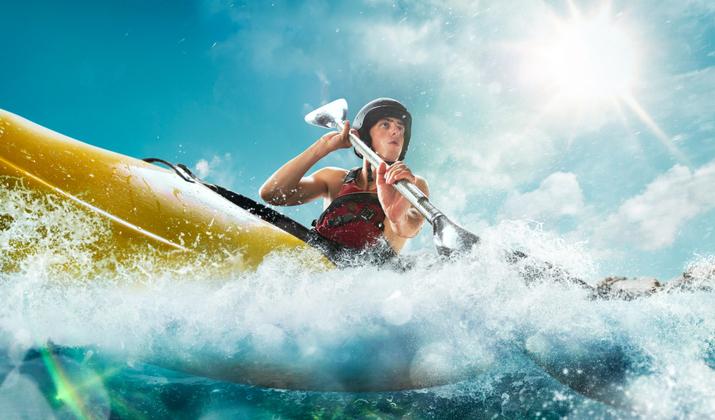
Photo by Artur Didyk via Shutterstock
The sculling brace is a really important kayaking stroke to know when it comes to improving the stability of your kayak. It is especially useful in choppy and windy conditions, which makes it a must-have skill for paddlers of the best sea kayaks.
Some of the reasons for employing the sculling brace include salvaging a sloppy put-across roll, getting your legs back in during a rodeo-style kayak re-entry, or simply when you feel a little unstable on the water.
This is a stroke that is best suited for touring kayaks or sit-inside designs that are already equipped with a spray skirt to keep water out of the cockpit. To practice, you’ll begin by leaning back towards the stern deck of your kayak.
From this position, get used to leaning to one side of the kayak until you feel close to capsizing. The point of the sculling brace is to provide extra support to keep your kayak from going over or to help you regain a neutral paddling position after a roll, so testing the limits of how far you can lean is a natural part of the progression to learn this stroke.
Once you get comfortable with that starting position, raise your paddle shaft so it’s roughly even with your head. The shaft should be almost parallel to the top of the water when you are starting this paddle stroke.
Lean in one direction and let the paddle naturally come down into the water. Keeping the paddle shaft perpendicular to your kayak, the blade should only enter the top 3-6 inches of the water and it should almost be flat on the water’s surface when starting out.
Move the blade back and forth in the water to provide extra stability as you lean back toward your kayak’s center of gravity. You can practice this several times, leaning a little further each time to feel how the sculling brace helps you stabilize your kayak and recover.
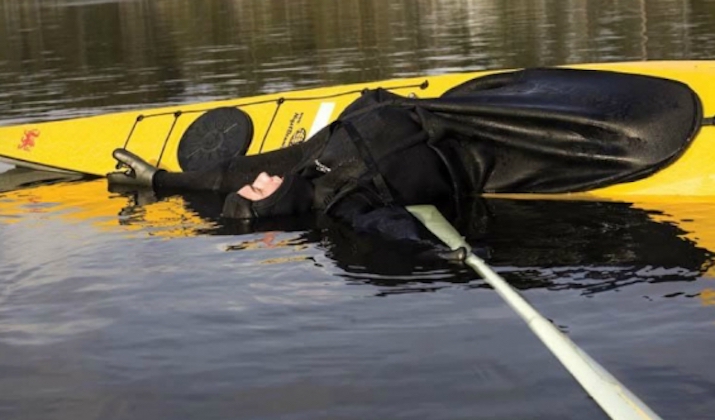
3. The Low Brace Turn
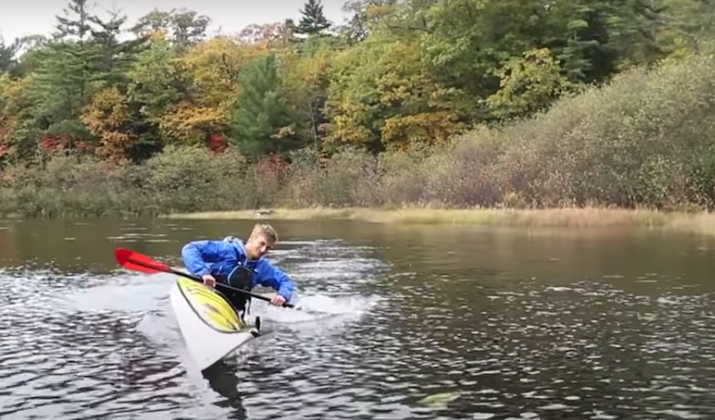
Photo by Adventure Kayak Magazine via YouTube
Edging in a kayak is a technique that will make you look a lot more graceful and will also allow you to realign your kayak without losing much speed. The low brace turn is an essential kayaking stroke to improve your overall edging ability.
This technique is also helpful with supporting your kayak in choppy water and will bring a new level of versatility to your paddling skills. It can also be used in flat water if you are paddling in that sort of environment.
You need momentum entering this turn and you will also need to initiate the first half of the turn with a technique called a bow sweep stroke. Think of the bow sweep as the last third of the forward sweep stroke that we talked about earlier.
After that bow sweep stroke, bring the paddle close to your torso a little above your belly button, and keep the paddle shaft parallel with the water, but perpendicular to your boat. The power face on your kayak blades should be facing up.
Place one blade into the water with the leading edge angled slightly upward so that water hits the back face. At the same time, lean your body to edge your kayak slightly towards the same side as the blade you’re putting in the water.
Your eyes should be looking where you want your kayak to go during this low brace turn as well. When executed properly, your kayak will turn swiftly and with minimal effort towards whichever side of your kayak you place the blade in the water.
4. The Bow Rudder
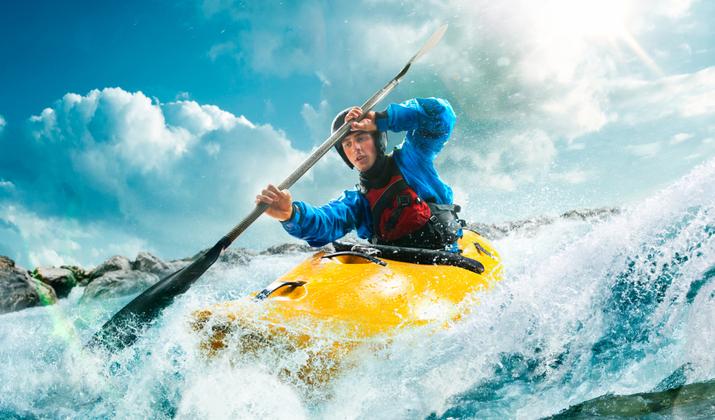
Photo by Artur Didyk via Shutterstock
The bow rudder is a great kayaking stroke if you need to change directions when your kayaking is already traveling quickly. It can be used to make more subtle course corrections, like the forward sweep stroke, or it can be employed to make quick, but smooth, turns.
It is particularly useful for whitewater kayakers that need to quickly maneuver to avoid obstacles or other paddlers. Keep in mind that you will need a good amount of forward momentum to execute this kayaking stroke.
When positioning your paddle for this stroke, turn your wrists so that the blade you are going to insert into the water is parallel with your kayak. Before entering the water, the blade should also be nearly vertical, which requires raising the hand furthest away to a higher position to bring the paddle shaft closer to vertical as well.
With your paddle in that position, you want to extend it roughly 2-3 feet away from the edge of your kayak and insert it in the water just in front of your seated position. If you’re paddling a sit-in kayak, you will insert the blade roughly even with the front of your kayak’s cockpit and, for sit-on-top kayaks, you can insert the blade so it’s about even with your knees.
You may need to lean slightly forward and to the side when you’re inserting the blade to accomplish this. When you insert the blade into the water, you want to angle it so that the leading edge (the edge closest to the bow of your kayak) opens up and the power face of the blade catches the water.
In other words, your blade should be slightly angled so that the leading edge is further from your kayak than the trailing edge. With the speed you’ve already generated, this rudder action will pull your kayak towards the side you have inserted the blade into the water.
5. The Balance Brace
PC Paddling Magazine
The balance brace is a very interesting kayaking technique because it actually has more applications than simply steering your kayak in a new and creative way. It was actually first developed as a way to stretch your lower body when sitting in a kayak for extended periods of time (aka on a kayak camping trip).
Learning it is a great way to improve your kayak survival skills, as it’s a great long-term rescue position if you find yourself in an unfortunate situation. It is also a foundation for certain specific types of kayak rolls that originated in Greenland.
The stroke actually begins much like the sculling brace, so go check out the overview of that stroke above if you skipped it. As you lean as far as you can back onto your kayak’s stern deck, rotate your hips so that the back of your kayak life vest is facing the water.
Arch your back and use the leg on the side of your kayak you’re going to lean towards to keep your kayak from capsizing by pressing into the thigh and foot braces. You should be able to relax the opposite leg once you find stability in this position.
From there, you can stop sculling and allow your head to fall back into the water as you continue to exert firm pressure with your lower leg. Hold your paddle with one hand so that one blade is just next to your chest and the rest is lying flat on top of the water.
At this point, your body and paddle are essentially acting like a DIY kayak stabilizer or outrigger and you can remain in this position as long as you like as you explore ways to stretch your off-leg, back, and hips.
To return to a seated position, pivot your hips and rotate to bring your body over the stern deck. Bring your head up last and engage your core while sitting up, but you may want to scull a little bit here to help you get back to your kayak’s center of gravity.
6. The Draw Stroke
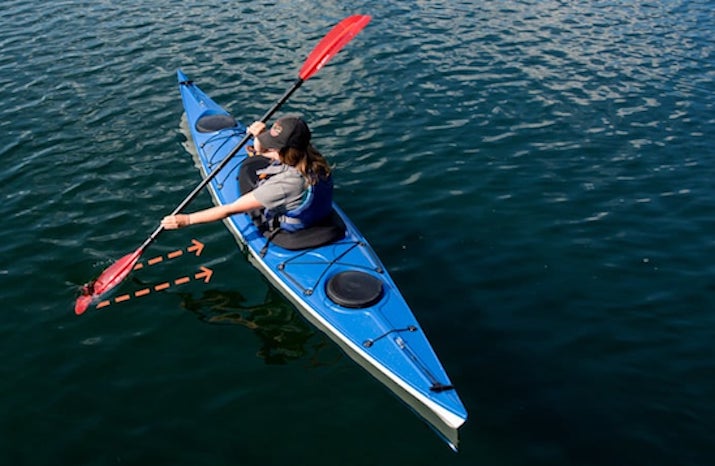
PC REI
The draw stroke is an excellent technique for those annoying times when you’re trying to bring your kayak right up next to your friend’s kayak. We’ve seen far too many buddies paddle around in circles of each other for ten minutes just trying to get hold of each other’s kayaks.
They needed the draw stroke, and the chances are pretty good that you will too at some point. The good news is that this paddle stroke is fairly easy, but it is most effective when your kayak is already at a standstill.
Whether you’re trying to scoot closer to a dock or another kayaker, you’ll start by rotating the blade of your paddle until it’s parallel with the side of your kayak. Keep your off-hand close to head height as you extend the other arm away from your kayak.
Dip the blade into the water roughly two or three feet away from the side of your kayak and then pull it back towards you. Stop before the blade makes contact with the side of your kayak, rotate the blade 90 degrees, and then extend your lower arm again if you need to repeat this draw stroke.
You can use a draw stroke as many times as needed to pull your kayak closer to anything you’re trying to reach. Just make sure you execute that 90-degree turn between strokes to avoid capsizing your kayak.
7. The Reverse Stroke
PC REI
This might be the most basic stroke on our list, but you’d be surprised how many kayakers don’t know it. It’s the opposite of your forward stroke, but there is no need to flip the blade of your kayak over to use the power face for this stroke.
The back face will do just fine and that’s a mistake that we see a lot of new kayakers make. Start the blade in the water just behind your hip and then push forward to your toes to execute the reverse stroke.
If pulling the blades from “feet to seat” is how you move your kayak forward, pushing it from “seat to feet” puts it in reverse. This is also a super useful technique for slowing your kayak down before you reach the beach or hit an obstacle.
Final Thoughts
Photo by Popartic via Shutterstock
Like any sport, kayaking requires dedication to learning new skills and techniques. The good news is that doing so will expand the number of settings in which you can enjoy kayaking, such as moving from flatwater environments to paddling one of the best whitewater kayaks.
We hope you have found these kayaking strokes clear and easy to understand. If you have any questions, we would love to hear from you in the comments below and we wish you the best of luck as you hone your kayaking skills!