Sometimes you just grow tired of the color of your kayak. Or, if you selected a new kayak from one of the five worst kayak brands to avoid, you might find that your kayak’s paint has already started to crack or chip off.
If you’re not satisfied with the stock color of your kayak, you might consider giving it a fresh coat of paint.
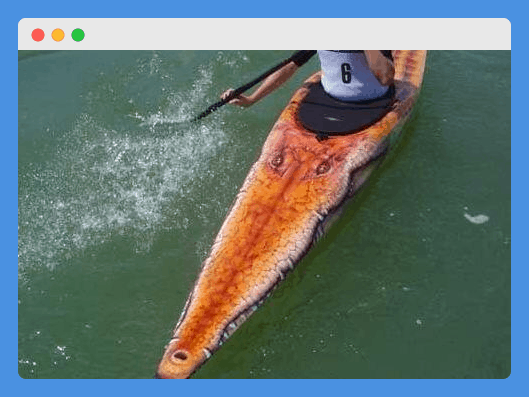
And even if the color itself doesn’t bother you, knowing how to paint a kayak will give you the freedom to customize your boat so it stands out on the water.
But the steps for how to paint a kayak can change depending on the exact material that your kayak is made of. And then you’ll also have to consider the correct type of paint and decide on the easiest application method for completing your kayak’s new paint job.
Luckily for you, we’re going to explain everything you need to learn to know how to paint a kayak. And we’ll also provide some recommendations for the best products you can use to give your kayak a fresh, eye-catching coat of paint.
So let’s get started!
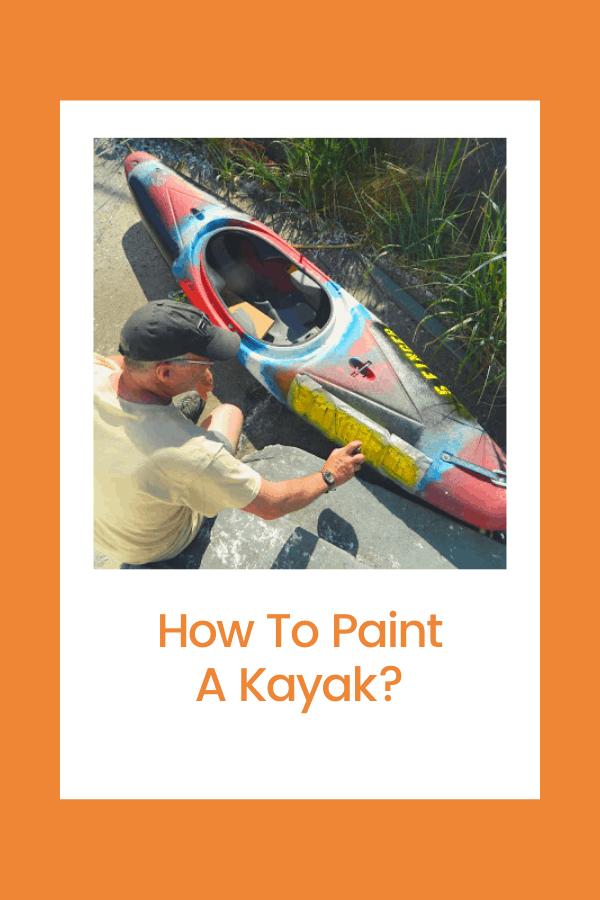
How To Paint A Kayak?
There are several steps you need to follow when you embark on a kayak painting adventure. The following general recommendations can be applied for kayaks made from many different materials, and we’ll get into some tips for specific kayak materials a bit later on.
Picking Your Painting Area
The first step to painting a kayak is to prepare the area in which you’re going to complete the job. Because you’ll eventually be applying wet paint to the surface of your kayak, it’s good to avoid having to move your kayak much once you begin the process.
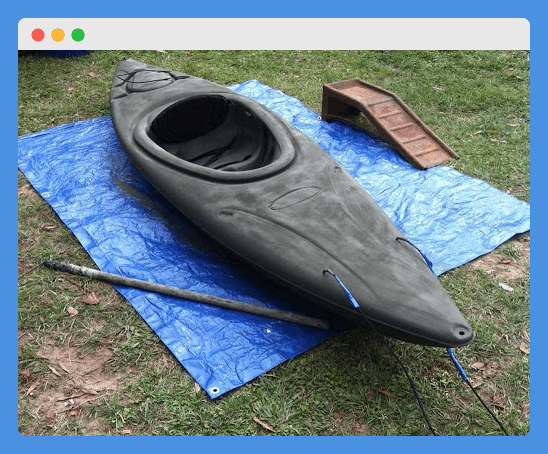
Putting a tarp down is a great place to start when preparing your painting area. We also recommend choosing an outdoor location for painting a kayak so that you aren’t exposed to the smelly odors that come with some types of kayak paints.
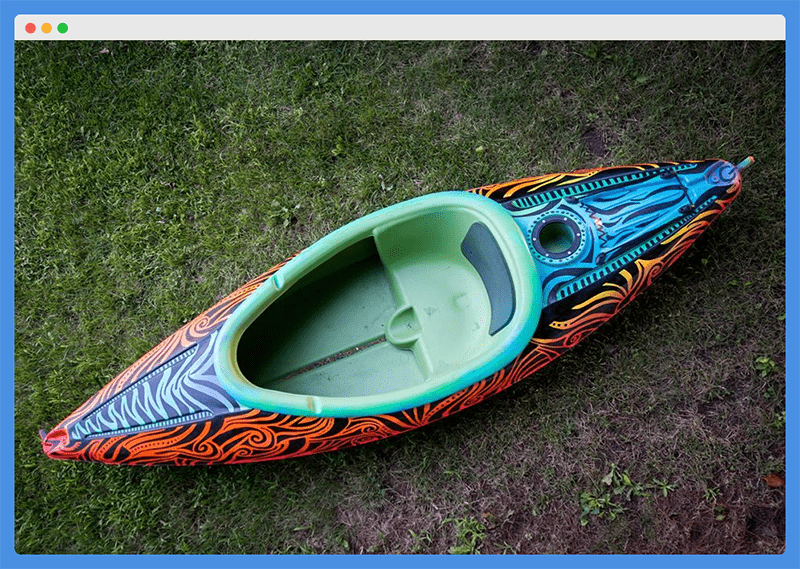
And while you can always paint your kayak while it’s on the ground (as pictured above), you might find it easier to set your kayak up on a set of sawhorses.
This will allow you to avoid bending over and can make it easier to apply paint more consistently over the entire surface of your kayak.
The only downside of setting your kayak up on sawhorses to paint it is the possibility of it falling down or being blown over while you’re in the middle of painting.
That’s why it’s important to be careful and gentle during the painting process if you choose to set your kayak up on sawhorses.
And it can also be a great idea to set up your painting area in a spot where it’s protected from wind. That will make it easier for you to apply paint more evenly (especially if it’s spray paint) and will reduce the potential for anything to blow over or away while you’re painting.
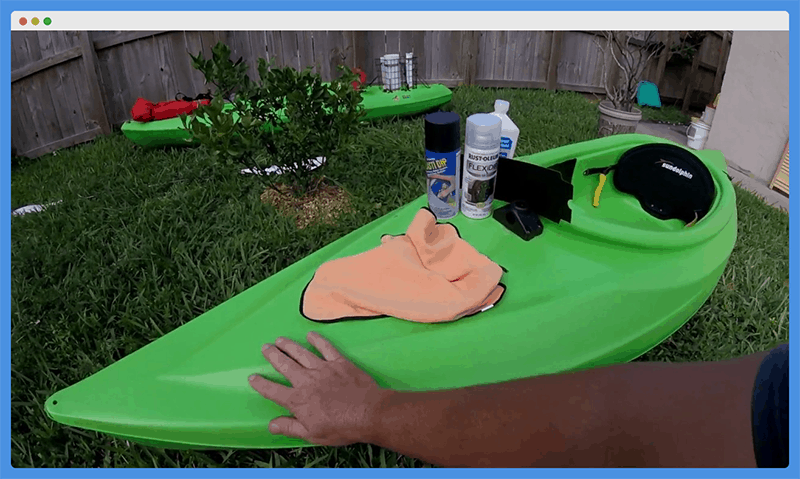
Cleaning Your Kayak
Once you have your painting area setup and ready, you’ll need to start preparing the surface of your kayak.
The exact process for doing this correctly will somewhat depend on the material that your kayak is made from, which we’ll provide a bit more detail on in the next section.
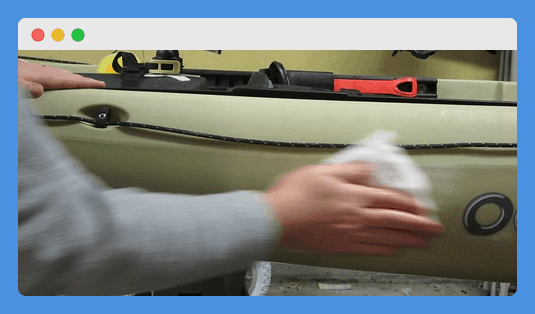
However, preparing the surface of your kayak for painting is always going to involve a thorough cleaning to start out. If you use a wet rag to wipe dust, dirt, and other debris off of your kayak, you’ll need to allow it to air dry completely before moving onto the next step.
You can also hose your kayak off and then wipe it down with a dry towel to clean it.
But hosing your kayak will typically just move dirt particles around rather than removing them, and it will also mean that your kayak will generally need extra time to dry before you can continue the process.
For those reasons, we recommend wiping your kayak down with water and a wet cloth.
But if you have a lot of hard or sticky residue that won’t come off with just water, you should use a mild dishwashing soap to help you remove anything that you don’t want stuck underneath your kayak’s new coat of paint.
Some folks also recommend using a cleaning agent that’s a little more powerful for cleaning a kayak before painting.
But, from our experience, this is really only necessary if there’s any large dirt or debris that you can’t remove with warm water and a mild dishwashing soap.
Preparing The Surface Of Your Kayak
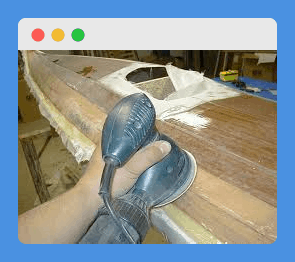
Now that your kayak is clean, it’s time to prepare the surface so that your choice of paint will properly adhere to it. The idea here is that most paints will adhere better to a slightly rougher surface, so this is where your sandpaper is going to come into play.
But before you get around to sanding anything, you’ll need to remove any parts of your kayak that you don’t want to paint. This can include (but isn’t necessarily limited to) the seat, handles, and any screws or hardware that you don’t want to paint over.
Once you’ve done that, you can take a piece of sandpaper and sand the entire surface of your kayak to prepare it for your paint to stick to.
We recommend using a medium or fine grit sandpaper so that you don’t take too much material off of the surface of your kayak.
After you sand your kayak down, you’ll need to either wipe it clean again or use some sort of fan to get all of the loose material you’ve just removed from your kayak’s surface off so that you don’t paint it right back into place.
We prefer keeping your kayak as dry as possible at this stage. So if you do decide to wipe it down after sanding, you’d do well to keep your rag or cloth dry or use a small blot of acetone to help you do so.
Using acetone will help you remove any oils leftover on the surface of your kayak and will ensure a higher quality bond between the paint and the surface of your kayak.
And acetone will dry relatively quickly so that you don’t have to sit around twiddling your thumbs for too long before you start painting.
How To Apply Paint To Your Kayak
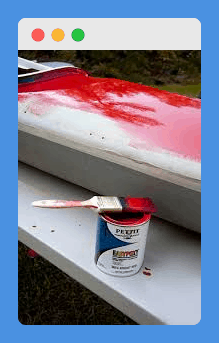
Now it’s time to grab your protective face mask and actually begin the painting process. The three main application methods you can use for applying paint to your kayak are spray, brush, or roll.
If you have a longer kayak, it might get a little tedious to use spray paint and it may make it more difficult to apply an even coat.
But, on the other hand, the curved nature of kayaks can make it difficult to use liquid paint because it can run and then dry in clumps rather than in an even coat.
So, from our perspective, the easiest way to get your paint as smooth and even as possible on your kayak is to use a spray-on application method. But you’ll need to estimate the total square footage of your kayak in order to purchase enough spray paint.
The easiest way to estimate the square footage of your kayak is simply to multiply length by width. Most kayak width measurements are advertised in inches, so we recommend converting that measurement to feet before multiplying it by the length of your kayak.
For example, if you have a 14 foot kayak that measures 30 inches in width, you’ll be multiplying 14’ by 2.5’. That will give you a total square footage of 35 feet, and that will actually be on the high side because your kayak is obviously not square in shape.
But you should keep in mind that you’ll want to give your kayak at least two solid coats of paint to be sure that it doesn’t flake or chip easily over time.
So you’ll want to double that total square footage number and then find enough paint quantity to cover a minimum of that number.
If you choose to add a design to your kayak, you should do so after applying at least two base coats of paint. And many great designs will require a stencil or some other sort of form so that you can get it right.
Because of the wide (and sometimes unpredictable nature) of spray paint, it’s best to use a paint brush when you’re doing more detailed work. And some previous painters have even done well by using a Sharpie to create the design on their kayak once the base coats are dry.
How Long Does Your Kayak Need To Dry?
Speaking of waiting for your kayak to dry, there can be a little bit of confusion as to how long you should wait to make sure your coats of paint are completely dry before touching or moving your kayak.
If you use spray paint, you should wait a minimum of 1-2 hours for your first coat to dry before applying a second coat. And then you should wait for a full 24 hours for the full paint job to be completely dry.
If you’re using an oil-based paint that you apply using a brush or roll, it’ll take a bit longer to dry between coats.
Most oil-based paints require between six and eight hours to dry completely, but should also be given a full 24 hours before touching or moving your kayak, and especially before putting it in the water.
Protecting Your New Paint Job
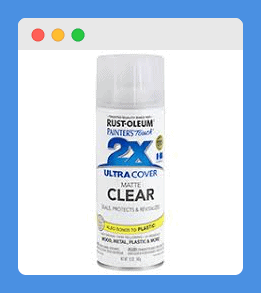
In order to maximize the longevity of your kayak’s new paint job, you should apply a clear coat of finishing paint.
This will provide an extra layer of protection between your new paint job and the harsh weather conditions that many kayaks are exposed to on a regular basis.
If you do elect to apply a clear coat of finishing spray paint, you’ll need to be sure that your initial paint job is 100% dry before doing so. And it’s always a good idea to apply at least two coats of clear finishing paint for maximum protection.
This is certainly an optional step and we won’t blame you if you don’t want to spend the time to apply another coat of spray paint evenly across your entire kayak. But taking the extra time to do so can significantly increase the lifespan of the work you’ve already done!
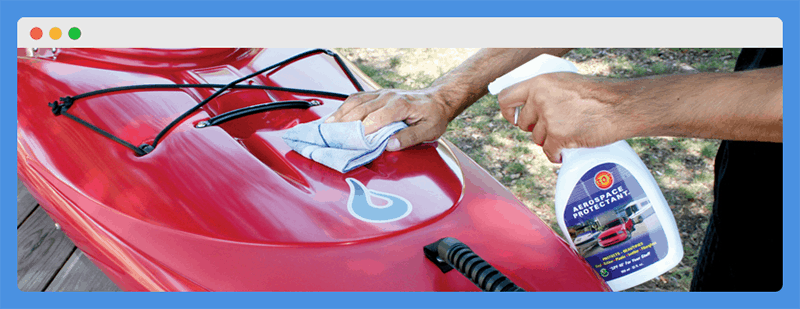
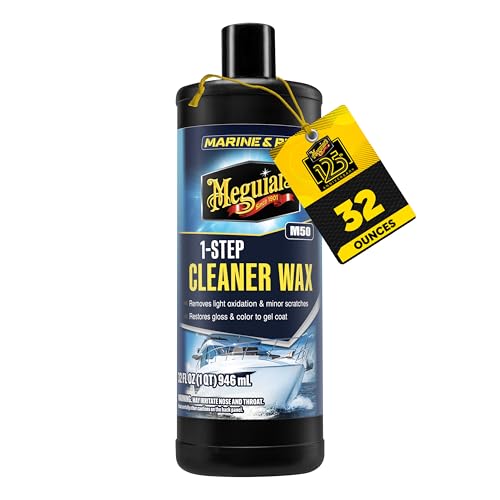
Finish With A Clean and Wax
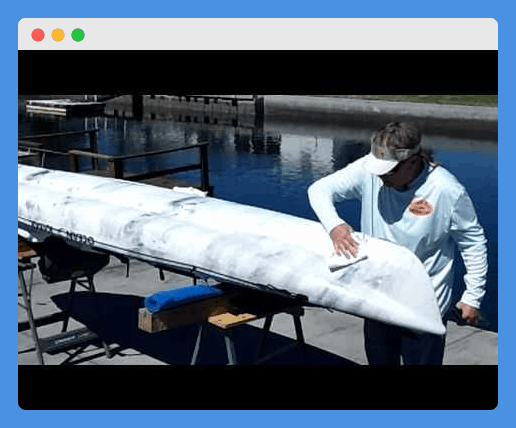
Once you’re certain that your paint and finishing spray paint is completely dry, give your kayak once more clean and then apply a marine wax to its entire surface. Marine wax will further protect the integrity of your paint job so that it lasts for years to come!
How To Add A Decal To Your Kayak
If you don’t necessarily want to repaint your entire kayak (or you just want to add a flashy new decal representing one of your favorite kayaking companies), you might need to know how to add a decal to your kayak.
Prep The Spot
Start by sanding the spot where you’re going to apply the decal with a fine grit sandpaper and then wipe that area with a cloth that has been dipped in alcohol or acetone. This will create a rough surface and then remove any debris that could prevent the decal from sticking.
Heat The Spot and Wet The Spot
Now you can use a hair dryer to gently heat up the spot where you plan to stick the decal, which will make your decal stick better. Then you can take a damp cloth and wet the spot without getting it too saturated (think damp but not dripping wet).
Apply The Decal
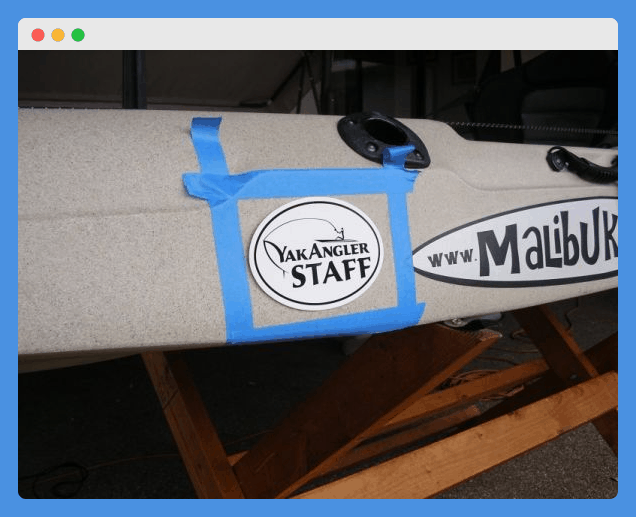
Now you can attach your decal in the desired location and start from the center to avoid the build up of any air bubbles. If you start from the center, you can then push the air out towards the edges for a perfect decal installation.
You can also use something with a flat edge (like a credit card or a squeegee) to push the air out smoothly and evenly. And once you’re happy with your decal being smoothly in place, resist the urge to remove the decal backing for at least 30 minutes.
Most decals require that much time to set up before their backing can be removed. When it’s time to remove the backing, start from one of the corners and then peel back towards the opposite corner once you have a solid grip.
How To Pick The Right Paint For Your Kayak
Selecting the right type of paint is really important to ensure that it’s going to bond well with the surface of your kayak. So let’s discuss a few easy considerations you can use to pick the right paint for your specific kayak.
Do You Need A Marine Grade Paint?

There are two part and one part paints that you’ll be able to choose from when shopping at Home Depot or your local paint store. And even some marine suppliers offer marine enamels or water-based marine paints.
But most folks schooled in refurbishing kayaks or the hulls of other marine watercraft will tell you to choose a one-part marine-grade polyurethane paint. This is because they provide more durability than other types of paint.
While a marine-grade paint is certainly suitable for kayak applications, you might not need something so specific. Marine-grade paints also tend to be more expensive than your standard spray paint.
So, unless you’re dealing with a super high-end kayak that requires a higher-quality paint, you’ll probably do well with a standard spray paint for kayaking applications. And that’s especially true if you purchase a clear finishing spray paint to finish the job.
Oil-Based Versus Water-Based
You might think that a water-based paint isn’t a great idea for a recreation item that’s specifically designed to be used in the water. But water-based paints actually hold up very well for exterior applications and they can also maintain their sheen for longer periods of time than oil-based paints.
Oil-based paints tend to dry harder than water-based paints, which means they offer more resistance to long term wear and tear.
But because they dry harder, oil-based paints can be more brittle and more likely to crack when applied to curved or rounded surfaces.
Because of that, we’d recommend selecting a water-based paint for painting your kayak.
This will also add extra UV resistance to your kayak and water-based paints are also better suited to handle extreme weather conditions when you aren’t necessarily enjoying the best weather for kayaking.


A Kayak Painting Supplies List
In addition to choosing the right type and color of paint for your kayak, there are a few other supplies you’ll need to get the job done. So we hope you find this kayak painting supplies list helpful when you’re preparing to paint your kayak.
1. Sandpaper
, sandpaper sheets, multipurpose for furniture, wood, metal, \"9x11\", 25 sheet pack")
Sandpaper will be useful for lightly sanding the surface of your kayak before painting it. This will create a rougher surface that will allow paint to stick better and create a stronger bond between paint and your kayak’s surface.
2. Dish Soap

While some people recommend using a heavy-duty cleaning agent to remove residue from the surface of your kayak, we’ve found plenty of success with warm water and a mild dish soap, such as Dr. Bronner’s.
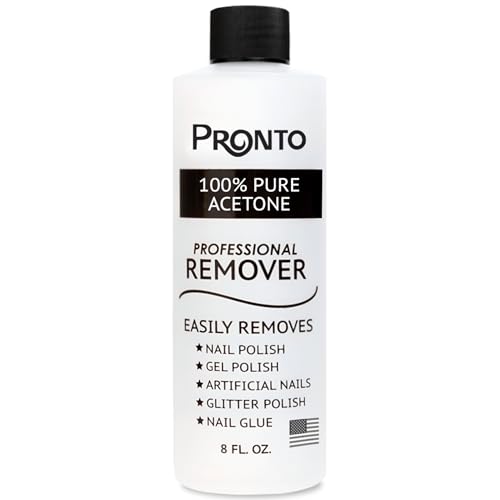
3. Acetone
")
This is another good solution to help you clean your kayak before painting. Acetone is great for picking up any oils leftover on your kayak that water and dish soap aren’t able to break down.
4. Cloths/Rags

You’ll use them to clean and dry your kayak as you’re preparing to paint. And having a few extra cloths and rags around during the painting process will give you something to mop up any paint spills or other accidents that could occur.
5. Marine Wax

This will give your kayak a nice, sleek finish once the paint is dry and you clean it a final time. This is an optional item, but applying a coat of wax after cleaning your kayak will protect both the material of your kayak and the integrity of your paint job.
6. Painting Mask
It’s really important to protect your lungs when painting a kayak, especially if you choose to use spray paint for your project. So, you should get a quality painting mask to protect your face and lungs from inhaling paint fumes.
7. Brush Set

Most people choose to use spray paint for the base coat of their kayak, but more detailed designs require the use of brushes. And because you never quite know what size of brush you could need, we recommend buying a set with multiple sizes before you start your painting project.
8. Tarp
It’s always a good idea to have a place to paint on that’s not your driveway, garage floor, or front lawn. So you should get a reasonably-sized tarp that you can set your kayak on before starting your paint job.
9. Sawhorses
")
This is an optional item because some of you might decide that you’d rather set your kayak on the ground to paint it. But we think it’s much easier to work on and around your kayak if it’s set up on a pair of sturdy sawhorses.
10. Gloves

Unless you’re cool with getting paint on your hands throughout this project, we recommend getting a few pairs of disposable protective gloves. Otherwise, you’ll need to get some sort of paint thinner or abrasive soap to clean paint off your hands (and probably arms) when your project is finished.
Final Thoughts
At the end of the day, you should feel just as confident in how your kayak looks as you are in your ability to maneuver it. And if you’re looking for a fun DIY project on your down time, learning how to paint a kayak is a great way to kill a weekend afternoon.
We hope you’ve found the tips and insights that we’ve provided on how to paint a kayak useful. And, as always, we wish you nothing but the best of luck on all of your upcoming kayak DIY projects and on-water adventures!