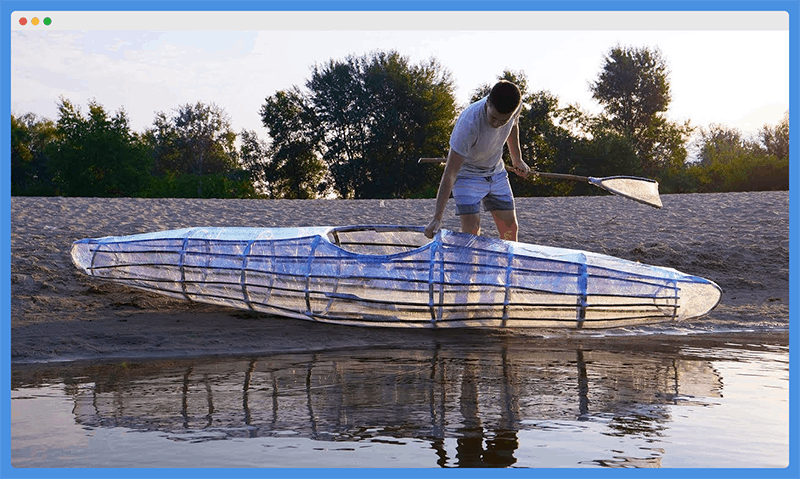
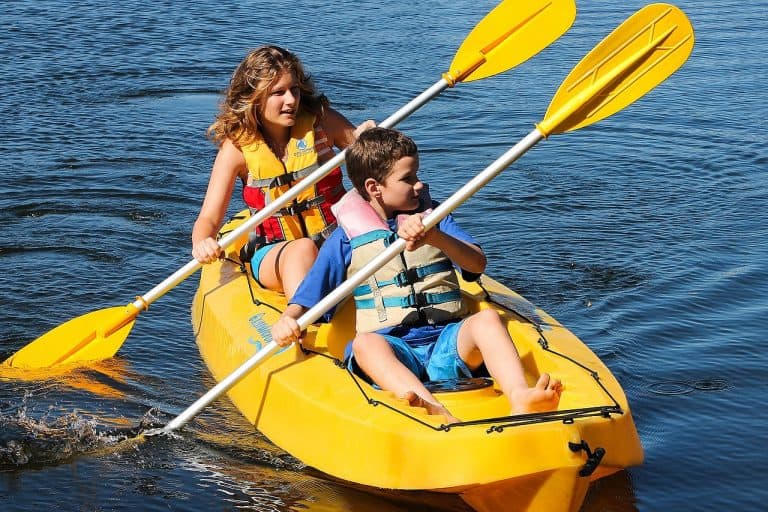
If you’re looking for a fun DIY project or you just don’t want to spend money on any old pre-made kayak, you can always investigate how to build a kayak of your own and doing so is a great way to customize your ride to your exact paddling preferences.
As you might imagine, however, building your own kayak requires careful craftsmanship and attention to detail.
That’s not to mention the simple fact that you have to make sure your kayak doesn’t take on water once you launch it at your favorite beach for a test run.
Thankfully, we’ve put together some great recommendations and advice to help you build a solid kayak on your own. We’ll walk you through the process step-by-step so that you can start building your own kayak in your free time.
So, let’s get started!
How To Build A Kayak
It may, perhaps, come as a surprise to you that there are several methods out there for building your own kayak from scratch.
The right method for you will depend on how you intend to use your kayak, the materials at your disposal, and your level of comfort with certain aspects of kayak craftsmanship.
In order to give you a few options to work with, we’re going to highlight several kayak building strategies for you to choose from.
Please keep in mind that some of these methods may be more cost-prohibitive and labor-intensive than others, but our intention here is to give you several options so you can choose the best one for you.
The PVC Kayak
If you’re looking for a super affordable way to build a kayak, look no further than the PVC kayak method. This method requires the following supplies from your local Home Depot, Lowe’s, or hardware store:
- 10 pieces of ½-inch PVC pipe (10 feet each)
- 28 45-degree PVC elbows
- Two rolls of duct tape
- Four tarp clamps
- One 11’ x 15’ heavy-duty tarp
Once you have these supplies assembled, you can follow these easy steps to complete your PVC kayak build:
Step 1: Outer Ribs
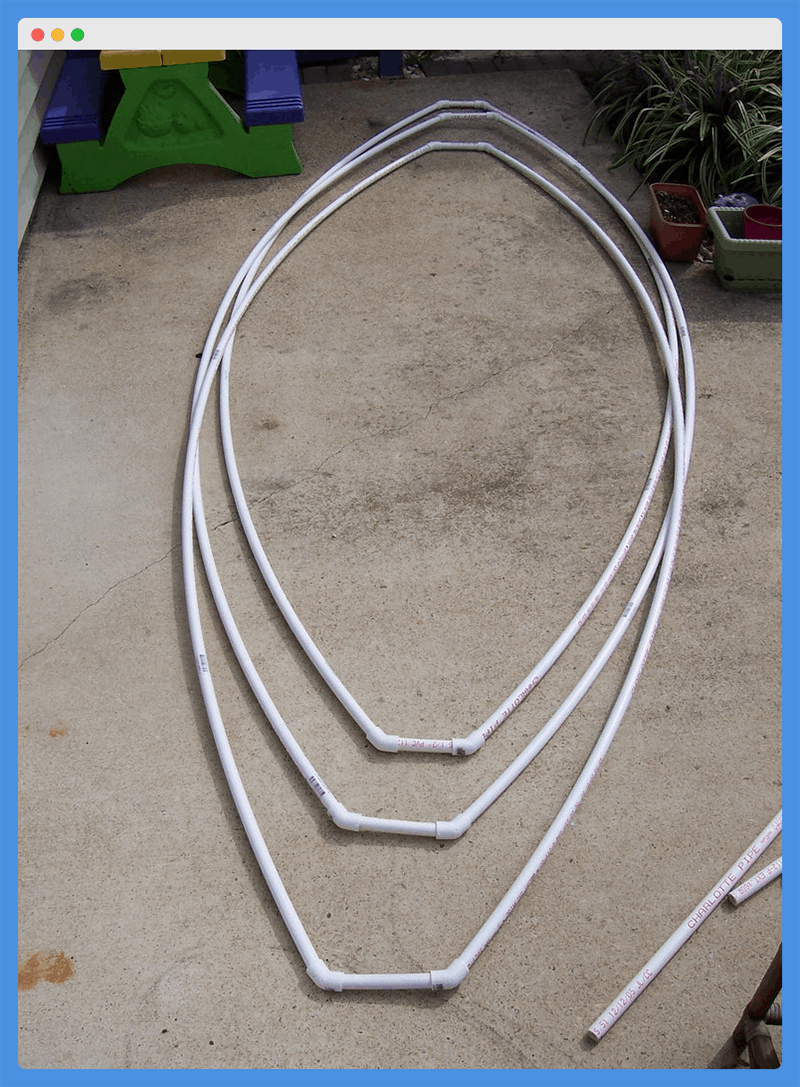
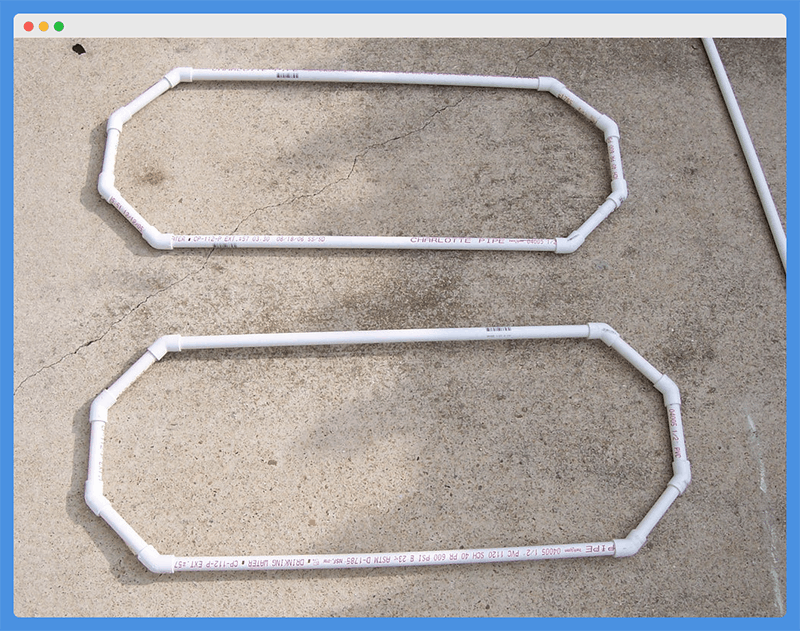
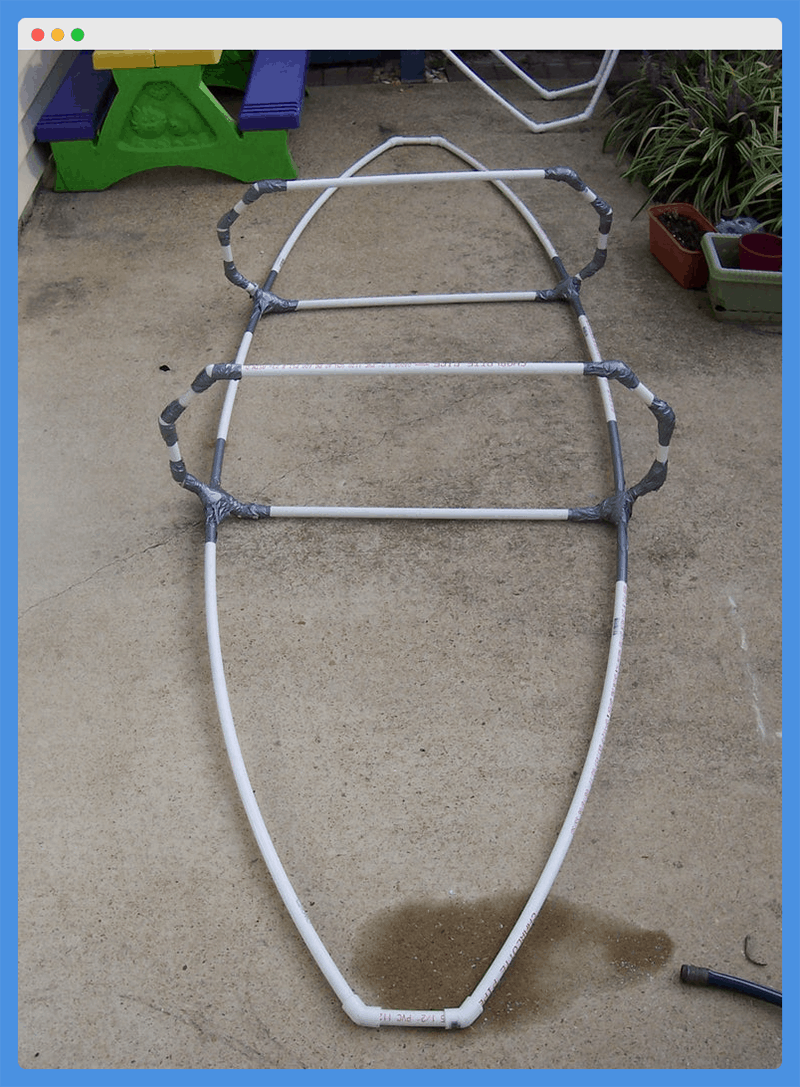
The first step to building this PVC kayak is to construct the outer ribs that will provide most of the bow-to-stern structure for the kayak. In total, you’ll be constructing three of these ribs for the kayak’s frame.
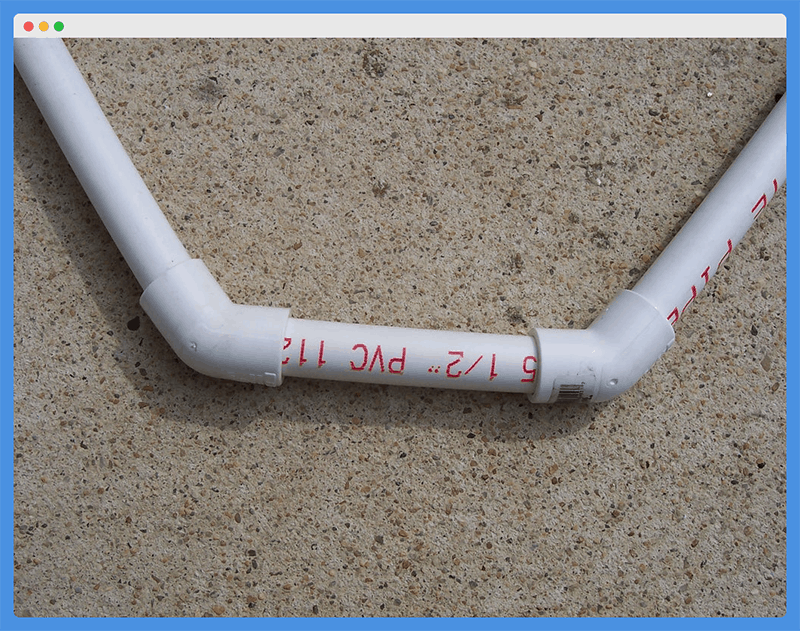
Each rib will require two 10-foot lengths of the ½-inch PVC pipe you’ve purchased. To connect these 10-foot sections, you’ll need to cut five-inch sections as spacers for the bow and stern of the kayak.
Using the 45-degree elbows, attach the 10-foot PVC sections to the five-inch spacers (as shown above). You should use a total of four 45-degree elbows for each rib and these elbows will help to give the 10-foot sections of PVC a gentle bend that won’t place too much stress on them even when you’re loaded into your kayak.
Once you have these outer ribs put together, set them gently aside so that you have room for the next step. These ribs will obviously enter back into the picture in later steps, but it’s now time to construct the second part of the frame for your DIY kayak.
Step 2: Inner Ribs
Next, it’s time to build the inner ribs that will provide gunwale-to-gunwale structure and stabilization between the outer ribs. These ribs will eventually be a marker for the location of the cockpit of your DIY kayak build, but we have to put them together first.
In total, you’ll be making two of these inner ribs, but you’ll need to set aside two 10-foot sections of PVC pipe and 16 45-degree elbows to construct these ribs. Next, you’ll need to cut down those sections of PVC pipe to the proper lengths.
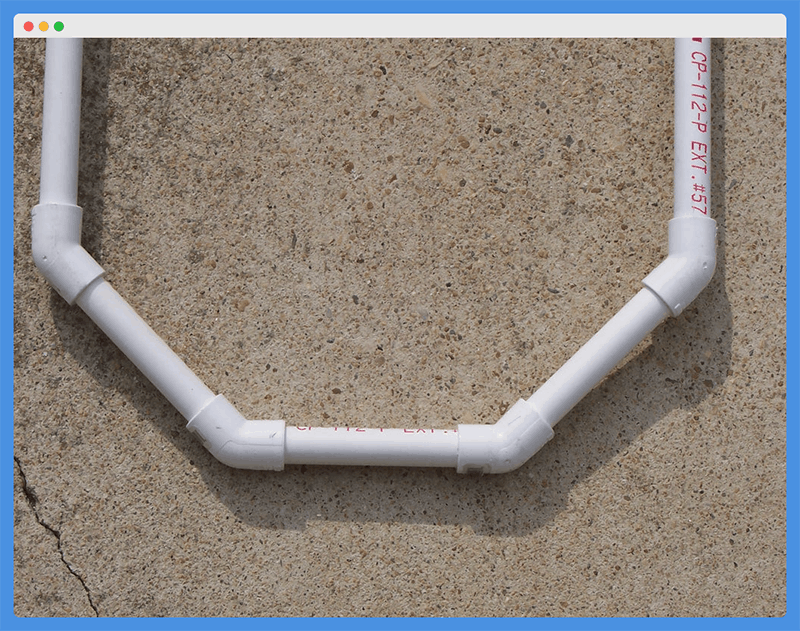
Each of these inner ribs will require two 28-inch sections and six 3-inch sections of PVC pipe. So, start by cutting out these lengths off of the longer sections of PVC pipe and setting them in the ground in the extended hexagonal shape that you see above.
Once you have these sections cut and laid out in their respective patterns, you can connect them using the 45-degree elbows you’ve reserved for this step. Each end of the inner ribs should use a total of four 45-degree elbows (as pictured above).
Step 3: Waterproof and Reinforce Connection Points
Now that you have the inner and outer ribs built, your next step will be to waterproof and reinforce the connection points before you move on to connecting all of the ribs to finalize the kayak’s frame and structure.
This step is where those two rolls of duct tape will start to come in handy, but you should be careful to ration your duct tape so that you can have some leftover.
This will help you reinforce any problem areas and also patch holes down the road.
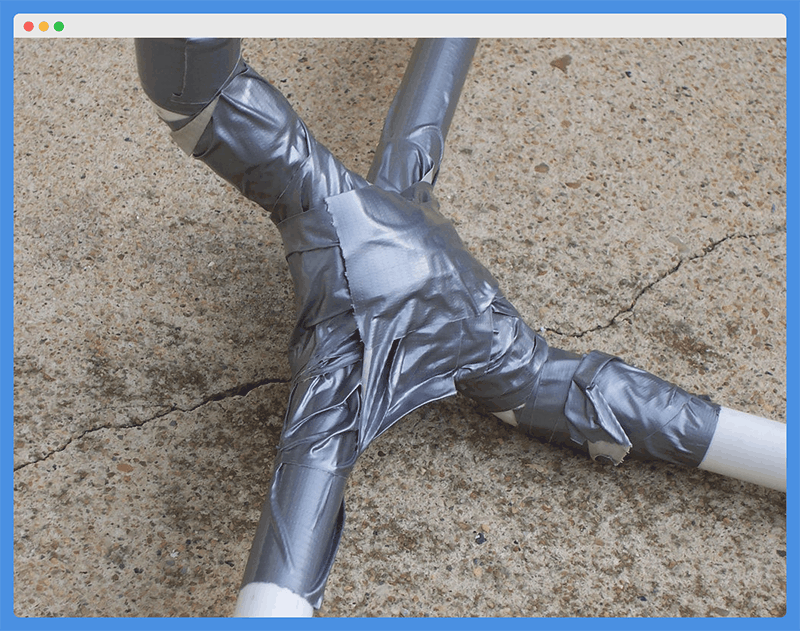
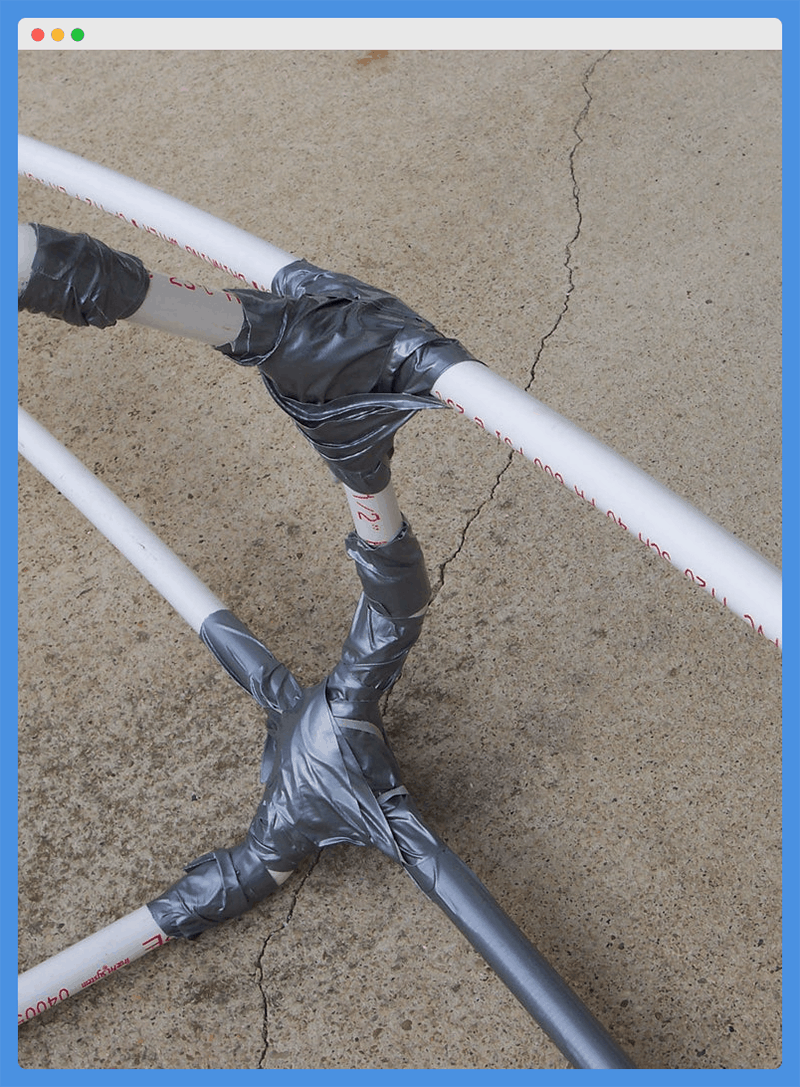
That being said, your next step of the build will be to wrap each of the connection points between the PVC pipe and the elbows with a healthy amount of duct tape (as shown above).
As an added waterproofing measure, you can also consider utilizing a marine-grade PVC glue to secure the connection points before you tape them.
Step 4: Connect The Ribs
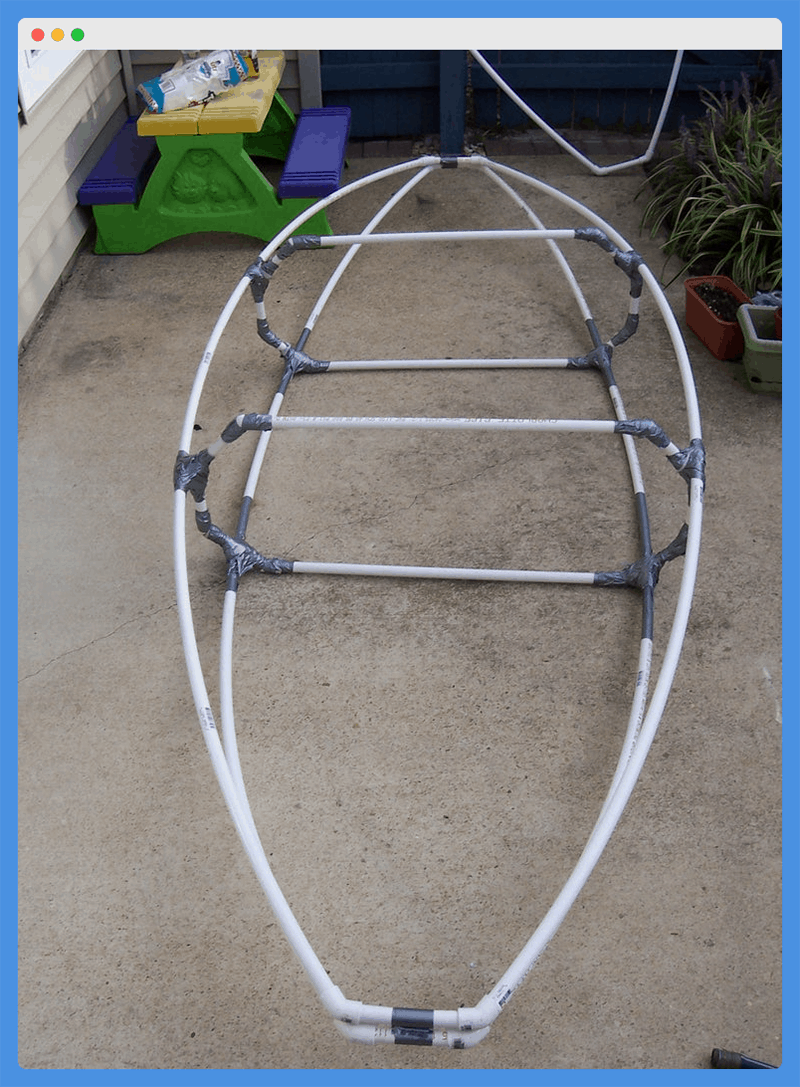
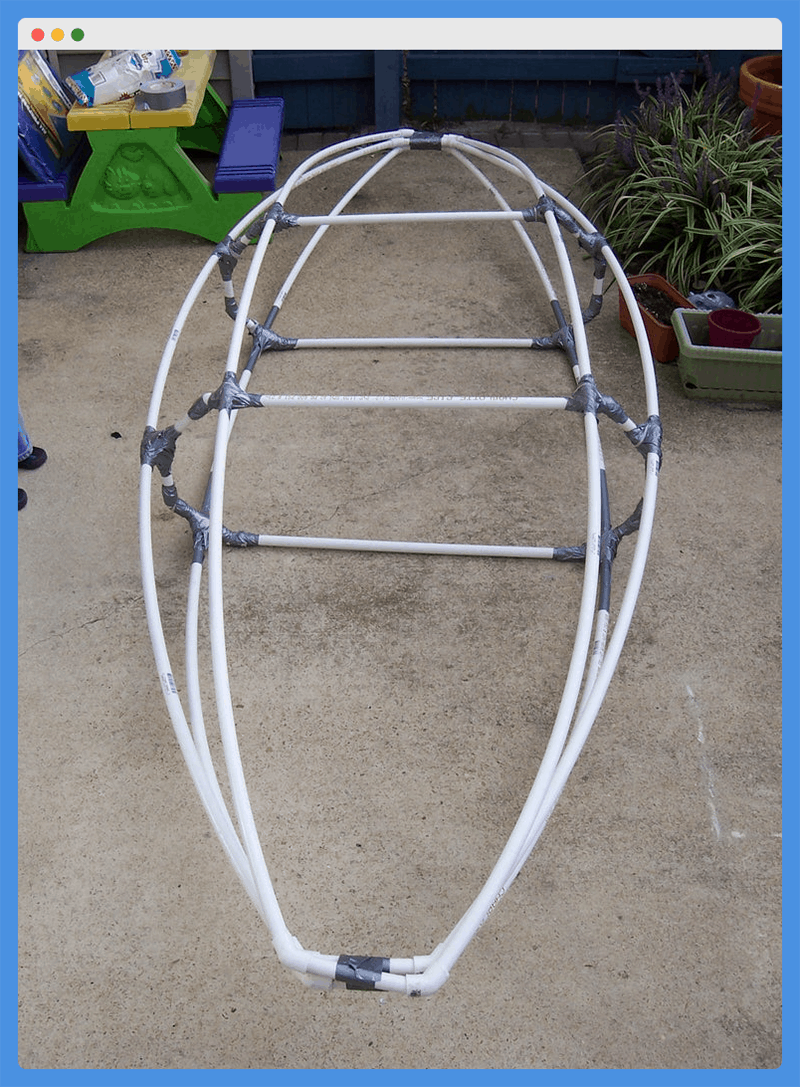
Now that you have all of the connection joints reinforced with tape or PVC glue, it’s time to connect the inner and outer ribs to complete the frame of your DIY kayak. Start by laying one of your outer ribs down on the ground.
From there, you can attach the inner ribs to that bottom outer rib about 40 inches from the bow and stern of your kayak, respectively.
This will give you a remaining section of about 40 inches from inner rib to inner rib that will become your cockpit area eventually.
Connect the inner ribs to the bottom outer rib with a healthy supply of duct tape and be careful to choose a reinforced joint for the attachment point (as shown above).
These joints will become the strongest attachment points to keep your frame intact once you’re in the water.
Next, you can attach the second outer rib at the third joint from the bottom of the inner ribs. We’ve added a photo below to demonstrate this location and, once again, you won’t want to be too shy on the usage of duct tape here.
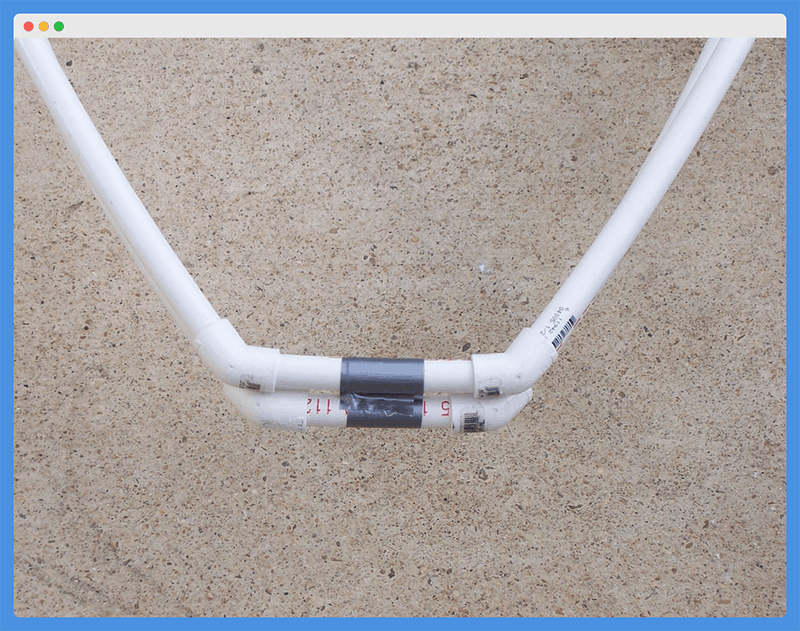
Next, you’ll want to tape the spacers at the bow and stern of the first and second ribs together to allow them to flex a little more without placing too much tension on any one joint or connection point. Here’s a demonstration of how you can tape the bow and stern spacers together:
Now, you can attach the third rib and you’ll want to secure it to the edge of the highest elbow on the inner ribs. Once again, be sure to tape the bow and stern spacers on the third rib to the bow and stern of the first and second ribs once you’re finished connecting it to the inner ribs.
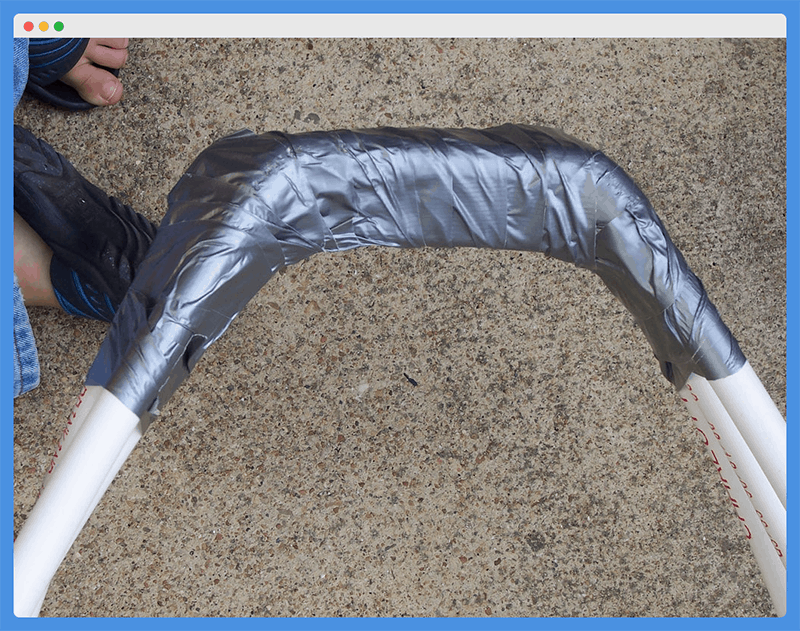
Once you have all three outer ribs connected and secured with plenty of duct tape, you can add some extra tape to the bow and stern areas. As shown above, fully wrap the bow and stern spacers with duct tape for extra security and protection for the tarp that you’ll add in the next step.
Step 5: Add The Tarp
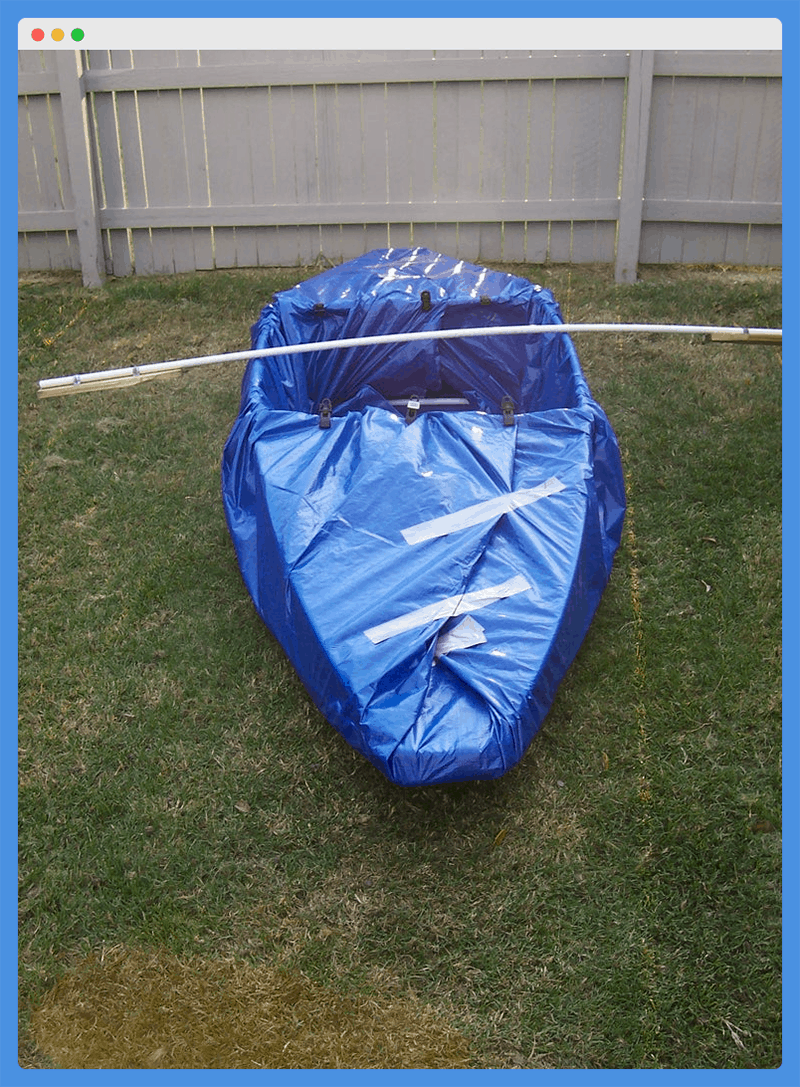
In this design, a heavy-duty polypropylene tarp is used to provide the final structure and waterproofing of the kayak. But, you might also consider using some type of thick polyethylene plastic sheeting to wrap around the PVC frame of your DIY kayak.
Whichever material you choose to use, begin by laying it out completely on the ground and then place the frame of your kayak on top of it so that the length of your kayak is parallel with the long edge of the tarp.
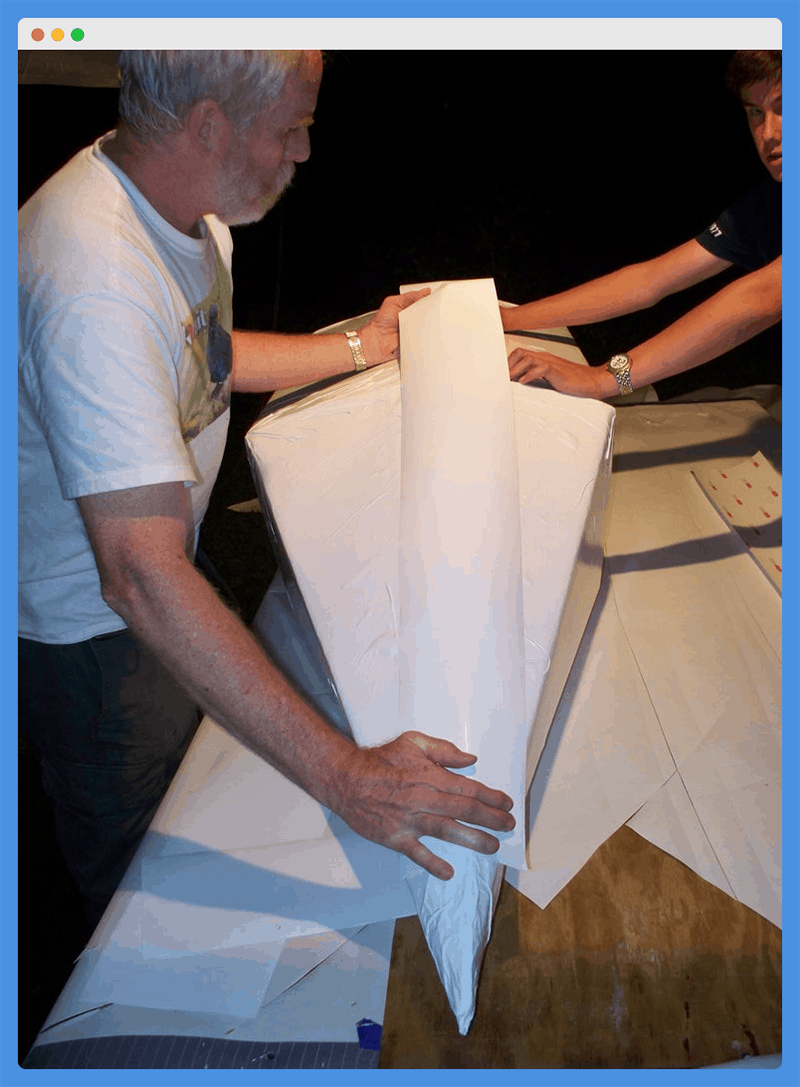
Then fold up the ends of the tarp and secure them to the PVC frame. At this stage, you might also use additional duct tape to fold the tarp over in key locations to eliminate any excess material and achieve the tightest wrap possible.
Next, fold the long sections of the tarp up and over the top of the kayak diagonally and secure them to the frame as well. If you have any excess material, also consider folding and taping it to eliminate anything that could flap in the wind.
A Final Note
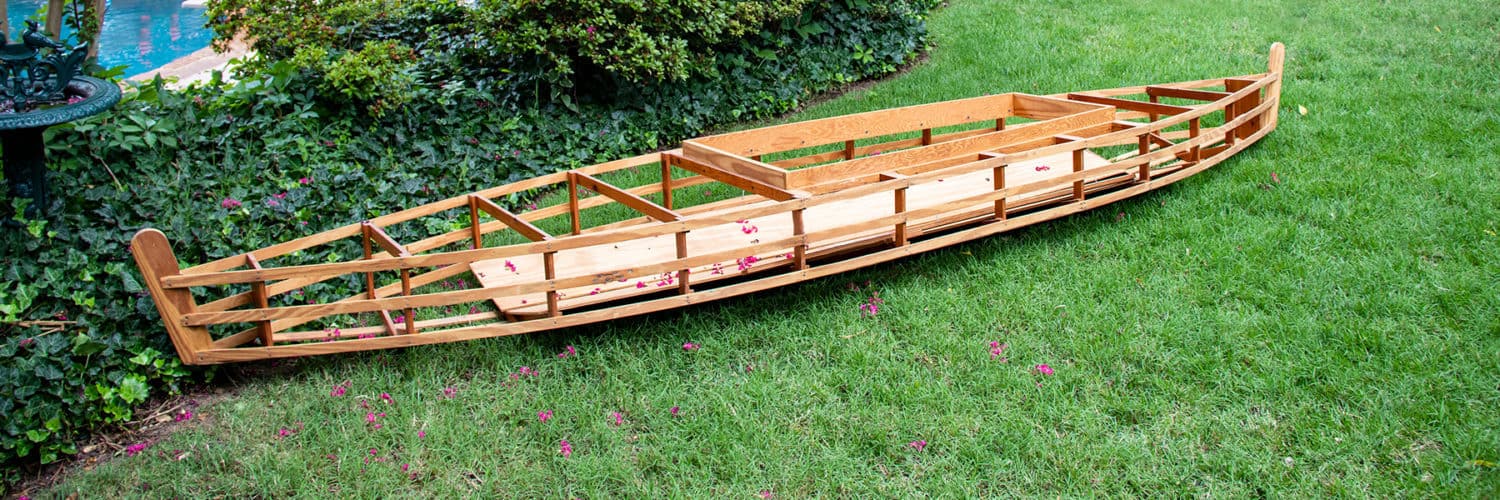
To provide a little more structure and comfort with this kayak design, consider adding a light sheet of plywood on the inside of the frame.
By securing this sheet of plywood between the inner ribs before wrapping the entire frame in the tarp, you can create a more rigid seating area in the cockpit.
The Cardboard Kayak
If you’re not quite convinced that the PVC kayak will provide enough structure (but you still want to stick to a smaller budget for your DIY kayak project), then you can also consider these easy steps for building your own cardboard kayak.
Step 1: Assemble Your Materials
In order to build this kayak, you’ll need to assemble the following materials:
- Cardboard! (eventually, you’ll want to create four 6’ by 10’ layers, so try to compile 250 to 300 square feet of cardboard to start)
- One gallon of waterproof wood glue
- Paint roller and paint tray
- Utility knife (with backup blades)
- One gallon of polyurethane coating (Helmsman Spar should do the trick!)
- Masking Tape
- Chalk line
- Skill saw with a fine-toothed blade
- 100 (or more) water bottles (for weights!)
Step 2: Create A Design Template
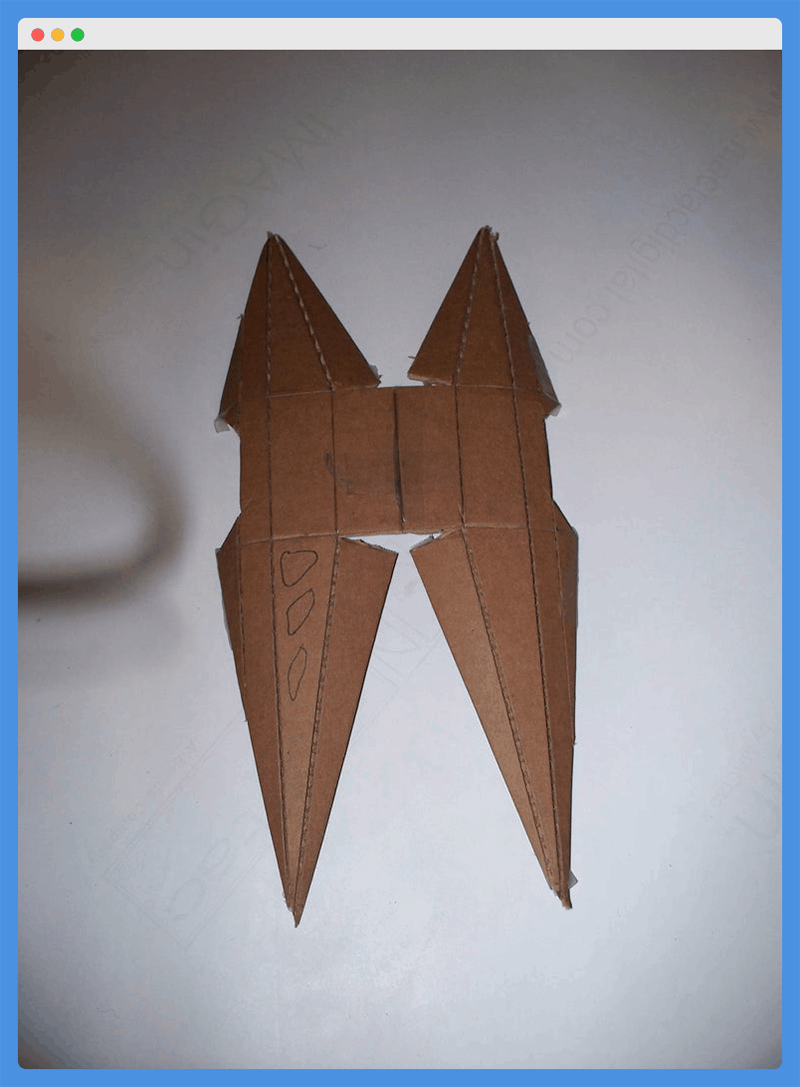
Now that you have all of your materials compiled, it’s time to draw out your design before you go cutting anything. Remember (as they say!) to always measure twice and cut once to ensure you can complete this kayak without wasting too many materials.
If you’re unsure of where to begin, here’s a great cardboard kayak template that you can use to model your DIY kayak off of.
Download this template for exact measurement and now you can find a large, flat workspace and begin the real construction phases of your cardboard kayak.
Step 3: Measure and Cut Your Cardboard
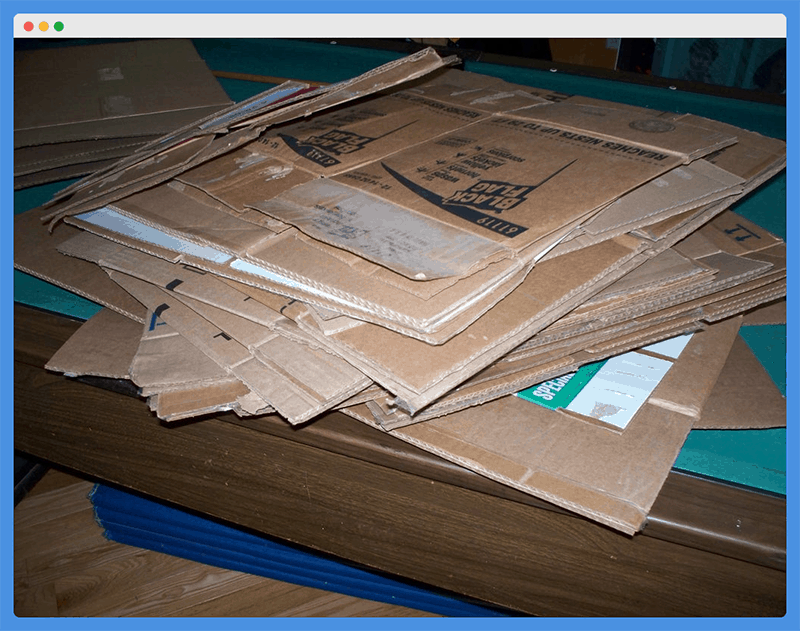
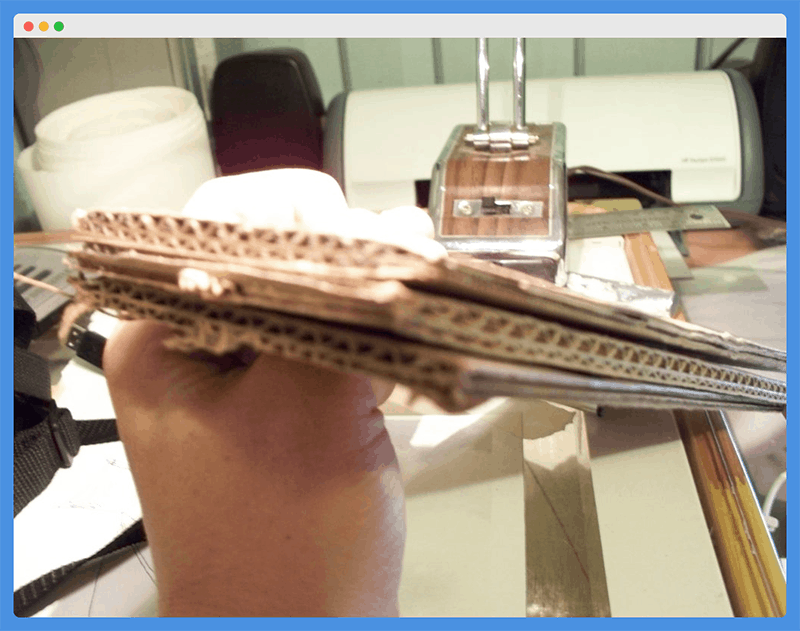
For starters, lay your cardboard out so that the grain is all facing in the same direction.
You can see how cardboard has a grain by looking at the picture above and this step is really critical because the grain must all run in the same direction to give this design maximum strength and stability.
Now you can use the template you downloaded to cut the sections according to those measurements. To get the most exact measurements you can, we’d recommend utilizing a drywall square.
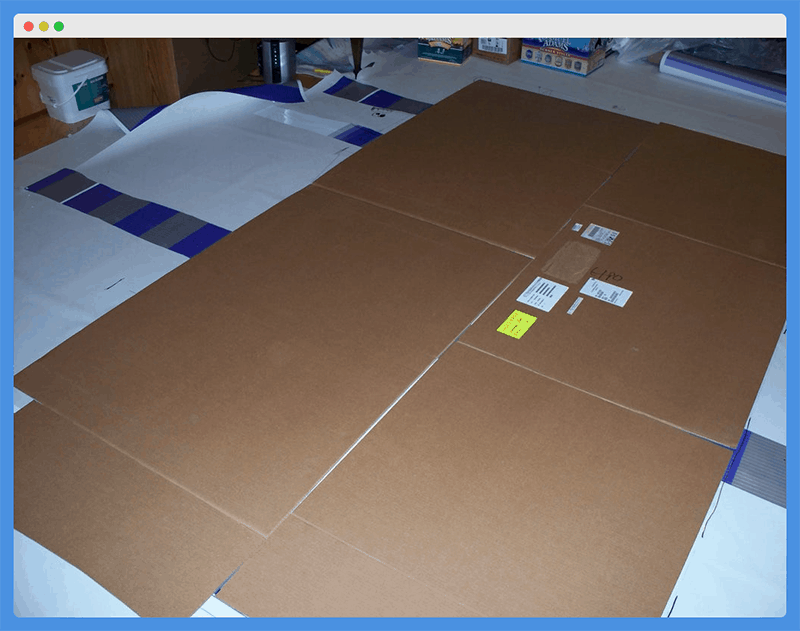
During this step, you’ll also want to make sure to cut out any seams on your pieces of cardboard so that you have clean, flat sheets to work with.
This will help you ensure that the layers of cardboard you create will be as easy to work with as possible.
Step 4: Create Your Layers
Now that you have clean sheets of cardboard, you’ll want to create a total of four layers that each measure approximately six feet wide by ten feet long. Use masking tape to connect the pieces of cardboard and create these larger layers.
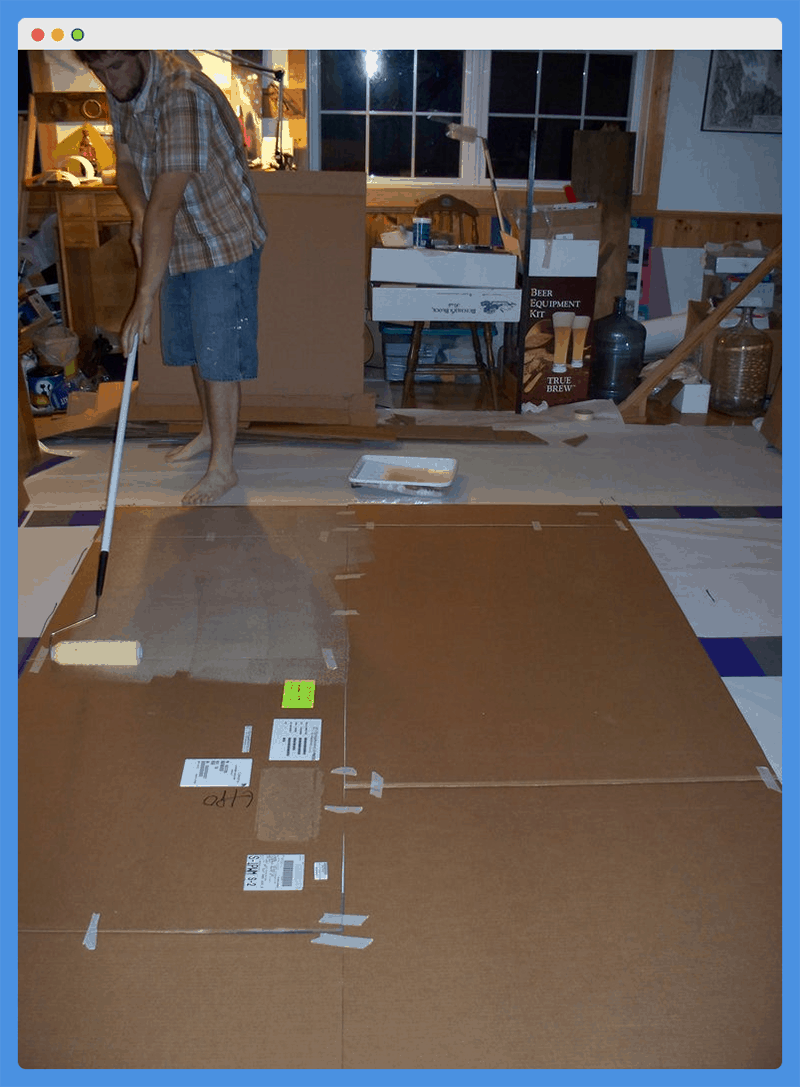
Once you have all four layers, created, it’s time to stick them all together using the wood glue you purchased. Using your paint tray and paint roller, start by applying a liberal amount of glue to the top of the first layer of cardboard.
Your goal here is to stick all four layers together, so the best method is to lay out all four sheets before you start applying the glue.
This allows you to glue-and-stick each layer back-to-back without having any downtime in between when glue can dry too quickly and be rendered ineffective.
During this step, it’s important to err on the side of applying more glue than not applying enough. And, to make it easier on your back, we’d suggest finding a paint roller with a handle extension (as shown above).
After you’ve glued all four layers together, place those bottle weights we mentioned in your supplies list on top of the cardboard and leave it overnight.
This will help to ensure a solid bond between the layers, but you’ll need to make sure the bottles aren’t too heavy so that they don’t dent the cardboard.
Step 5: Cut Your Kayak (and Waterproof It!)
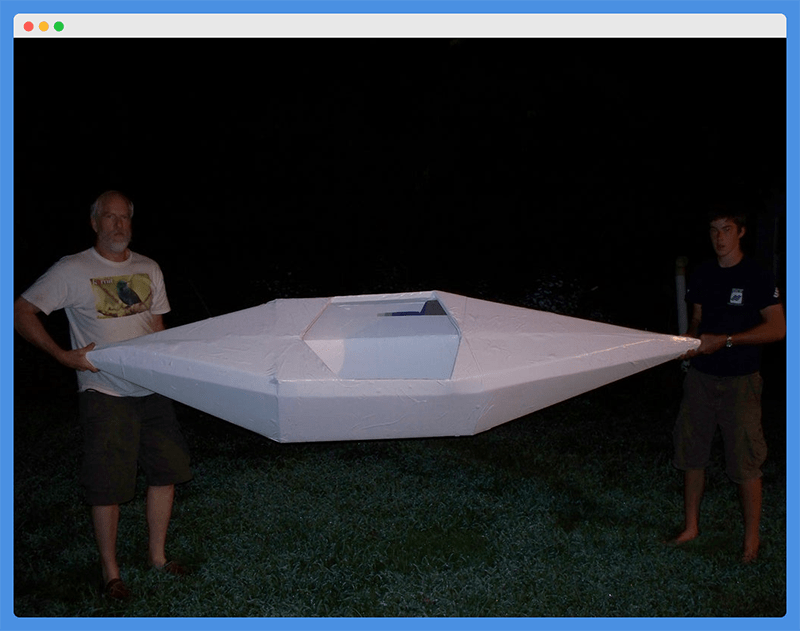
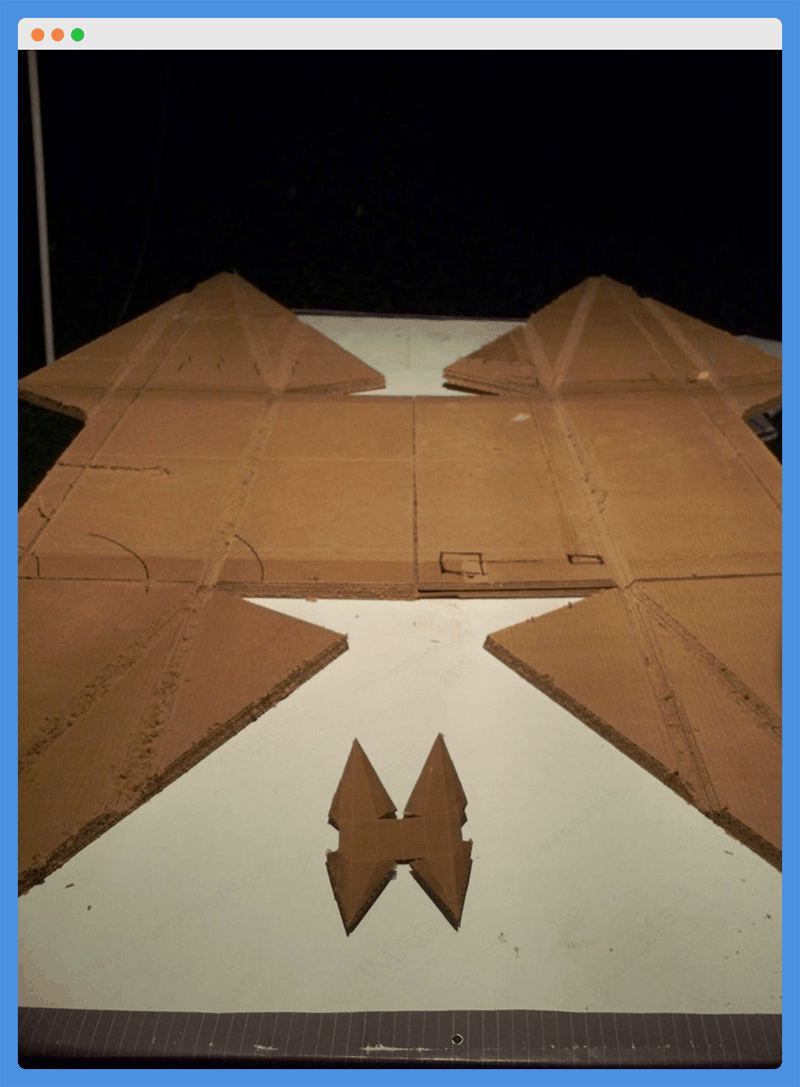
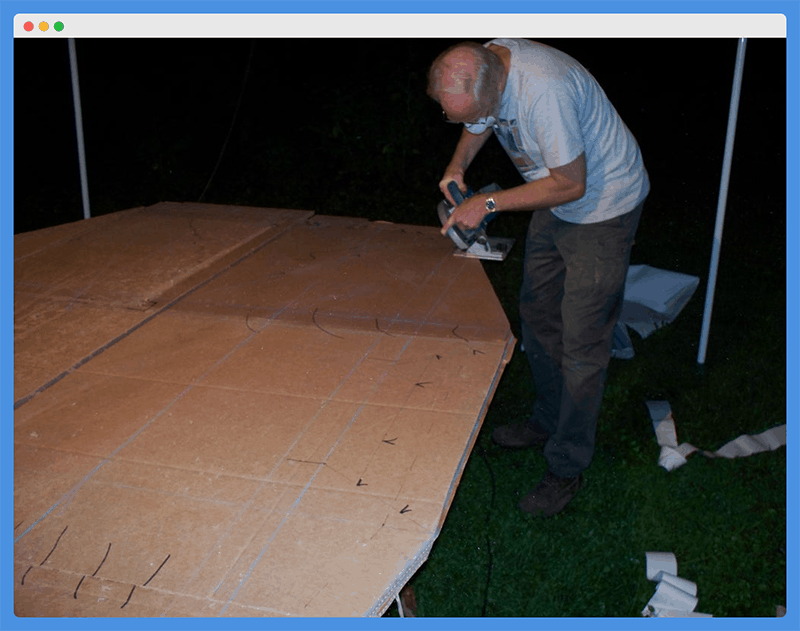
Once your four layers of cardboard are effectively glued together, you’ll have created a rigid material known as plyboard. Now, you can use your skill saw to make the precise cuts that are outlined in your kayak template.
Once you have your template cut out, apply several liberal layers of the polyurethane coating to the cutout. Be careful to use plenty of coating and apply it to all edges, sides, seams, nooks, and crannies to keep your kayak from absorbing water.
Step 6: Fold and Laminate
Now you can fold your kayak up and laminate the seams to provide additional protection against water ingress. Make sure you laminate the interior seams as well as the exteriors if you want to ensure that your new cardboard kayak doesn’t get water-logged on its first journey!
How Much Will It Cost To Build A Kayak?
The precise answer to this question will obviously depend on the exact type of kayak you wish to build. If you’re going to try to build your own wooden kayak, for example, you’ll have to spend more on lumber and hardware than if you were to attempt to build a PVC or cardboard kayak.
That being said, the two methods that we’ve outlined in this article can be built for less than $100.
In some cases, you may even be able to spend even less than that if you can find some of the required materials free via certain online marketplaces or thrift stores in your area.
How Long Will It Take To Build A Kayak?
This will also depend on the exact type of kayak you choose to build. If, for example, you decide to learn how to build a wooden kayak for long days on the water instead of just purchasing one of the best touring kayaks, your build process may require several weeks or more.
For both of the DIY kayak techniques we outlined above, however, you should easily be able to construct them within a single weekend.
Quite honestly, you may be able to build one of these kayaks in several hours if you have all the supplies ready and a few helpers close at hand.
Final Thoughts
While learning how to build a kayak can be a really cool DIY project if you have plenty of time on your hands, purchasing one of the best sit on top kayaks or recreational kayaks can be an easier and less time-consuming way to get into the sport of kayaking.
That being said, anyone who has ever thought of building their own kayak should certainly use their favorite of these strategies to give it a try.
Plus, if you ever find yourself in a kayak building challenge as part of a workplace team building initiative, you’ll now have plenty of amazing blueprints to work with!

