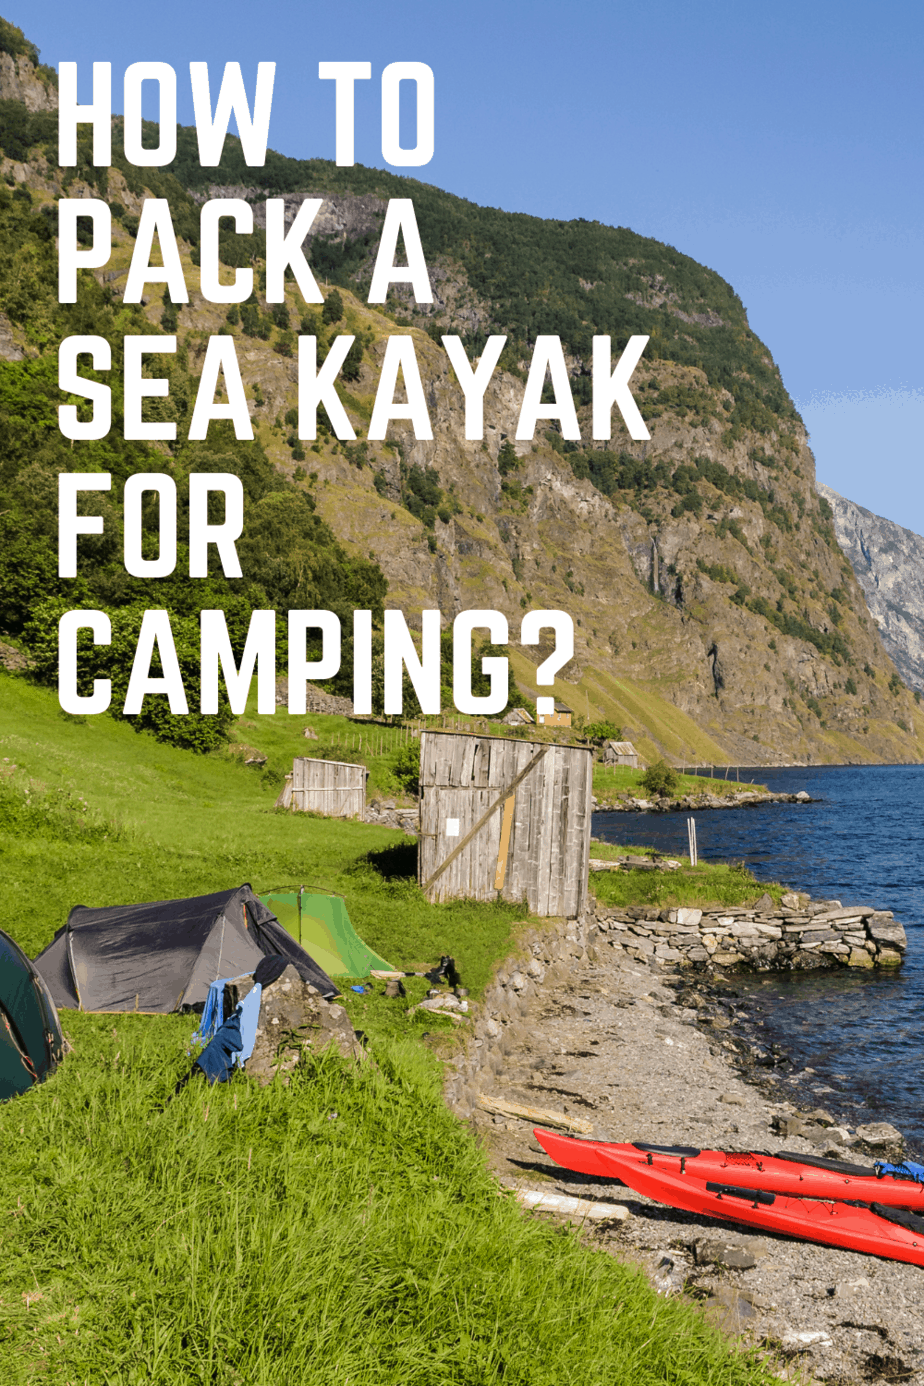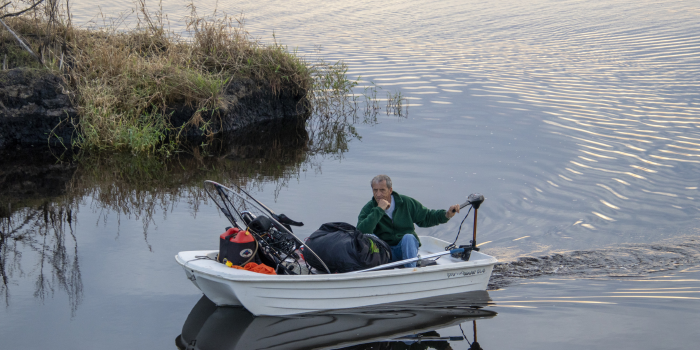
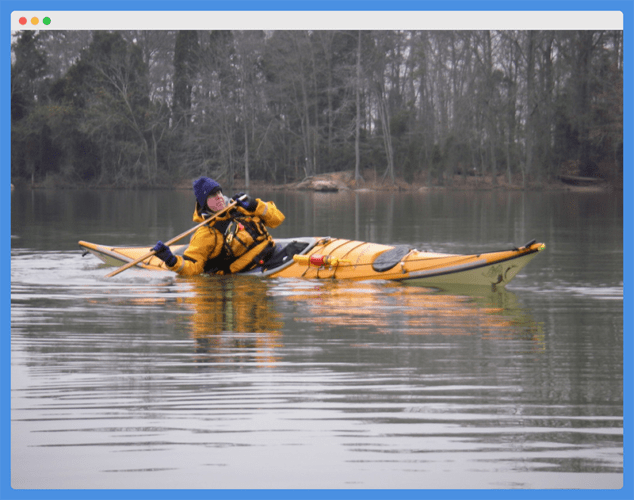
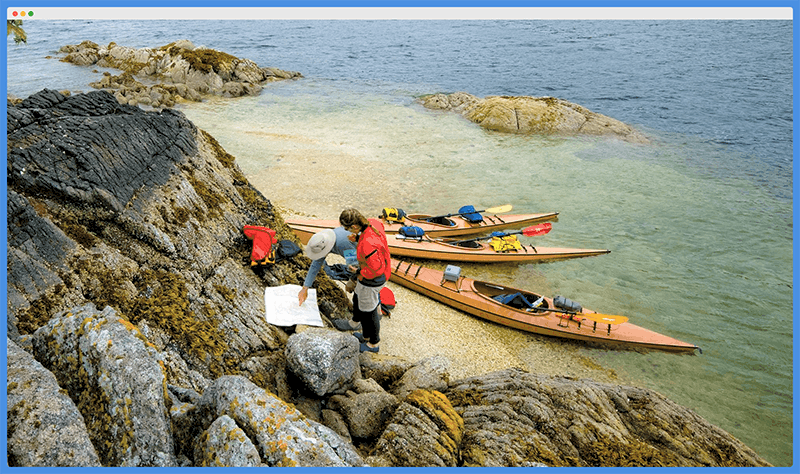
As you gain kayaking experience, it’s natural to become interested in long trips. Long-distance sea kayaking is a great way to unplug from our daily grind and experience some of the wildest and most remote coastal areas in the world.
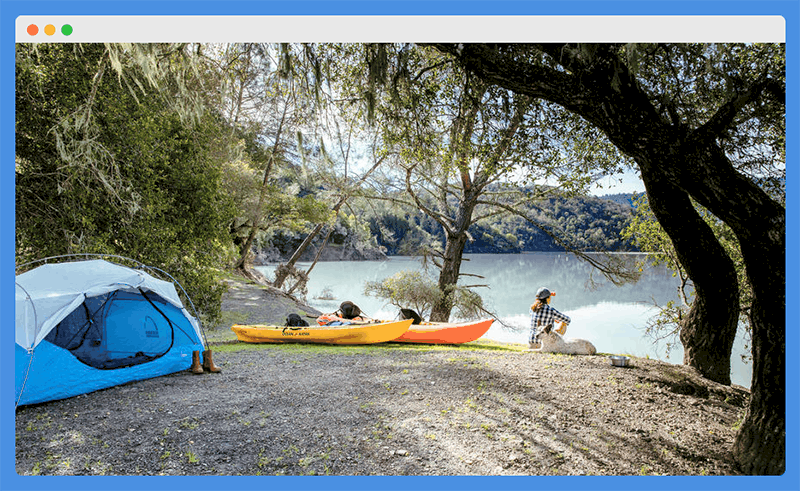
A quality kayak for camping will hold everything you need to be comfortable throughout your trip. That includes items that you’ll use on the water as well as when you make landfall every evening.
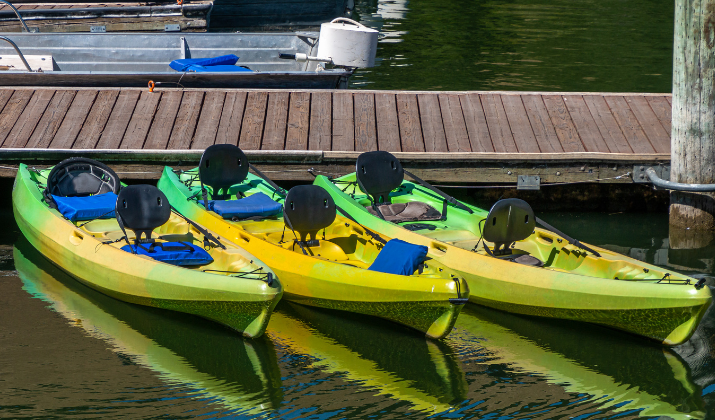
Once you have a sea kayak that you’re comfortable in, you’ll need to set aside your camping equipment. And then, you’ll have to figure out how you’re going to fill all of that equipment inside (or on top of) your kayak.
Not all camping equipment is created equal, but the more “ultralight” you can get, the easier you’ll have it when trying to pack your gear into a kayak. But no matter the size and weight of your gear, this article will help you learn how to pack a sea kayak for camping.
We’ll start, however, with a brief section defining important kayaking terminology that you’ll encounter throughout the article.
We’ll also include some general kayak camping tips related to choosing campsites, deciding what gear you’ll need access to during the day, and much more.
Jargon Buster
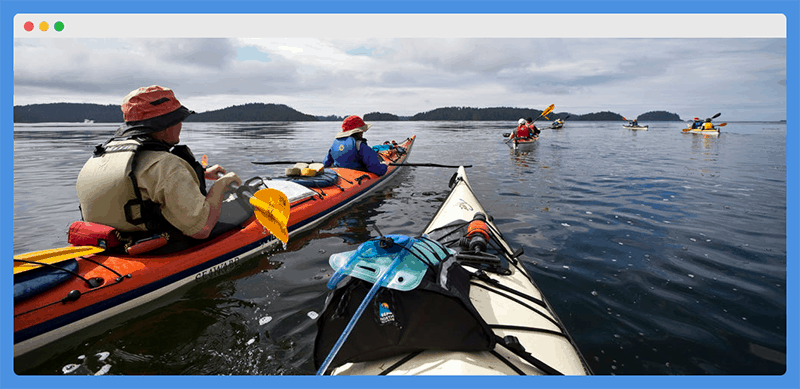
We are personally huge fans of sea kayak camping because we feel there are simply places that you can’t get to by any other means. But before we explain how to pack a sea kayak for camping, we need to cover a few important kayaking terms.
Bulkhead
A bulkhead in a sea kayak is essentially a wall that separates compartments within the interior of the kayak. The compartments created by bulkheads are either used for dry gear storage or to add buoyancy to the entire kayak.
Hatch and Hatch Cover
A hatch in a sea kayak is a compartment designed to keep certain gear dry. This compartment is vital to camping in a sea kayak because it gives you a place to keep sleeping and cooking gear dry while you’re paddling.
The hatch cover is what seals the hatch from the external environment. The design of a kayak hatch cover is really important to guaranteeing that the hatch actually stays dry, especially in the event of heavy rainfall or a capsize.
Portage
To portage is to carry your kayak overland to avoid some sort of obstacle. In sea kayaking, a portage is most often necessary if you need to cross a small section of land in order to continue on your journey.
Rudder or Skeg
The terms rudder and skeg are often used interchangeably when it comes to sea kayaks. However it’s labeled by the manufacturer, this part of your kayak greatly influences your ability to track straight and keep your kayak on course when battling wind and ocean currents.
How To Pack A Sea Kayak For Camping
There’s actually a bit more nuance to packing a sea kayak for camping than you might think. So let’s dive into the best recommendations to help you keep your kayak balanced while also fitting everything you need on your boat.
Organizing Your Gear
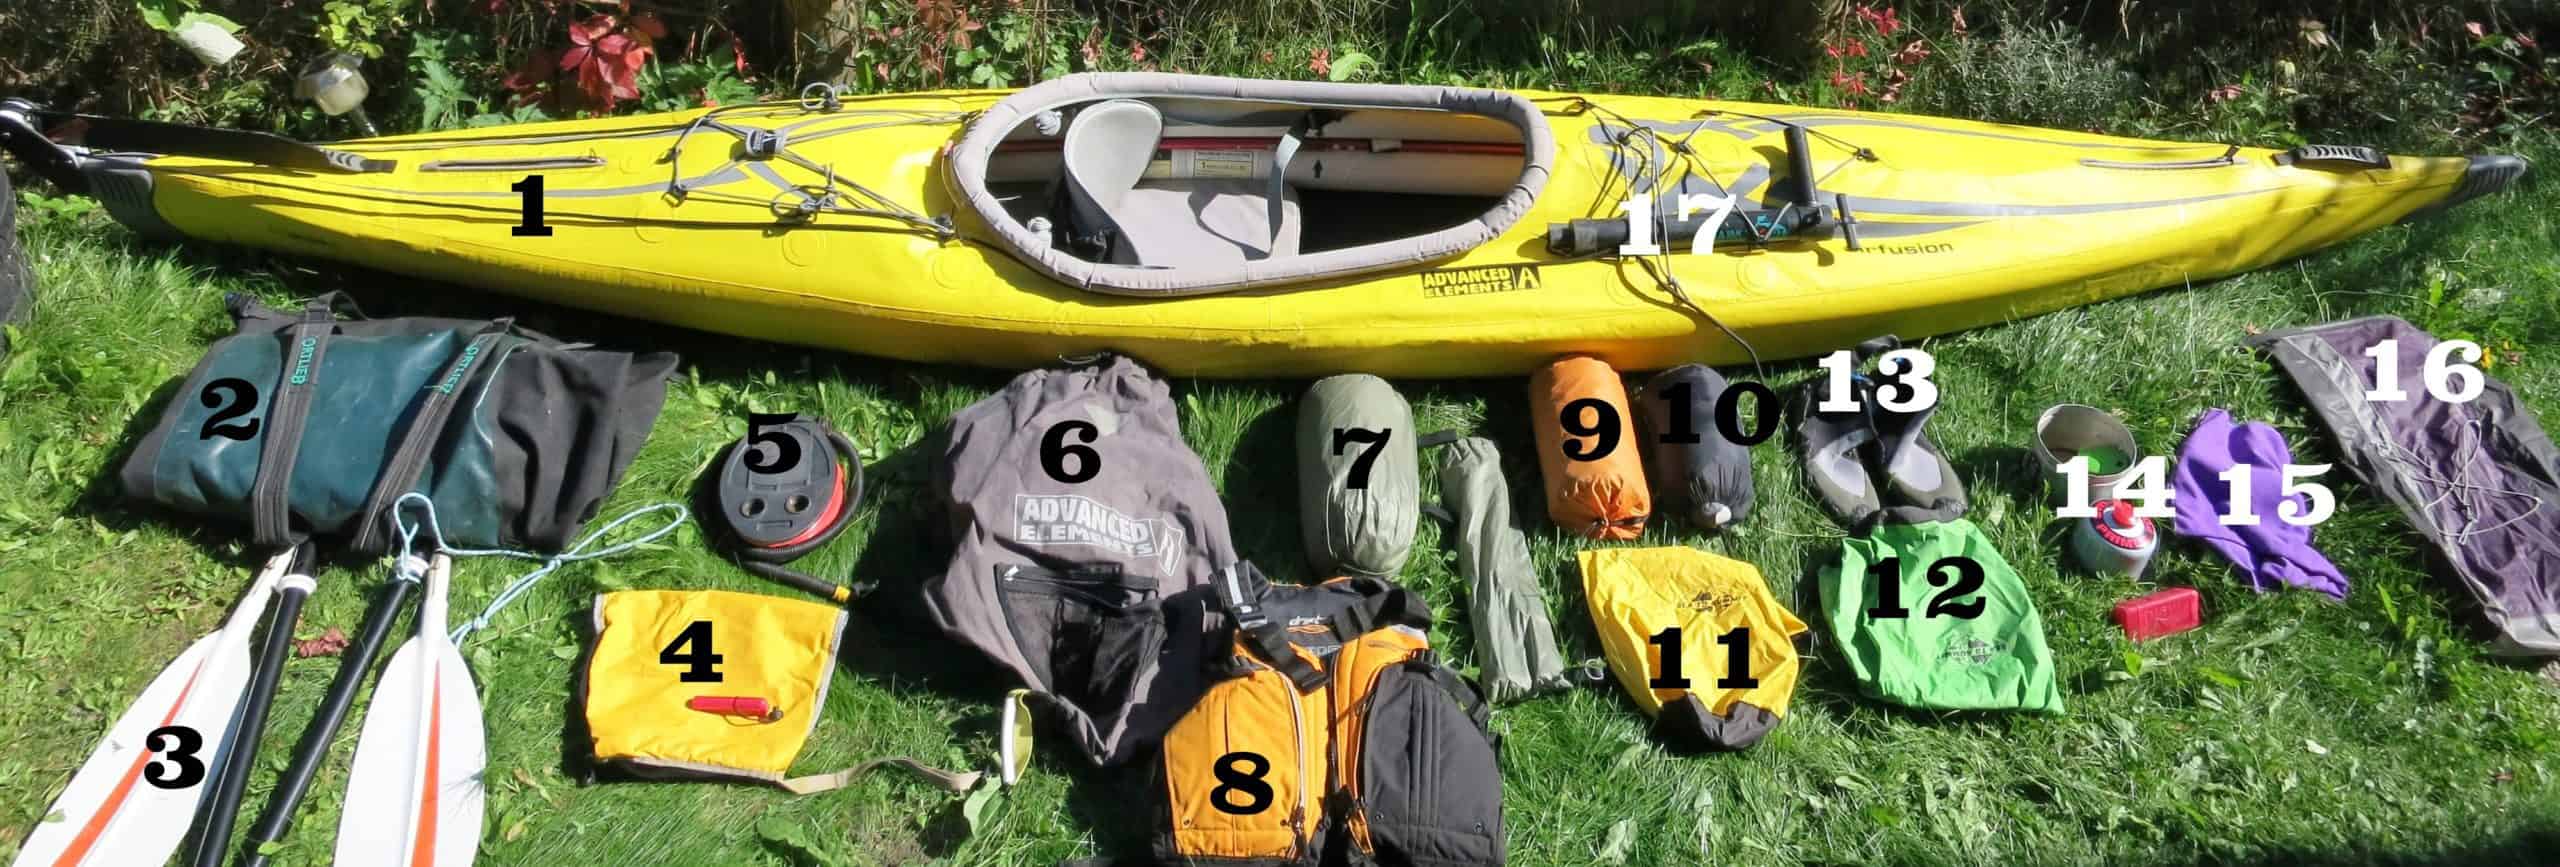
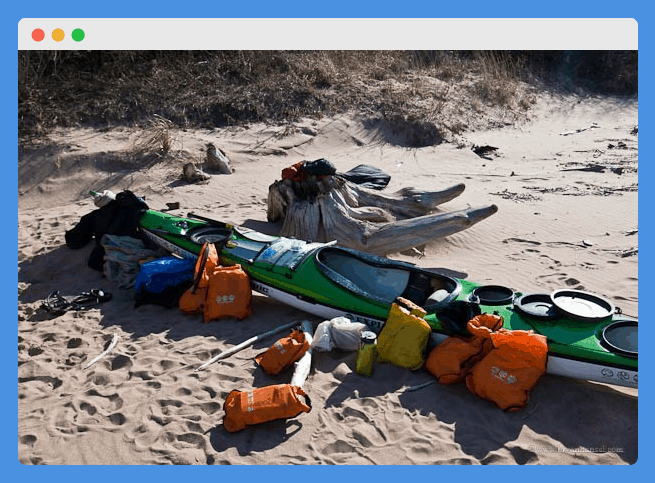
One of the best things you can do before you actually start adding anything into your kayak is to organize like items together. We recommend separating your gear into several categories and organizing according to those categories.
For example, some categories you might use when organizing your gear include cooking supplies, sleeping gear, clothing, food, water filtration, rescue gear, and other paddling accessories.
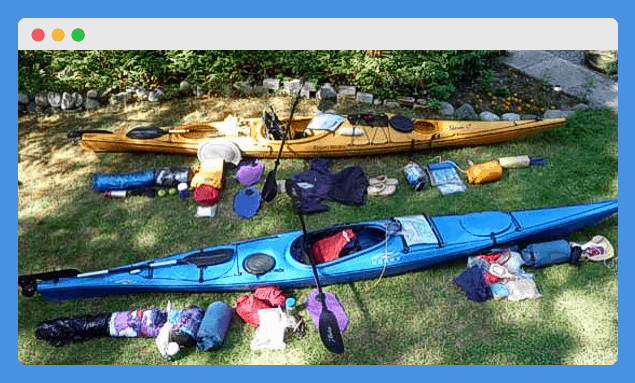
Lay all of your gear out around your kayak according to the categories you choose. This will help you have a better visual for everything that you’re planning to bring and it will also help you double-check your packing list to make sure you’re not forgetting any critical items.
If you have forgotten anything, be sure to add it during this step before moving on to the next. By doing this, you can reduce the likelihood that you forget about that item and wind up without it once you’re on your trip.
Dry Bag Choices
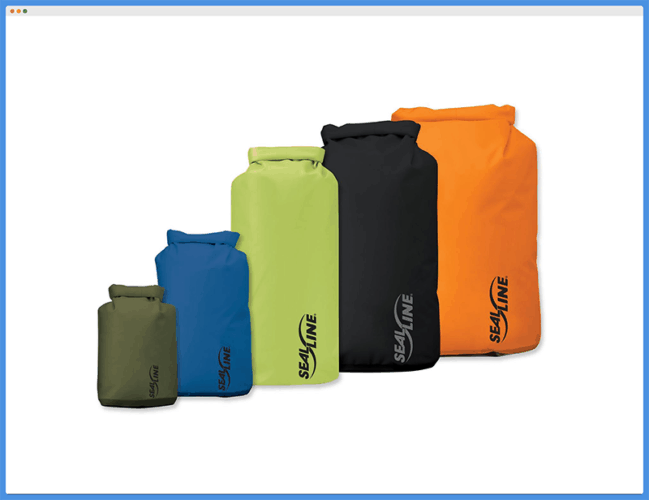
While it will add a little bit of weight to your kayak, the best way to make sure all of your gear that needs to stay dry actually does it to put it inside a dry bag.
While the watertight compartments in most sea kayaks can be trusted to stay dry, we’ve had experiences where that wasn’t the case, which is why we like to double-down and pack everything in dry bags.
Choosing the right dry bag size is important because you’ll want to make sure everything fits inside your compartments.
That being said, if you do have an extra-large dry bag, you might be able to secure it to the deck of your kayak using bungee straps.
Our recommendation is that you’ll be better off using multiple small or medium-sized dry bags rather than one or two extra-large ones.
This will increase your ability to keep your gear organized and smaller dry bags are also more likely to fit inside your sea kayak’s compartments.
We recommend using 10, 20, or 30-liter dry bags for kayak camping. If you’re looking for a great dry bag option, grabbing multiple 20-liter Sea to Summit Stopper Dry Bags is a good place to start.
Packing Your Dry Bags
Now it’s time to start packing gear into your dry bags according to the categories you’ve separated everything into. This is where having multiple smaller dry bags can come in handy because it’s really best to avoid adding items from different categories into the same dry bag.
Also, it should be noted that a dry bag must be rolled at least three times if it is to remain effective at keeping water out. So you should always avoid overfilling dry bags if you really want them to do their job.
As you pack your dry bags, consider keeping a roll of waterproof tape and a waterproof marker nearby. As you fill each bag, label it according to the categories you used at the beginning of the packing process.
This will help you remember what you packed where and will also make it easier for you to ask a paddle partner to grab your cooking gear without having to explain which shade of green that dry bag happens to be.
Loading Your Kayak
Once you have everything organized, packed into dry bags, and labeled, it’s time to start adding gear into your kayak’s compartments. Certain gear items can also be secured on the kayak’s deck, which gives you a little extra space to play with.
For starters, most sea kayakers with overnight experience will use the largest compartment in their kayak for cooking and sleeping gear. This is also gear that you really shouldn’t need access to while you’re on the water during the day.
Interior storage compartments can also be used for clothing and food. That being said, you should make sure to keep certain food and clothing items accessible if you might need them during the day.
If you have a great kayaking PFD, for example, you’ll be able to remove your snacks from your food bag every morning and stow them in the pockets of your PFD. This eliminates the need to take your entire food bag out when you just need a quick snack.
Additionally, the nature of sea kayaking demands preparation for changing weather. So you should always keep a rain jacket or umbrella easily accessible during the day.
Finally, any rescue gear, such as flotation bags, a bilge pump, and a tow rope, should always be accessible while you’re paddling.
The bungee straps on the front of your kayak are a great place for these items, but some sea kayakers also prefer to store them right in the cockpit behind their seat or at their feet.
Keeping It Balanced
An unbalanced kayak is going to be much harder to move through the water, not to mention it increases your likelihood of capsizing. So you’ll want to be careful to keep your kayak as balanced as possible as you’re loading dry bags in.
The great part about organizing your gear into dry bags (and labeling them!) is that it makes it much easier to compare the weight of the gear inside each bag.
This allows you to designate bags for different compartments in your kayak so that the weight is as evenly distributed as possible.
When it comes to weight distribution, it’s best to store the heaviest items as close to the center of the kayak as possible. Depending on the length of your trip, food and water are usually among the heaviest items on a sea kayak camping expedition.
This means that food and cooking gear is usually best stored in the rear bulkhead just behind your seat. Water should probably ride in the cockpit with you, both so that you can stay hydrated and have that water weight close to the center of your kayak.
Lighter items, like sleeping gear and clothing, can be stored closer to the ends of your kayak. Also make sure you think about centering items side-to-side, as well as from the front to the back of your sea kayak.
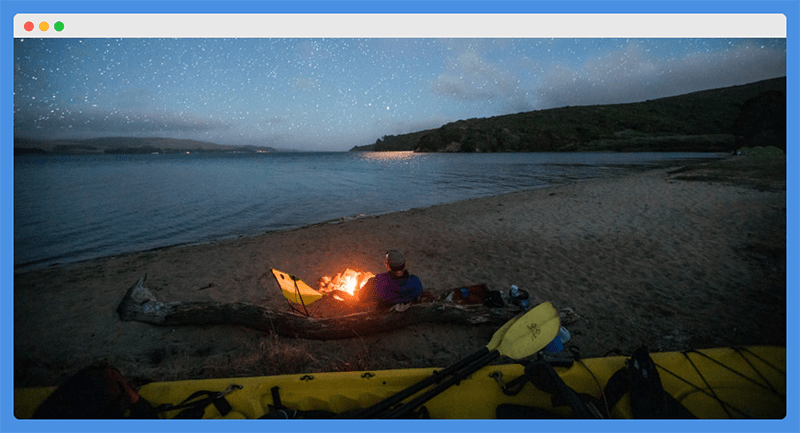
Sea Kayak Camping Tips
Now that you have your sea kayak packed for camping, it’s almost time to push off the shore and dip your paddle in the water. But, before you go, we also wanted to share a few more general tips for planning and executing a fun and safe kayak camping trip.
Plan a Reasonable Route
The average paddling speed for sea kayaks isn’t much higher than two miles per hour.
While some sleek kayakers with exceptionally fit paddlers are capable of achieving (and maintaining) higher speeds, it’s good to plan on the low end when you’re deciding how much mileage to cover each day.
From our experience, it’s good to plan on stopping every hour or two to relieve yourself and stretch your legs. For this reason, it’s good to plan a route that hugs a shoreline instead of attempting long crossings or passages.
If you do attempt a longer crossing, the old “empty water bottle trick” can really come in handy if you need to relieve your bladder.
It’s not super easy or convenient to get in and out of your sea kayak in deep water, especially when it’s loaded down for a camping trip.
Know (and Consistently Monitor) Weather Conditions

Perhaps the biggest mistake that new sea kayakers make on longer trips is expecting the weather forecast that they looked up at the outset of their trip to hold true for the entire duration of their time away.
But if there’s really one thing we can say for certain about the weather, it’s that it changes often and unpredictably. We want you to avoid getting caught in a gnarly weather situation because you didn’t regularly monitor the forecast during your trip.
Wind, tides, and other ocean currents can all greatly impact a sea kayaking expedition. Even the best kayakers should make landfall when the wind is consistently maintaining speeds of 15 to 20 miles per hour.
Because of the unpredictable nature of the weather, we also recommend building at least one extra day into your itinerary. This will allow for some flexibility if really harsh conditions arise and it’s unsafe to continue for an extended period.
On some longer trips, it might be necessary to build in multiple extra days for this reason. If you’re planning on a lengthy kayak camping trip like the Inside Passage, for example, it’s always a good idea to plan for a few more days that you really hope to need.
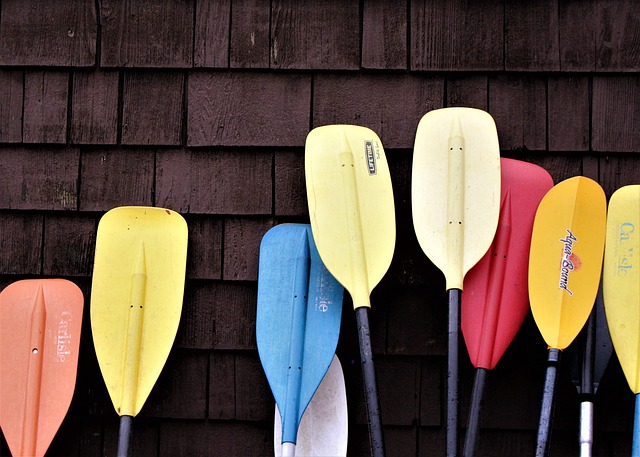
Bring The Right Accessories
If you’re thinking about using a sea kayak for a camping trip, you’ll need additional accessories that you wouldn’t need for a day kayaking trip or even an overnight backpacking trip on land.
A spray skirt is really the first great example of an accessory that you should absolutely have for a sea kayak camping trip.
It allows you to keep the lower half of your body warm and dry, which comes in handy when it rains or simply when you start paddling early on a chilly morning.
Another accessory that you might not consider is kayaking gloves. Many folks have fallen victim to painful blisters or uncomfortable chafing on their hands when they first venture into multi-day kayaking.
At first mention, gloves might seem unnecessary. But we highly recommend a quality pair of kayaking gloves, such as these gloves from NRS, if you want to keep your hands comfortable on a longer sea kayaking camping trip.
Coming back to our point about regularly monitoring the weather on your trip, we highly recommend looking into the best kayak GPS units that have a weather monitoring function.
This is a great accessory to help you make logistical decisions during your trip as the weather changes. But it will also help you navigate, track tides, and even communicate with the outside world.
Pack Appropriately
The definition of ”˜appropriate’ when it comes to packing a sea kayak for camping really depends on the length of your trip (in days) and the distance you’re planning to cover.
If you’re anything like us, you tend to actually pack heavier when you’re not going quite so far or you’re planning for plenty of downtime at your evening campsites. This is acceptable if you’re covering less distance and you’re willing to lug the extra weight along.
But if you’re really planning on covering some ground, it’s really important to pack as light as possible. That means you might not have room for the cast-iron Dutch oven that you’ve come to rely on in your car camping journeys.
Packing appropriately is really about walking the line between being prepared and comfortable versus carrying so much extra weight that fatigue threatens to derail your entire trip.
File A Float Plan
This doesn’t have to be with the U.S. Coast Guard or another large governing body, but somebody that’s NOT on the trip with you should know the details of your plan
These details should include proposed start and end dates, launching and landing locations, proposed campsites, the number of paddlers in your party (and their names), the type and color of kayaks you’re using, and any other information you feel would be pertinent to a rescuing party.
While we don’t want to get doom-and-gloom about it, the reality is that there’s always a possibility that things could go wrong. And if they do, you’ll be glad that someone’s on land to contact appropriate authorities if they don’t hear from you when they’re supposed to.
Paddle Early (Whenever Possible)

The optimal paddling hours for your trip will depend on your location, sunrise and sunset times, weather patterns, and a variety of other factors. That being said, we generally recommend getting the majority of your paddling behind you during the morning hours.
In many places, afternoon winds tend to be stronger and more consistent as the day warms up. This makes paddling much more difficult and can cause you to fatigue more quickly when you’re battling wind, waves, and currents.
Paddling early also allows you to reach your campsites and make camp earlier. The added benefit of this strategy is that you’ll have more afternoon hours to dry out any gear that got wet during your morning paddle.
We understand, however, that paddling early isn’t always possible. You might wake up to gale-force winds and a rainstorm that makes you zip your tent back up and wait things out until the afternoon.
That’s just one example, of course, but we should also mention that studying tidal charts of the area you’ll be paddling is really important for any sea kayak camping expedition.
The tides are a large factor for how easy (or difficult) your paddling is going to be on a given day. This variable is one good example of a factor that might cause you and your paddling partners to go against this recommendation of paddling early.
Pick A Reliable Paddle Partner
Our final point here is just a quick one, but you need to have faith in your paddle partner. This includes faith in their paddle skills and rescue techniques, but also just their general ability to handle adversity if it arises on your trip.
Final Recommendations
It’s always smart to do a test pack before you arrive at your launch location and realize you can’t quite fit everything into your kayak that you had planned to bring. While sea kayak camping isn’t quite as restrictive as backpacking, you’ll still be working with limited space.
Many beginners make the mistake of thinking they can just keep any extra gear in the cockpit with them. We don’t recommend doing this because your comfort is something that is often underestimated when embarking on a longer paddle expedition.
The vast majority of your gear should fit in your kayak’s compartments or under the bungee straps on the deck of your boat. Only consider bringing smaller items like a water bottle, dry box, or water filtration system in the cockpit of your kayak with you.
Additionally, it’s really important to assume that your gear is going to get wet and operate from that line of thinking. This will help you take extra precautions and help you avoid spending the night in a wet sleeping bag (been there, done that. It’s no fun!).
This is why we took some time to explain the importance of packing your gear into dry bags and how to choose the right dry bag sizes for a sea kayaking expedition.
If you can’t afford to go the dry bag route, doubling up on industrial-sized contractor trash bags is the poor man’s alternative to keep your sleeping and cooking gear dry.
And, finally, we can’t overstate the importance of bringing a multi-tool on a multi-day kayaking trip.
The rudder or skeg is probably one of the elements of a sea kayak that’s most likely to break on a trip like this, so you’ll need some the right tools and supplies to repair or rig up a solution if this happens to you.