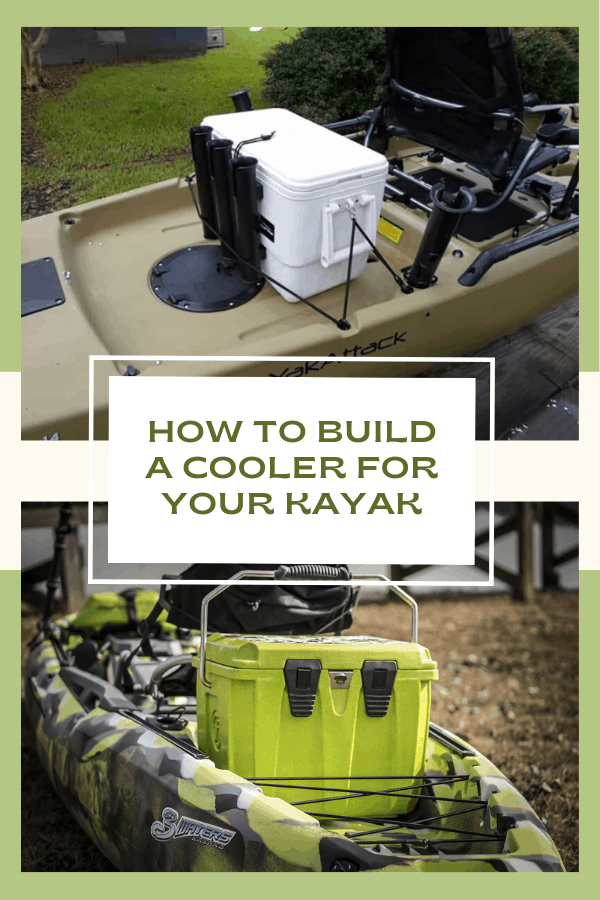
Have you ever considered how to build a cooler for your kayak?
If you’re experienced with DIY projects and you want to avoid overspending on one of the best kayak coolers, then you can definitely explore building your own.
Carrying a cooler on your kayak is useful for a variety of purposes.
Some days, you might just load in a six-pack of your favorite hydrating beverage, and other times you might load up enough food for a multi-day kayaking expedition.
While there are other tips and tricks for packing a kayak for camping, loading up a cooler should be a constant.
But some of the nicer waterproof coolers that are designed for kayaking can be surprisingly expensive.
Fortunately, the design we’re going to outline in this guide is super affordable and easy to build.
We’ll detail all of the materials you need to make it happen and then provide a step-by-step build plan that’ll be easy for you to follow.
And, just in case you decide that building a kayak cooler isn’t for you as you’re reading, we’ll also offer a small selection of budget-friendly kayak coolers under $50 before we wrap things up.
So let’s get started!
Can You Really Build A Cooler For Your Kayak?
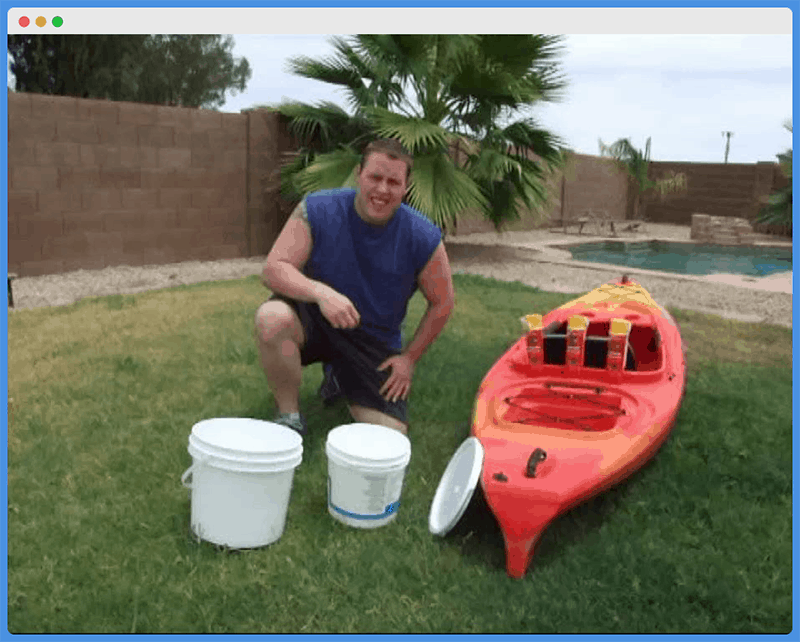
Yes, and the good news is that the plan for building your own kayak cooler is incredibly simple.
But before we cover the materials you’ll need to do it, it’s important that you consider whether this plan will work for your kayak.
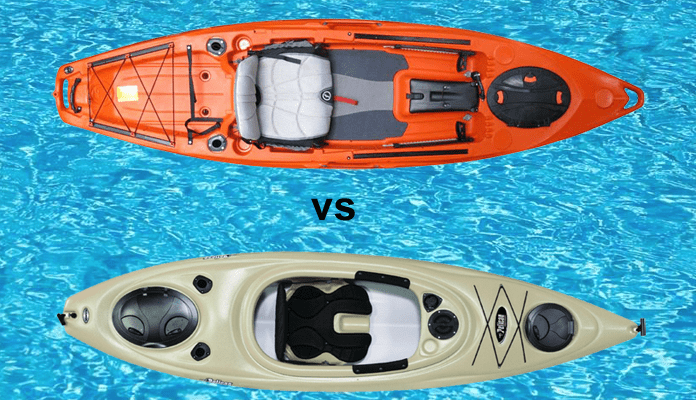
You’ll need a sit-on-top kayak with a large open stern compartment for storage or a sit-inside kayak that has an open tankwell in the stern.
Fortunately, you can use the dimensions of the tankwell or storage compartment on your specific kayak to design the ideal DIY cooler for your kayak.
Just keep in mind that you may need to be resourceful to build a DIY cooler that actually costs less than the cheaper coolers on the market.
Finding free or discounted materials at your local grocery, hardware, or thrift store is a great way to reduce the final cost of your DIY kayak cooler.
How To Build A Cooler For Your Kayak
Okay, let’s dive into the step-by-step process that you can use to build a DIY cooler for your kayak:
Measure Your Storage Space
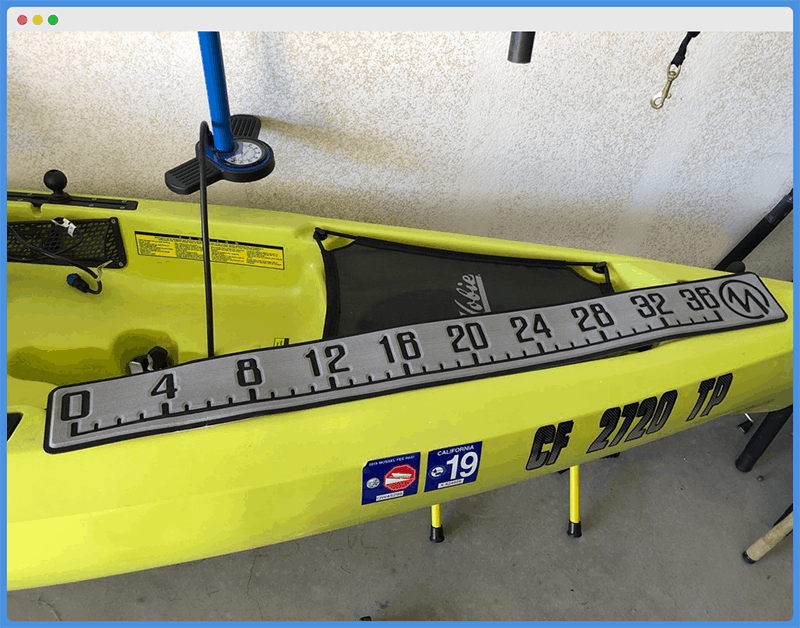
The most logical place to start is to measure just how much space you really have on your kayak for a cooler.
Most people with sit-on-top kayaks will start out by measuring the entire length and width of their stern storage compartment.
If you don’t plan on using that compartment to store anything else (like an appropriately-sized kayaking dry bag) that’s okay.
We recommend considering using only a part of that compartment for your kayak cooler.
Still, you’ll need to know the width and length of your open storage area (or stern bulkhead compartment if you have a sit-inside kayak) so that you can be sure the materials you buy for this DIY kayak cooler will fit once your build is complete.
Find/Buy Materials
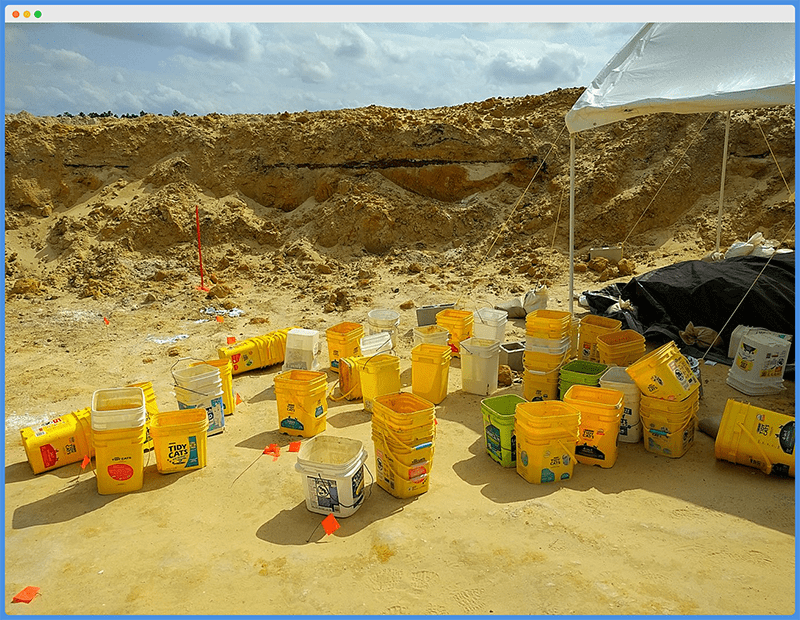
The first thing you’ll need to do is collect or buy the materials for your cooler build.
In some cases, you may find free or discounted materials by inquiring at your local hardware or grocery store.
If they’re already planning on throwing something out, the odds are pretty good that they’ll give it to you for free.
For reference, the free section of Craigslist in your area can also be a great place to find free materials that can be used for all sorts of DIY projects.
In this case, the amount of time you’re willing to spend finding free or discounted materials will ultimately dictate the final budget for your kayak cooler.
If you don’t have time to search for materials, you’ll probably wind up spending a little more to buy them brand new.
That being said, here’s what you’ll need to complete this simply DIY kayak cooler build:
- Two buckets (one large and one slightly smaller)
- 2-3 cans of spray foam insulation
- Gloves
- Sharpie (for marking buckets)
- Microfiber cloth (for wiping away liquid excess foam)
- Knife or box cutter (for cutting away hardened excess foam)
Ultimately, the size of the two buckets you choose will depend on the amount of space in your stern storage or bulkhead compartment.
For reference, a standard two-gallon bucket measures just over eight inches in diameter, and a three gallon-bucket measures almost 10.5 inches in diameter.
These are the two bucket sizes used for the cooler design we’re going to outline today.
But you can ultimately choose to use larger or smaller buckets depending on the size of your kayak’s storage space and how much cooler storage you desire.
Keep in mind that the inner bucket will dictate the final amount of cooler storage space you have for this design.
The difference in diameter between the two bucket sizes will dictate how much insulation your cooler will have and, as a result, how many cans of spray foam insulation you need.
Additionally, you might consider using square kitty litter buckets for your DIY cooler if you have a sit-on-top kayak with a square storage compartment.
This will help you maximize storage space versus round buckets that will leave unused areas around it.
Wear Gloves
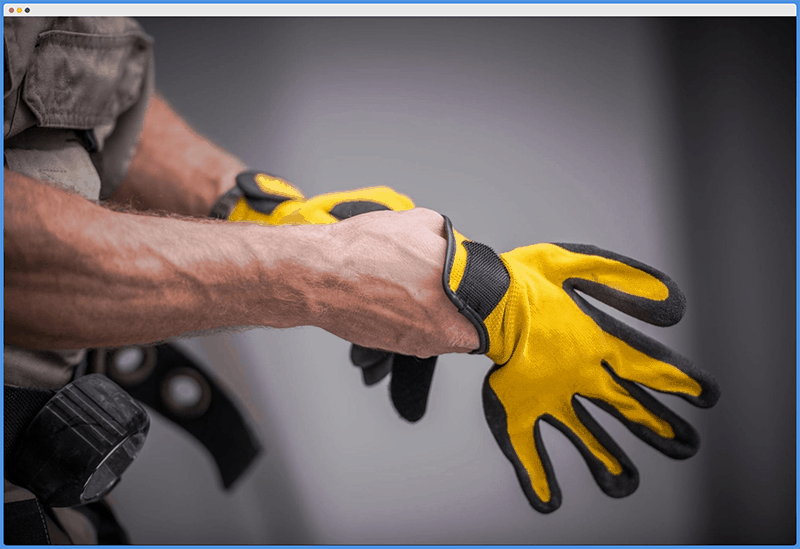
The spray foam insulation you’ll use for this DIY cooler can be pretty sticky and it’s not super easy to get off your hands with just water and soap.
That’s why we recommend wearing gloves before you move on to that step of your build.
You don’t necessarily need to wear gloves while you’re measuring your kayak, marking your buckets, or setting them in place.
But put gloves on before you start shaking and spraying foam so that you’ll have an easier time cleaning yourself up once you’re finished.
Mark Lid From Larger Bucket
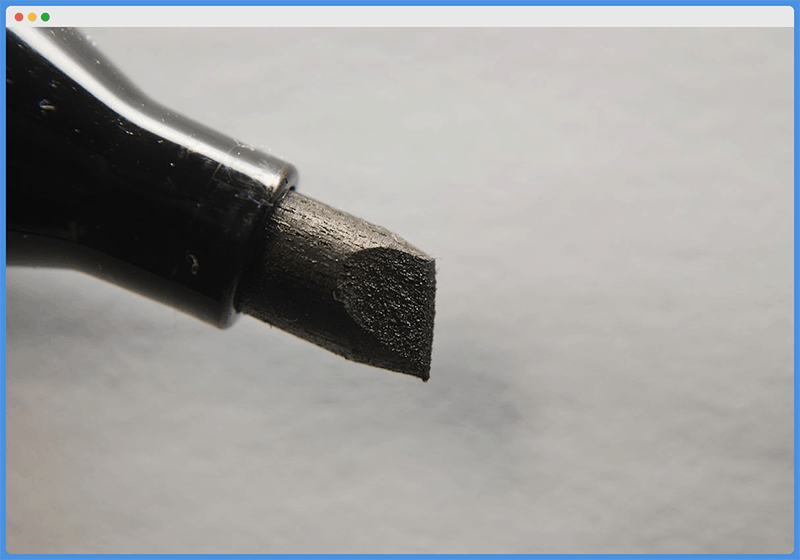
Before we get into spraying any foam and putting your cooler together, there’s one basic mark that you should make.
Start by setting the lid that goes onto your larger bucket on the ground upside down and then place the smaller bucket upside down on top of that lid.
Using your Sharpie pen, mark a circle all the way around the circumference of the smaller bucket.
You should wind up with a circle on the inside of your bucket’s lid that you’ll wind up needing down the line.
Then, you can set your lid aside until we get back to it a little later.
Insulate Bottom Of Large Bucket
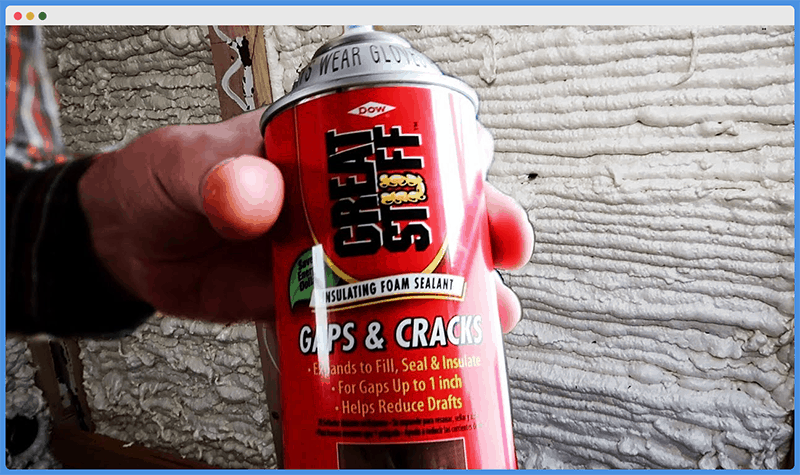
The first thing you’ll need to do is apply a thin layer of insulation to the inside bottom of your larger bucket.
If you fail to do this before you place the smaller bucket inside, you won’t have an insulating layer between the bottom of the two buckets.
The key here, however, is that the layer of insulation you spray isn’t so thick that the smaller bucket raises above the rim of your larger bucket once it’s set in place.
You’ll still need to be able to place the lid on the larger bucket when all is said and done.
So, before you spray any insulation, place your smaller bucket inside the larger one and measure the distance from the upper edge of the small bucket to the upper edge of the larger one.
That will tell you how thick of a layer of insulation you can initially spray in the inside bottom of the large bucket.
If you have an inch of space from edge-to-edge, for example, we recommend applying a layer of insulation that’s about 0.5 to 0.75 inches thick in the bottom of the large bucket.
This will give you additional room to play with as the insulation expands and cures.
Center Smaller Bucket Inside Large Bucket
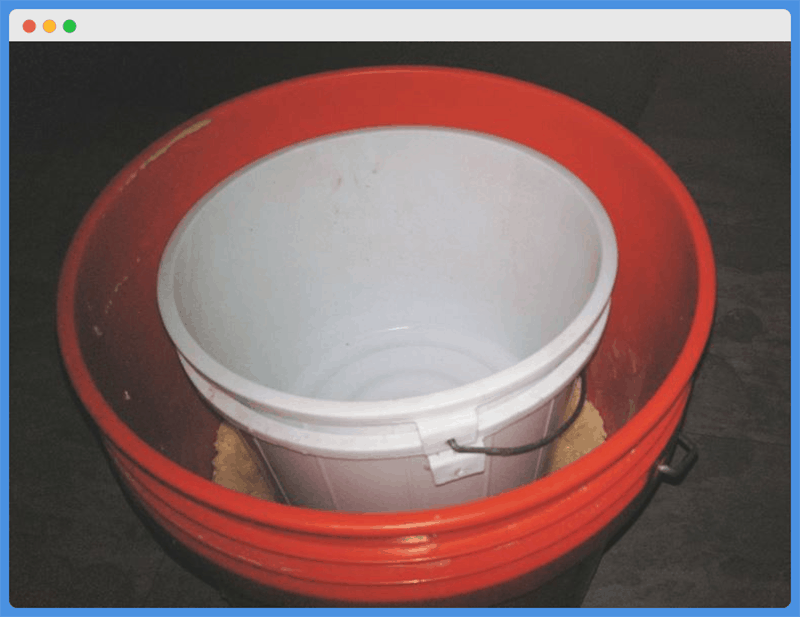
Before the insulation you’ve sprayed in the bottom of your larger bucket cures and dries completely, it’s time to set your smaller bucket in place.
But you’ll want to do this carefully to ensure that it’s as close to the center as possible.
Use a measuring tape to make sure that the distance from the outside of the smaller bucket to the inside of the larger bucket is the same all the way around.
In most cases, you don’t need to measure this exactly because that would require you to take 360 measurements (one for every degree) around the inner bucket.
To get things close without spending too much time, however, we recommend taking measurements at the four cardinal directions (north, south, east, and west) around the inner bucket.
If you can get those measurements as close to the same as possible, your inner bucket is centered.
Once you have it as centered as it’s going to get, gently press it into the layer of insulation at the bottom of the larger bucket.
This will help to keep it in place once you apply the rest of the foam insulation around the sides.
Just make sure you don’t press down too hard when you’re setting your inner bucket in place.
If you press down too hard before the bottom layer of insulation has begun to harden, you’ll press that inner bucket all the way down to the bottom of the outer bucket and reduce the thickness of the insulating layer between them.
Spray Remainder of Foam Insulation
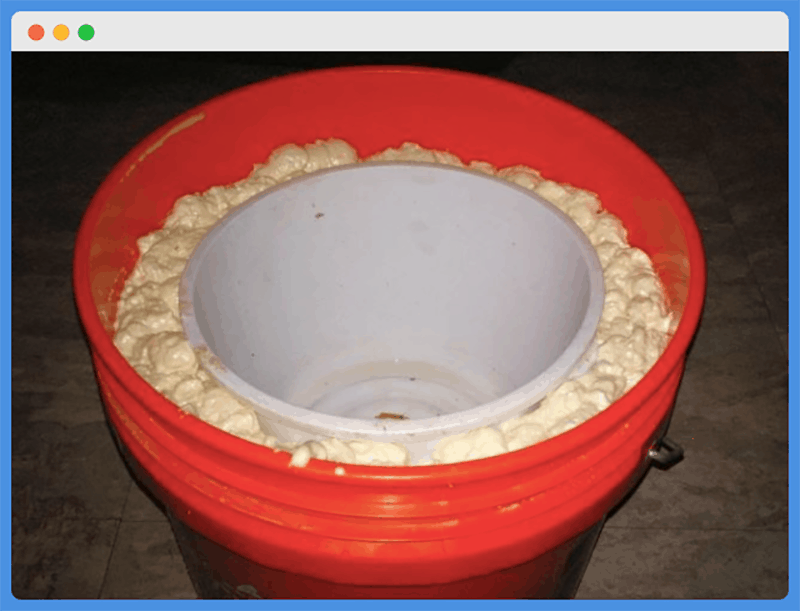
Allow the bottom layer of insulation to cure for about five minutes before you move on to this step.
But once you have your inner bucket in place, it’s time to empty your cans of spray foam to insulate the empty space between the two buckets.
Keep in mind that spray foam will expand as you apply it. This is the natural way that this substance fills in all the cracks and provides an even layer of insulation for your DIY cooler, but it also means that things can begin to overflow quickly.
So, it’s a good idea to fill up the space around the sides of the inner bucket about halfway and then let the foam expand for about 30 seconds.
Then, proceed to fill the space the rest of the way until the foam reaches the same level as the upper edge of the larger bucket (a little higher than what you see in the picture above).
Wipe And/or Cut Away Extra Spray Foam
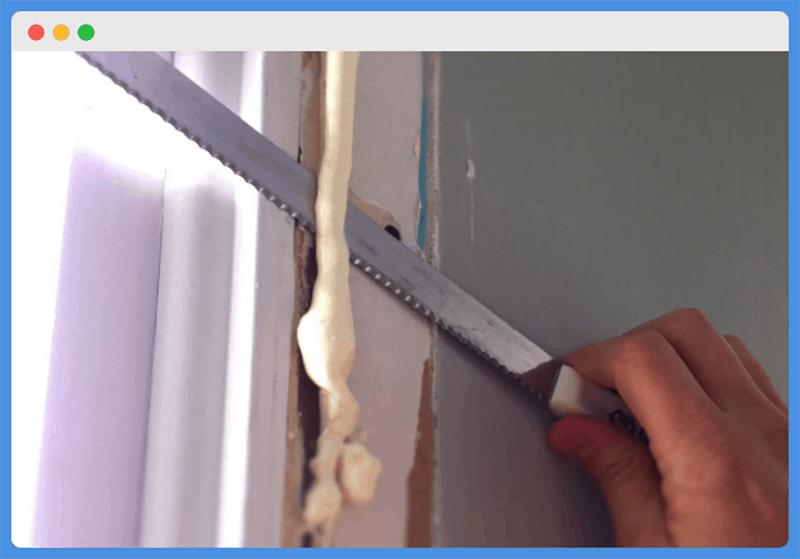
If the spray foam is still in its liquid state, you’ll be able to use a towel or microfiber cloth to wipe away any excess that begins pouring over the rim of the larger bucket.
But once that spray foam dries and hardens, you’ll need to cut it away.
Fortunately, cutting spray foam with a box cutter or utility knife is pretty easy.
In fact, you may prefer to save a towel by just allowing any excess to dry and then cutting or scraping it away once it does.
The only downside to this can be having drips of spray foam running down the outside of the larger bucket.
So, that’s why it’s good to wipe away any liquid excess that pours over the rim and then move on to cutting away dried and hardened excess after that.
Insulate Lid
The only problem that some folks have had with this DIY kayak cooler design is that it doesn’t account for the natural heat escape that happens through the lid of any cooler.
Because heat rises (and cold air sinks), we could make an argument that it’s more important for the bottom of your cooler to be more heavily insulated than the lid.
Instead of arguing, however, we’re just going to go ahead and make sure the lid of your kayak cooler is insulated.
So, go ahead and find the lid and apply a layer of spray foam inside that circle you marked earlier.
Keep in mind that the inside edge of that Sharpie line corresponds to the outer edge of your inner bucket.
Ultimately, your goal is to create an inner layer of insulation that fits into the smaller bucket when you place the lid in place.
So, you’ll want to apply this insulation just inside that Sharpie line and allow for a little room for expansion.
In the worst case, however, you can always use your box cutter or utility knife to shave the insulation down so that your lid fits snugly.
From here, give everything another five to 10 minutes to thoroughly dry and cure.
Now, your DIY kayak cooler is ready to use!
Kayak Coolers Under $50
Just in case you don’t want to go through the effort of building your own DIY kayak cooler, here are a few budget-friendly cooler options that still won’t cost you much (and will take up much less time than you’ll need to build your own kayak cooler!).
1. TCYC COLLECTION Insulated Kayak Fishing Cooler
This insulated kayak fishing cooler is made to perfectly sit inside the stern storage compartment of a sit-on-top fishing kayak without sticking up over the edges.
The flat design allows you to strap other light gear on top of it and it also reduces the overall profile of your kayak for windy days.
The dimensions measure 12” by 7.25” by 22” and it comes with a nylon webbing shoulder strap for easy carrying to and from your launch point.
It also features a transparent mesh EVA pocket on top with a zipper for keeping maps and other items you need easy access to.
This cooler is made with 420-denier polyurethane ripstop polyester material and it’s fully-padded with closed-cell foam.
It also features a reflective thermal lining and a removable mesh PEVA liner that makes it easier to remove and clean.
2. SEEHONOR Insulated Cooler Backpack
The backpack straps on this waterproof kayak cooler make it super easy to transport to and from your kayak.
And if you ever go on paddling trips that force you to learn how to portage a kayak, this cooler will definitely make things easier.
Overall, it boasts a 25-liter capacity and measures 13.3” by 8.6” by 14.9”.
It also features a leakproof PEVA liner that allows you to put ice inside without worrying about it melting and soaking through the outer insulation material.
The outside of the cooler is made with a heavy-duty nylon material that you won’t have to worry about scratching or tearing.
It also comes with several D-rings that make it easy to securely attach to kayaks of all shapes and sizes.
3. Yodo 20L Roll Top Insulated Cooler
The roll-top design is used for many dry bags because it eliminates the need for a zipper (which is frequently where water enters on other packs).
That roll-top design is what makes this dry bag cooler a great option for wet kayaking environments.
This cooler offers 20 liters of cold storage space and is made with a high-quality PVC material.
It boasts welded seams for added water resistance and high-density foam inside for superior insulation.
The interior also includes a PEVA liner that resists moisture saturation and makes it easier to clean between uses.
Plus, you can even use this backpack cooler as a standard dry bag when you don’t have cold items you need to keep cold on your kayaking adventures.
Final Thoughts
At the end of the day, we all must remember that time equals money.
Sometimes, it might make more sense to simply buy a kayak cooler than spend the time to collect the materials and build your own.
When compared to some other kayaking accessories and safety equipment, however, waterproof coolers are pretty darn affordable.
That’s why we only recommend building your own DIY kayak cooler if you have the time or you’re looking for a fun and easy arts and crafts project.
Otherwise, find the right size cooler for your kayak online and rest easy knowing it will arrive at your doorstep in a day or two.
Then, you’ll be off and paddling with all of your cold foods and beverages in no time!

