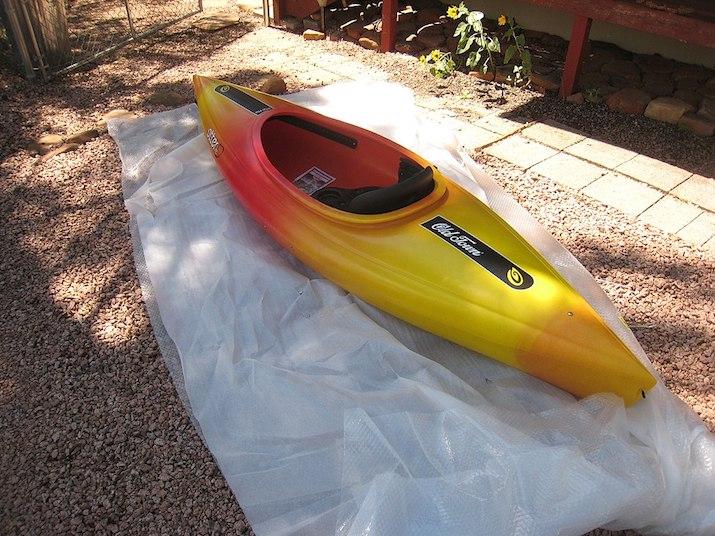
If you are moving, you might not have enough space to pack your kayak in a moving truck or even on top of your vehicle. In that case, you will need to know how to ship a kayak safely and affordably.
We recognize that one of the best ways to transport a kayak is by using a kayak roof rack on top of your vehicle. We also realize that this isn’t always practical with long moves or when you are relocating overseas.
While you could always sell your kayak and buy a used kayak when you arrive at your new destination, it is highly likely that you’ve become attached to your trusted old kayak friend!
Fortunately, you’ll have options to ship your kayak efficiently and we will use this guide to cover everything you need to know to ship your kayak safely. Hopefully, you are moving to a place with plenty of paddling options so you can get your kayak back on the water as soon as possible!
Photo by Vige on Flickr
Can You Ship A Kayak?
Photo by Jean-Etiene Minh-Duy Porrier on Flickr
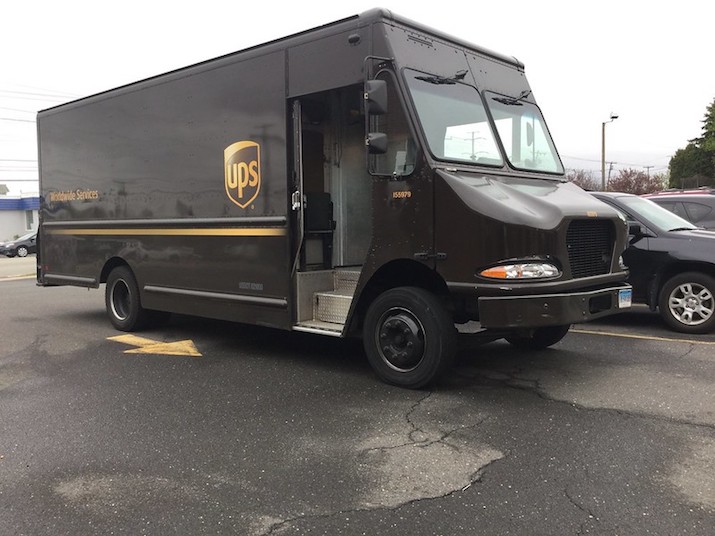
Yes, you absolutely can! The main concern when shipping a kayak is that the traditional shipping companies like UPS and the U.S. Postal Service will consider it ”˜oversized cargo’.
That can result in having to pay way more to ship your kayak than you would want. To save some money on shipping costs, you will need to identify shipping companies that specialize in moving larger cargo.
This will help you avoid overpaying a company that places a higher priority on shipping small packages. Companies that are dedicated to shipping larger packages won’t bat an eye when you ask them to ship your kayak.
You will also need to package your kayak properly to protect it from damage. Adding insurance when shipping your kayak is also a good idea to provide an avenue for compensation if your kayak is damaged or lost in transit.
How Much Does It Cost To Ship A Kayak?
Photo by Mike Mozart on Flickr
The cost of shipping your kayak will depend largely on four factors; size, weight, distance, and the company you trust to ship your kayak safely. Some of the more affordable quotes average between $50 and $120 for cross-country shipping.
Larger kayaks can easily cost upwards of $200 or $300, however. Other factors that may impact the cost to ship a kayak include the delivery address being residential or commercial and whether or not it will require a lift-gate to get it onto the moving truck.
Before you go about packing your kayak to prepare it to be shipped, it will be useful to get a quote from a cargo shipping company so that you have a better idea of how much you can expect to pay to ship your kayak.
How To Ship A Kayak – The Ultimate Guide
Preparing your kayak to be shipped is an important part of the process. Fortunately, we have broken it down in a step-by-step fashion for you!
Step 1: Choose A Packaging Option
Photo by Volpin Props on Flickr
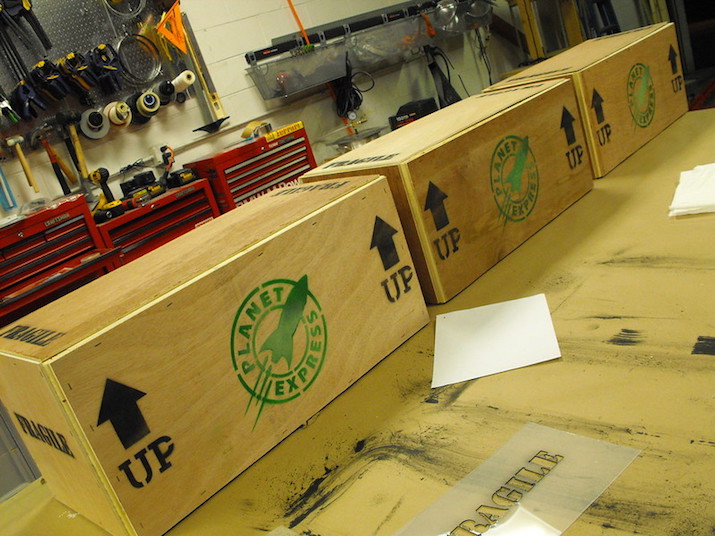
The first decision you will need to make is whether to ship your kayak in a cardboard box or a wooden crate. Cardboard is the more affordable option and is more appropriate for recreational kayaks that are made of durable polyethylene material.
If your kayak is made of fiberglass or carbon fiber, however, you might want to give it added protection. While these materials are highly durable, you don’t want them to get scratched or dented in transit.
If you’ve already spent a considerable amount of money on one of the most expensive kayaks, it is worth it to pay a little extra to ship it in a wooden crate instead of in just cardboard.
Step 2: Get Your Kayak’s Dimensions
Photo by frank7748124 on Flickr
Unless you know them off the top of your head, you will need to measure the length, width, and height of your kayak. From there, you can use those dimensions to choose an appropriately sized box or crate to package it inside.
You will want to choose a box or crate that is slightly larger than the exact dimensions of your kayak. That will give you a little room for error and help to avoid having your kayak rubbing against the inside of the box or crate while it is being transported.
Allow for 2-3 inches on all sides of your kayak when choosing the size of your box or crate. That will allow you to add plenty of padding and insulation around your kayak to further protect it from damage.
Step 3: Weigh Your Kayak
Photo by Don Debold on Flickr
Some freight companies will charge based on the size of your kayak and others will charge based on weight. Some rates may even account for both of these metrics.
So it is important to know how much your kayak weighs before you pack it up. If you are packaging your kayak in cardboard, you won’t need to add much more than five pounds to your kayak’s weight to get the total shipping weight of your package.
If you choose to ship your kayak in a wooden crate, however, it can help to measure the combined weight of your kayak and the crate (plus any paddling or insulation, even if it makes a minor difference).
Once you know the weight of your kayak and packaging materials, you can reach out to several freight companies to get estimates on how much it might cost to ship your kayak.
Step 4: Assemble Your Packing Supplies
Photo by The Mail Center KC on Flickr
Now it is time to package your kayak up to prepare it to be shipped. For this step, you will need the following supplies:
- The box or crate it will travel in
- Bubble wrap
- Packaging foam
- Packing tape (for cardboard box packing)
- Staples or nails (for wooden crate packing)
You will have the choice of using either bubble wrap or packaging foam, but they are essential for either packing solution. You can also use both if you want to provide extra protection for your kayak.
Step 5: Wrap Your Kayak
Photo by Wikimedia Commons
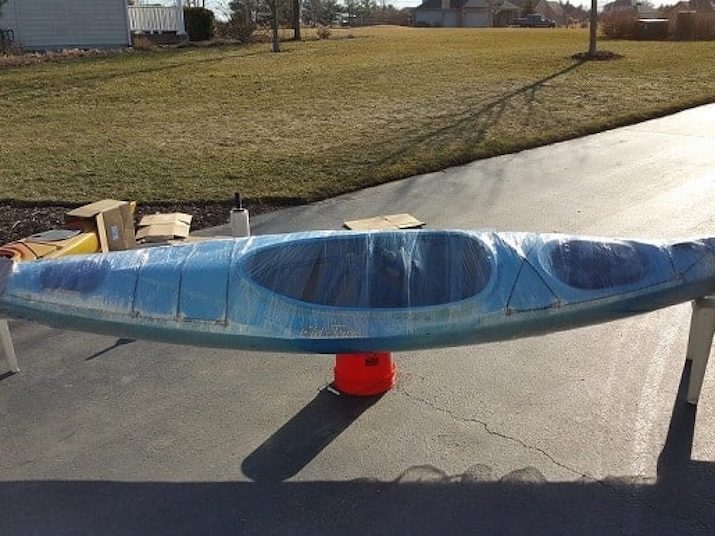
Whether you plan to ship your kayak in a cardboard box or wooden crate, your first step is to thoroughly wrap it in bubble wrap or plastic sheeting. Bubble wrap provides more protection, but you can also use plastic sheeting if you plan to use a lot of packing foam later on.
Depending on the design and durability of your kayak, 2-3 layers of bubble wrap or plastic sheeting should be sufficient to provide the initial layer of protection.
Some folks actually choose to wrap their kayak in cardboard before they apply bubble wrap or plastic sheeting. This is an option if you want to provide more protection for your kayak, but it will require more packing tape to sufficiently hold the cardboard in place.
If, however, you have an abundant supply of cardboard that you have saved for this occasion, it can help you avoid buying multiple rolls of bubble wrap.
One area that some folks struggle with is wrapping the ends of the kayak. In our experience, the best way to do this is to wrap 50% of the width of the bubble wrap past the ends of your kayak.
From there, you should be able to fold the extra bubble wrap under the kayak and then secure it with a length of packing tape that runs all the way around your kayak.
Step 6: Prep Your Box or Crate
Photo by jchapiewsky on Flickr
Now that your kayak is sufficiently bubble wrapped, you need to open the box or crate that you plan to ship it inside. Do this as close to your wrapped kayak as possible so that you don’t have to lift it far to get it inside.
Once you’ve assembled the box or crate, place a layer of packaging foam in the bottom. This will be the layer of protection against damage that could result if the box or crate is accidentally dropped while it is being shipped.
Step 7: Place Your Kayak Inside
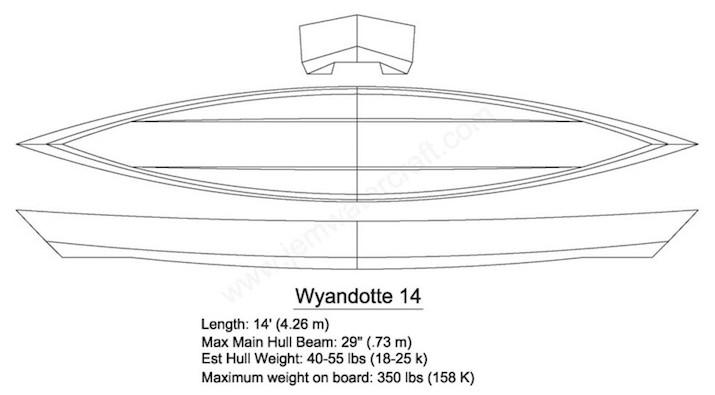
PC Adirondack-Guide-Boat.com
Ideally, have someone help you lift your kayak and place it inside of the box or crate you will ship it in. Do your best to center it in the box so that there is an even amount of space between the kayak and the inside walls or the box or crate all the way around.
Once your kayak is centered in the box or crate, pack all around it with all of your remaining packing foam. Your goal is to fill up all of the empty space so that your kayak won’t shift around while being transported.
If packing foam becomes a little expensive for this part of the process, you can always consider a few more affordable alternatives. Newspaper, Christmas wrapping paper, old seat cushions, and pretty much anything soft can be recycled to fill the space around your kayak.
Step 8: Secure The Lid
Photo by Britain W on Flickr
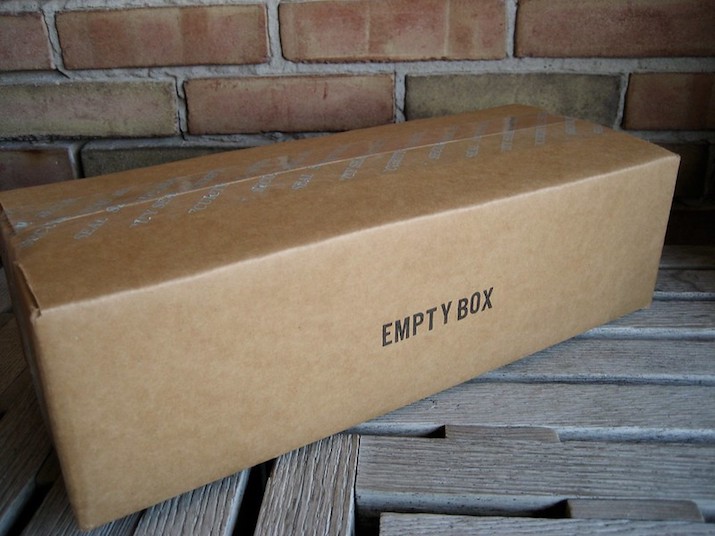
If you are shipping your kayak in a cardboard box, this step will be as simple as closing the lid and securing it with packing tape. Just make sure you seal the short edges of the lid as well as the long seam that runs between the two flaps.
You won’t go wrong with apply 2-3 strips of packing tape to seal the top seam (if you have leftover tape to spare).
If you have chosen to ship your kayak in a wooden crate, you will have to secure the lid using staples or small brad nails. Of course, this will depend on the exact design of the crate you have chosen.
Some will actually screw together, which would obviously eliminate the need for staples or nails. The good thing about this design is that it will be easier to take the crate apart when it arrives at its destination.
Step 9: Apply Your Shipping and Caution Labels
Photo by jeidai on Flickr
Now it is time to apply your shipping labels to your package. These can be printed online through the freight company you are using and you should also find a label that marks your package as ”˜Fragile’.
Other options for labels that you can apply include ”˜Handle with Care’ and ”˜Do Not Stack’. All of these will signal to the shipping company that your package should be handled carefully to prevent damage to the internal contents.
While it might seem redundant after all of the work you have done to package your kayak so thoroughly, you would be surprised by the lack of care that some shipping companies will provide to your packages.
So labeling your kayak thoroughly provides added insurance against negligence and the damage that often results from it.
Step 10: Schedule A Shipping Date
Photo by Dafne Cholet on Flickr
Now it is time to schedule a shipping date for your kayak to be picked up. While you can certainly go with UPS or the Postal Service, it helps to schedule a pick-up with a company that specializes in moving larger cargo.
Companies like PPlus Global, FedEx Freight, and Forward Air provide reliable shipping solutions for larger items. In some cases, actually, people have found success in shipping their kayaks through Craigslist.
You can advertise your need to ship your large kayak to your preferred destination online and negotiate rates privately. There are actually folks out there that make a living as private movers and they can often be more economical than going with an established freight company.
That being said, insuring your kayak will be more difficult (if possible at all) with a private mover that you find through a platform like Craigslist. So this is really only an appropriate solution for cheaper kayaks under $300.
Step 11: Be There To Receive It
Photo by Davis Mosans on Flickr
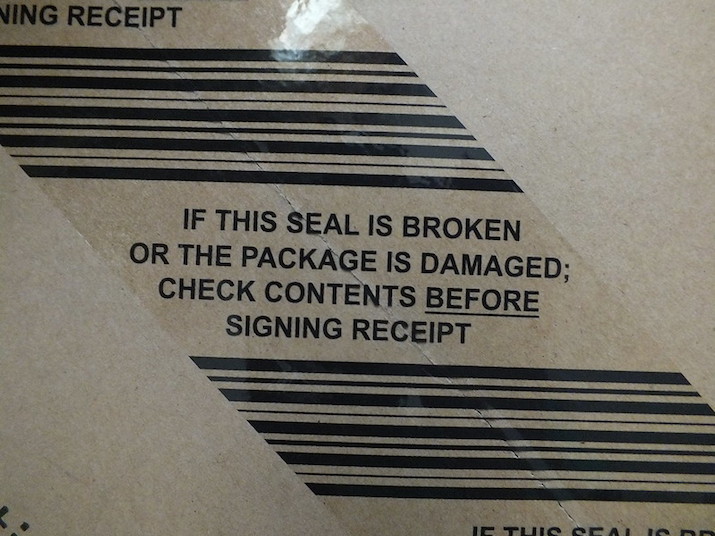
The best way to double-check the work of the shipping company you have entrusted with the health and safety of your kayak is to be present on the day they are scheduled to deliver your kayak to its new location.
Even if you can’t personally be there, find a friend, partner, or colleague who is willing to be there to accept the package from the shipping company. The important thing is that whoever receives the package inspects it thoroughly for damage before signing the bill of lading.
While the driver may be in a rush to get to his or her next destination, take five minutes to unwrap your kayak and make sure it hasn’t been damaged in the shipping process. This will help you avoid signing off on damage that you haven’t seen before sending the driver on his or her way down the road.
Step 12: Recycle Kayak Shipping Materials
Photo by Martin Robson on Flickr
The hardest part about shipping a kayak can be seeing so much plastic go right into the garbage bin once you unwrap your kayak at your destination. If you unwrap your kayak carefully, you should be able to recycle a lot of these materials for other purposes.
This means avoiding cutting bubble wrap or cardboard as much as possible. When unwrapping your kayak, try to peel the tape back or just cut tape strategically where it is holding two pieces of bubble wrap or cardboard together.
As you unwrap, separate materials and organize like with like (i.e. bubble wrap with bubble wrap, cardboard with cardboard). This will make it easier to put these items in storage until you need them again at a later date.
If you don’t want to keep your shipping materials around, look online for people in your area looking for the same kind of materials.
People are always moving (or in the process of preparing for a move), so the odds are good you can find someone who can recycle your materials if you have kept them in decent shape.
Craigslist and Facebook Marketplace are great online platforms for finding avenues to recycle your shipping materials. Of course, you can also just make sure you are disposing of your materials properly if you do decide to recycle them through your city’s waste collection services.
If you used a shipping crate to transport your kayak, there are a number of DIY projects you could do to repurpose your crate. One of my favorites is to place it in your garden and fill it with soil to create a raised garden bed!
An Alternative Solution For Shipping Your Kayak
PC HumperSport.com
If you are having trouble finding a box or crate that is large enough for your kayak to fit inside, you may need to purchase two large boxes and tape them together to create one that is long enough for your kayak.
Alternatively, you can consider shipping your kayak after completing the initial phase of wrapping it thoroughly in bubble wrap. If you choose this method, we strongly recommend wrapping the bow and stern in extra bubble wrap or cardboard sheeting.
These areas are the most susceptible to damage if your kayak slides or moves around in the shipping container or truck. So they warrant extra protection if you want your kayak to arrive at your preferred destination without dents or cracks.
Does It Really Make Sense To Ship Your Kayak?
Photo by glopater on Flickr
At the end of the day, you will also need to decide whether or not it really makes sense to go through all of this work to ship your kayak. In some cases, it makes more sense to sell your kayak and pick up a new one once you are settled in your new destination.
This is especially true if you are moving to a place that has a different type of waterway than what you have been paddling on for the last few years.
If you are going from a place where all of your paddles are on calm, flat lakes to a destination with mostly whitewater paddling, you may need to alter the type of kayak you paddle.
This might require you to change over from a recreational kayak to one of the best whitewater kayaks, for example. Or, if you are heading to a coastal destination, you may choose to make the switch to an ocean fishing kayak for more stability and angling capability.
In addition to the thought of switching to a different type of kayak, you should also consider the value of your kayak and whether it is worth paying to ship. In some cases, the cost of shipping a cheaper kayak makes it more advisable to sell and purchase a new kayak once your move is complete.
As a general rule, I try to avoid shipping my kayak if the cost of shipping exceeds 50% of the kayak’s value. Combined with the time and energy it takes to prepare the kayak to be shipped, it’s easier to sell and upgrade if you have a cheaper kayak.
Final Thoughts
Photo by Free-Photos on Pixabay
Of course, if this all sounds like far too much work, you could always just paddle your kayak to your new destination!
It just may be more possible than you imagine if you are moving from one coastal destination to another (and it would definitely be a great adventure story!).
In all seriousness, though, we hope that you have found this kayak shipping guide useful to get your kayak ready for your move.
We would like to wish you the best with your upcoming kayak shipping endeavors and we hope you get back out on the water soon!


