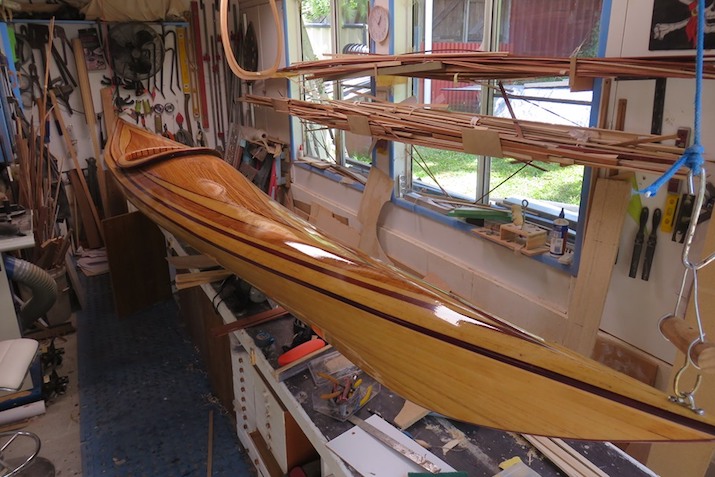
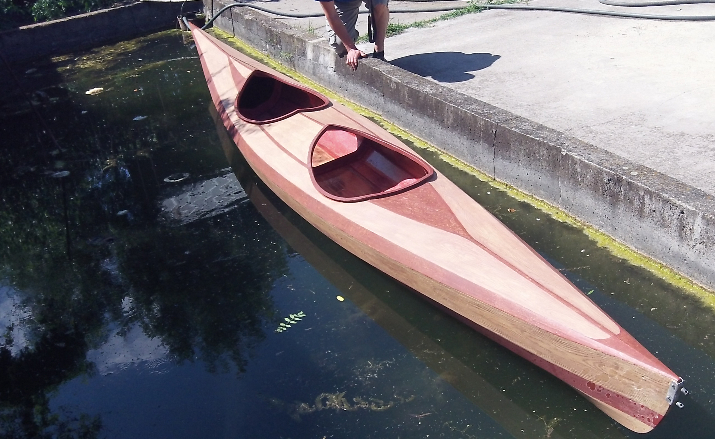
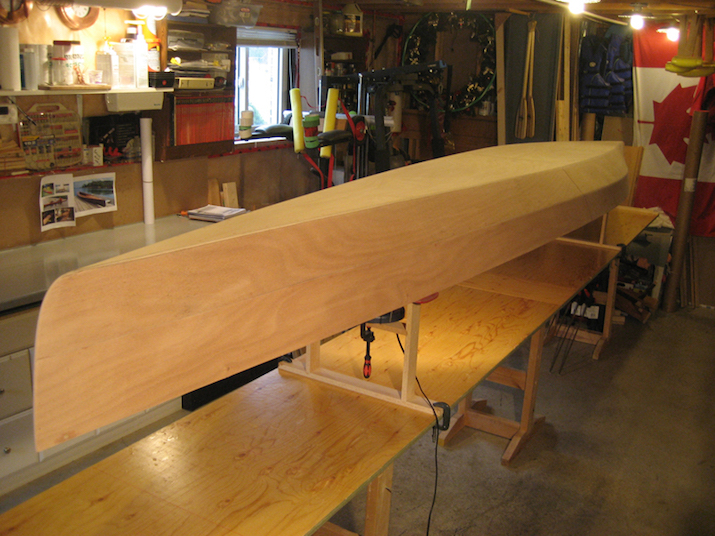
Some of the most beautiful kayaks I have ever seen out on the water were handmade. I’m sure they took many hours of laborious work, but man were they head-turners.
If you are a skilled woodworker (or just have a lot of free time), you may be interested in this collection of plywood kayak plans. We have selected designs that come with PDFs that you can download for reference throughout your build.
Keep in mind that some of the PDFs may require you to sign in to a specific platform, but we have purposely selected free designs. So be wary if, for any reason, you are asked to pay to download something.
With those instructions in mind, let’s talk a little bit more about plywood kayaks before we highlight these kayak plans.
Photo by marekuliasz via Shutterstock
Plywood Kayak Plans (with PDFs)
- Jupiter Point Series
- Canvasback
- Shallow Draft Hunting Kayak
- Plyak
- Stitch-and-Glue Sea Kayak
- Anuket
- Sea Otter
- Double Trouble
- Puppy
- Shorty
Why Build A Plywood Kayak?
Photo by Nature’s Charm via Shutterstock
Because…look how cool it looks! Seriously though, building a plywood kayak can be a lot of work if you aren’t particularly handy.
The best reason to build your own wooden kayak is to give yourself a DIY challenge. The second best reason is that many people will want to admire your handiwork when you are finally done and actually take your kayak out on the water.
Beyond those reasons, wooden kayaks can be extremely strong and durable when built right. They also flex much less than other types of kayaks, which can make them great for rough waters.
In addition, building a really nice wooden kayak can actually save you some money when compared to many of the most expensive kayaks that are made of fiberglass or even rotomolded plastic.
Another reason to build a plywood kayak is that you will have complete control over the finished product. In other words, you don’t have to settle for a kayak that doesn’t check all of your boxes because you simply can’t find one out there that does!
The Downsides Of A Plywood Kayak
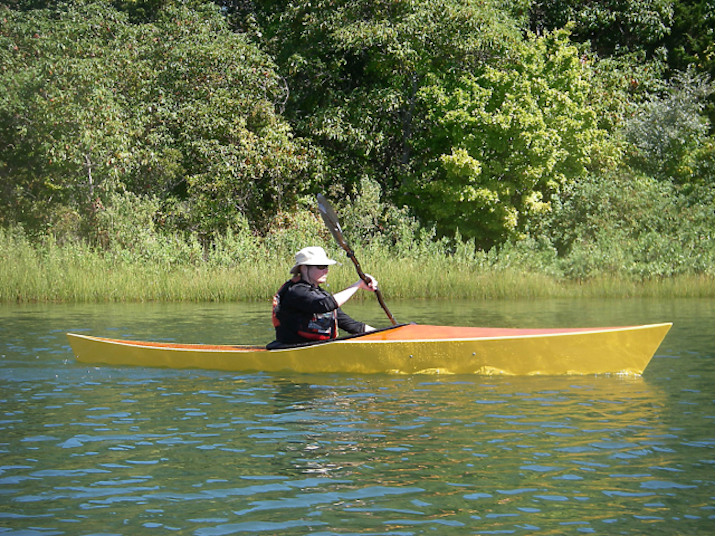
Photo by Michael Storer via Flickr
The main downside of choosing to build a plywood kayak is precisely that: you will have to put in the work to build it. Many people don’t have the time (or patience) to go through the carefully detailed process that it takes to build a high-quality wooden kayak.
Aside from that, some wooden kayaks don’t handle strong currents or heavy winds as well as their manufactured counterparts. That being said, the maneuverability, speed, and tracking ability of your finished product will ultimately depend on the size and style of kayak plan that you choose.
Is a Plywood Kayak Right For You?
Photo by marekuliasz via Shutterstock
Undertaking a plywood kayak DIY project is no small decision. If you are confident in your craftsmanship and have experience with woodworking, however, it can become a really interesting hobby.
This is really a good choice for experienced kayakers as well because it gives you the most freedom to design the perfect kayak for your style of paddling and the conditions you encounter most frequently.
If this doesn’t sound like you, don’t go away so quickly. We would like to invite you to check out some of our reviews of new kayaks for various applications!
- Best Sit-on-Top Kayaks For Beginners
- Best Day Touring Kayaks
- Best River Fishing Kayaks
- Best Inflatable Whitewater Kayaks
- Best Crossover Kayaks
Free Plywood Kayak Plans with PDFs
1. Jupiter Point Series
PC Instructables
The Juniper Point Series of kayak designs is intended to be easy to build and fun to paddle. There are designs for a 13-foot recreational kayak and a 7-foot kayak for the kids.
The best material to use for building this kayak is four-millimeter thick marine plywood. You will also need fiberglass cloth that you will eventually coat with about six ounces of epoxy resin per square yard.
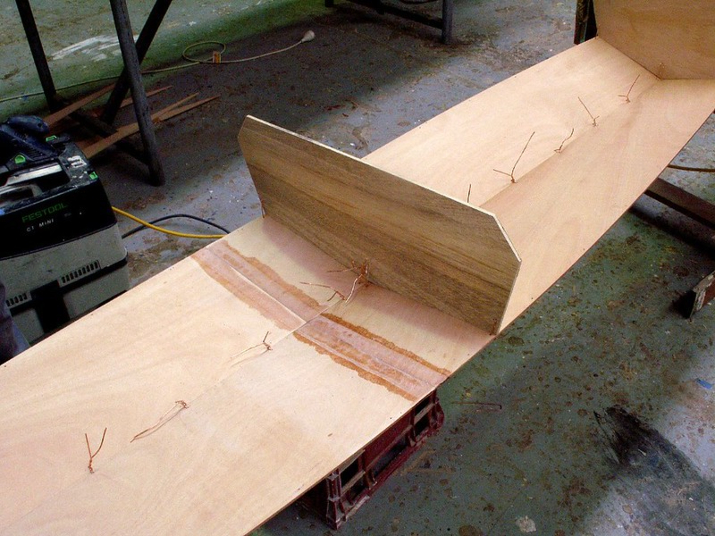
Technically speaking, the method for building this kayak is called the ”˜stitch-and-glue’ technique. Wires are used to stitch the panels together and create the basic shape of the kayak.
Once the shape is created, glue is applied to permanently hold the panels together, which then allows the wires to be removed. The finishing touch involves fiberglass cloth coated with epoxy resin to waterproof the kayak.
To give you a quick idea of what building this plywood kayak will entail, here are the basic steps you will need to follow:
- Prepare your plywood sheets
- Draw your panel
- Cut out your paper panels and lay them on top of your plywood
- Measure and mark all of your panels
- Cut your panels
- Drill holes
- Wire (or “Stitch”) your plywood panels together
- Glue plywood together
- Fillet the plywood
- Fiberglass the inside of the kayak
- Fiberglass the deck
- Prepare the outside of the hull for fiberglass
- Apply fiberglass to the outside of the hull
- Install the deck of your kayak
- Tape the inside seam
- Apply fiberglass to the top of the kayak
- Trim the fiberglass
- Install the cockpit
- Cleanup and glass the coaming
- Touch up the finish work
- Outfit the kayak with seat and other rigging
- Go for a paddle!
For a more detailed description, here is a link to the full PDF design for this plywood kayak:
Jupiter Point Series Kayak Plan PDF
2. Canvasback
PC DIY Wood Boat
The canvasback is a great design for folks that are building their first plywood kayak. It is a relatively inexpensive wooden kayak design that can make for a great summer project for young folks as well.
Marine-grade spruce plywood is the lumber of choice for this wooden kayak. Fir and white pine are great secondary lumber choices if spruce is unavailable or a little out of your price range.
This kayak can be built with hand tools and C-clamps, so long as you have the plywood planed before you leave the hardware store. You will want to find 12-foot lengths of 1×4 or 1×6 and then ask for them to be planed to a thickness of 5/8ths of an inch (most plywood comes in a ¾-inch thickness).
Finally, ask that kind hardware store employee to cut the planed lengths in the three widths that the PDF kayak plan specifies. From there, here are the basic steps required to build this plywood kayak:
- Cut the stem, stern, and frames
- Mark the fastening points for stringers on each frame
- Cut the keels to their exact length
- Glue and screw the frames to the keel
- Place one-inch blocks under the stem and stern
- Add the frames (keeping them vertical)
- Nail temporary spreaders across the open tops of the two center frames
- Add four bricks at the center to hold the curve of the keel
- Add sheer clamps of 12-foot lengths
- This final step requires the most nuance and the full PDF should be consulted for proper instructions
For a more detailed description, here is a link to the full PDF design for this plywood kayak:
3. Shallow Draft Hunting Kayak
PC DIY Wood Boat
This plywood kayak design is perfect for hunting or fishing in shallow creeks and streams. It is also perfect for paddling into hard-to-reach locations where deeper kayaks and motorized vessels can’t go.
This design will also help you build a tandem kayak that will be the envy of all paddling couples that have purchased one of the best-manufactured tandem kayaks. It can even carry a third small paddler (or furry passenger) in a pinch!
The process for this kayak involves building a wooden frame and then wrapping exterior plywood sheeting around it. The final product will weigh roughly 100 pounds and be about 18 feet in length.
Here is a quick snapshot of the major steps involved in building this plywood kayak:
- Assemble the frames
- Install the chines
- Plank the hull
- Install the deck supports
- Install the decking
- Craft and install the kayak seats
- Make your own paddles!
Please keep in mind that there is a lot that goes into each of these steps. Our intent here is to simply provide a brief idea of what the building process will require!
For a more detailed description, here is a link to the full PDF design for this plywood kayak:
Shallow Draft Hunting Kayak Plan PDF
4. Plyak
PC DIY Wood Boat
While technically all of these kayaks could be called ”˜plyaks’, this design will give you a lightweight and highly maneuverable kayak that is perfect for exploring calm lakes or slow-moving rivers.
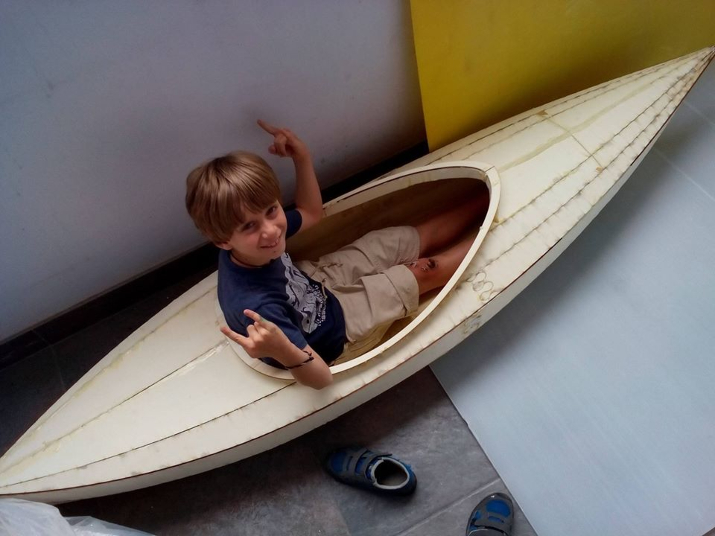
Although it is designed for a single paddler, the cockpit has enough room for a parent and small child to paddle together. So this is a great design for a summer craft project with the kids.
It is recommended to use ½ or ¾-inch plywood for this design. It will require you to construct seven plywood frames and select a 12’ 2” x 4” to use as a “strongback.”
While it does require a bit more of a technical build, the end result will be a kayak with a 30-inch beam, a weight of roughly 40 pounds, and a length of a little more than 11 feet. Here is the basic process required to complete this plywood kayak.
- Cut all frames (two each of #1, 2, and 3; one of #4)
- Mark these frames accordingly
- Fasten gussets with waterproof glue and nails or screws
- Attach the strongback to sawhorses using cleats
- Establish a datum line
- Lay out the frame stations
- Cut the keel, stem, and stern pieces
- Fasten stem and stern to the keel
- Attach #1 frames to these pieces
- Attach rest of frames to strongback
- Install temporary brace on #4 frames
- Set keel assembly into place and check fit
- Remove assemble and add glue to all frame joints
- Replace assembly and toenail stem and stern to strongback
- Screw keel to frames
- Cut strips for chines and gunwales
- Clamp, bend, and fit chine and gunwale strips
- Bevel chine, gunwale, stern, stem, keel, and frame edges
- Install exterior planking (bottom first, then sides)
- Cut boat loose from strongback and flip over
- Cut away strongback strips and tops of #4 frames
- Cut out gunwale fillers and cockpit knees
- Cut, fasten, and bevel deck stringers
- Fill watertight compartments (formed by #2 frames) with liquid foam to create bulkheads
- Install deck planking
- Lay fiberglass tape over all joints
- Cut out and install floorboards and backrest
- Finish with one coat of sealer and two coats of marine enamel
For a more detailed description, here is a link to the full PDF design for this plywood kayak:
5. Stitch-And-Glue Sea Kayak
Photo by Davide Boschi via JCoppens
This design also uses the stitch-and-glue kayak building technique like the first selection on our list. While it features a similar design and building process as the first, we wanted to include it because the plan is even more detailed here.
The builder included some basic errors that he made (and how to correct them!). We think that is important to realize that not everything has to be perfect, especially if this is your first time building a plywood kayak.
He also provides detailed instructions on how to build smaller models of this kayak before you attempt the full-sized build, which could also be a useful practice for first-time builders.
For a more detailed description, here is a link to the full PDF design for this plywood kayak:
Stitch-And-Glue Sea Kayak Plan PDF
*The following kayak plans aren’t quite as detailed as the previous selections. They do, however, still come with PDF drawings that clearly illustrate the different panels you will need to complete the build.
Because they don’t detail the exact building process, however, these PDF plans are better for experienced kayak builders.
6. Anuket
PC Yakayak
The Anuket is an extremely beautiful (obviously!) and highly seaworthy plywood kayak plan. It involves a strip-building process and the final product will be fast, stable, and capable of carrying all of your kayak camping gear.
7. Sea Otter
PC Yakayak
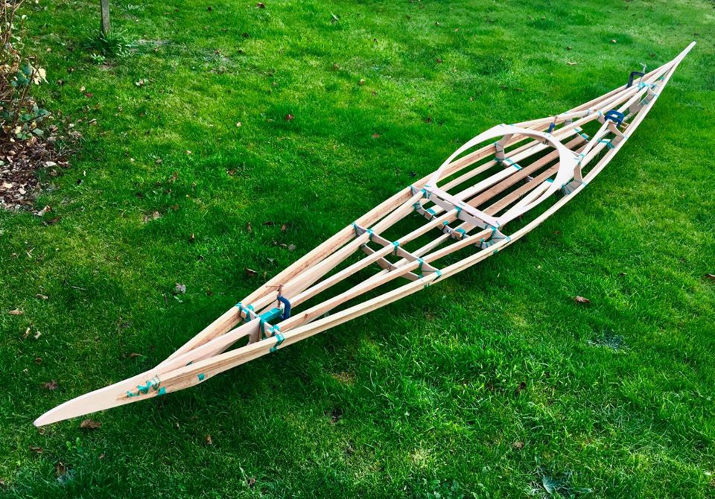
The Sea Otter is a “skin on frame” style of plywood kayak. That means you build the frame and then stretch a nylon or vinyl skin around it to provide waterproofing properties.
This design makes the kayak much lighter than many of the others on this list. It also rolls very well and has a low volume that makes it great for speedy, highly efficient paddling.
8. Double Trouble
PC Yakayak
There are a lot of reasons this kayak could be named Double Trouble. It holds two people, boasts an extra-large load capacity, and will also turn double the amount of heads when you and your paddle partner arrive at the beach.
It is also very stable, fast, and extremely seaworthy.
9. Puppy
PC Yakayak
The Puppy is the only design for a plywood kids kayak we could find. It will be about eight feet long when the build is complete.
10. Shorty
PC Yakayak
The Shorty is a super sleek and nimble sit-inside wooden kayak designed for a single paddler. It will measure about 12.8 feet long when complete and you can even build your own shiny wooden kayak paddle to go with it!
Additional Resources
If you don’t find quite what you are looking for in these free plywood kayak plans, there are a number of resources available that offer more depth and detailed instruction. Most of them, however, require you to pay for the plans to build your next wooden kayak.
If you are interested in those, however, here is a quick list of the sites we found during our research:
- One Ocean Kayaks
- Laughing Loon
- Guillemot Kayaks
- Orca Boats
- Noah’s Marine Supply
- Chesapeake Light Craft
Final Thoughts
Photo by algonquin paddler via Flickr
We hope that you have enjoyed this collection of plywood kayak plans with PDFs. If you are intent on building your own wooden kayak in the coming months, we would love to know which of these designs you plan to use as reference material.
Additionally, we would also love to hear from you if you have a plywood kayak plan that we didn’t include on our list. Drop a comment below or send us a message with a PDF of your kayak plan so that we can share it with our readers.
As always, we hope you enjoyed this guide and we want to take every opportunity that we can to wish you a happy, healthy paddling season!


