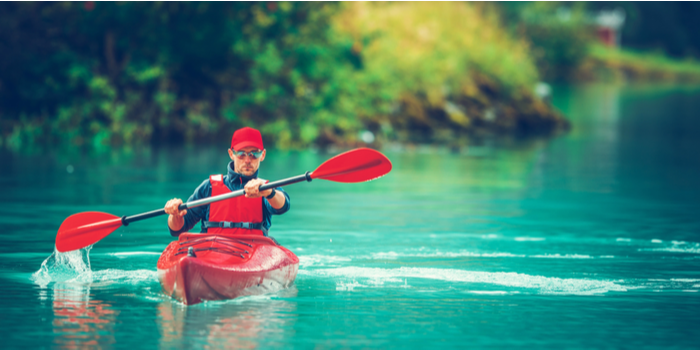
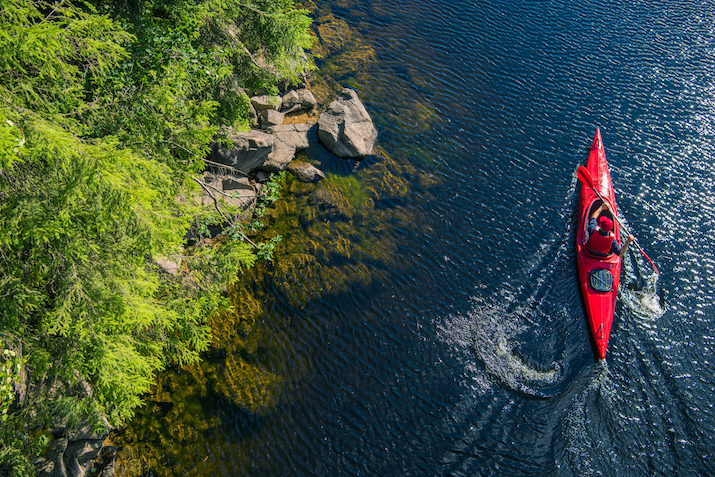
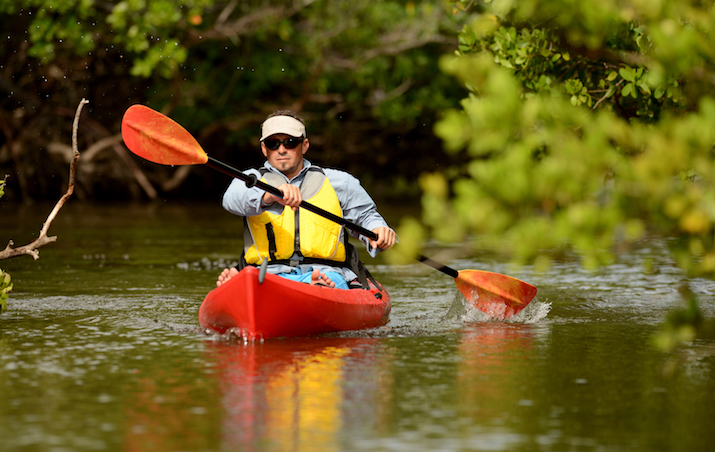
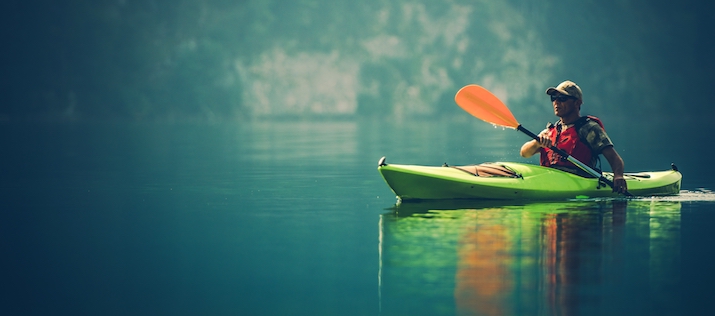
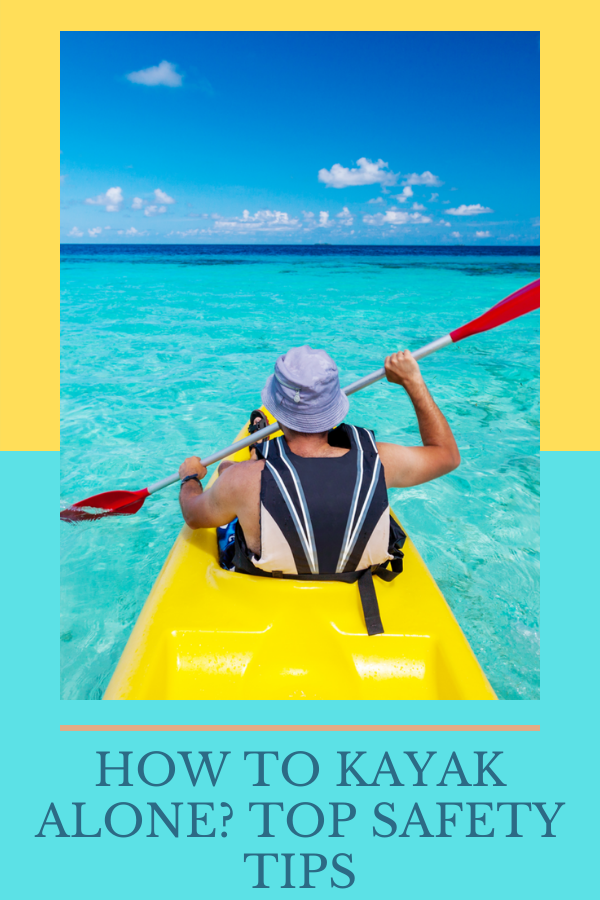
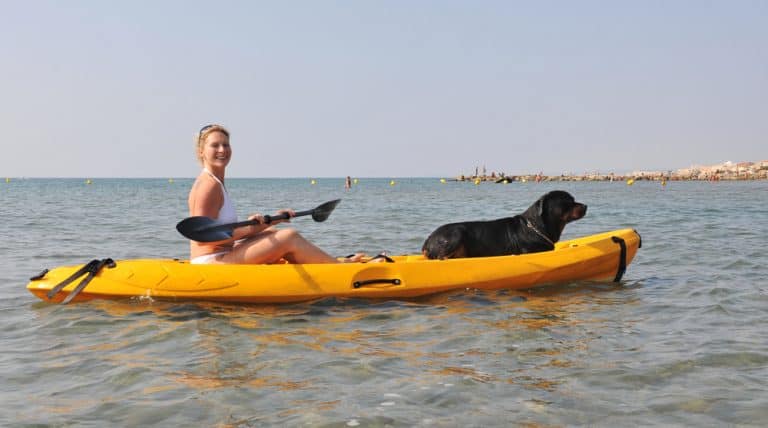
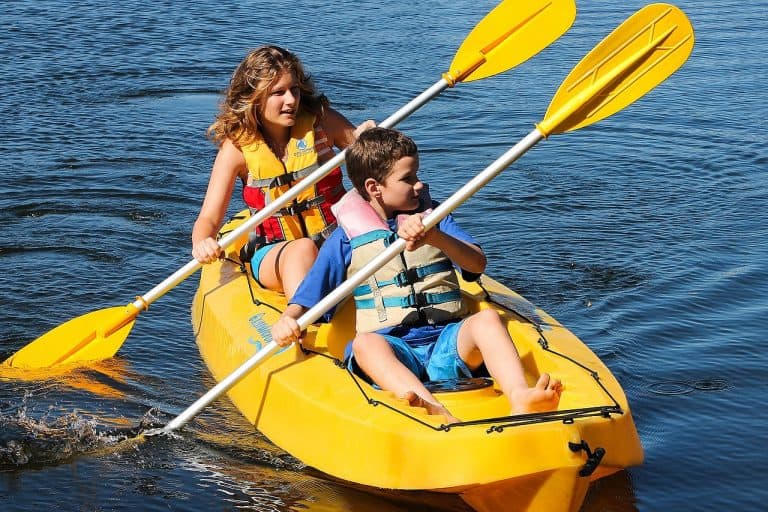
Personally, I always prefer if I can find a partner for my kayaking adventures. The reality, however, is that I often wind up pulling from my knowledge of how to kayak alone if nobody else wants to accompany me.
Solo kayakers need to be a little bit more prepared and mindful than others. If something unexpected happens to you while you are on the water, you will need to have the skills, knowledge, and safety equipment to handle the situation.
I want to be clear that kayaking alone is definitely possible. With the proper preparation, there is no reason why you can’t make solo adventures possible with any form of outdoor recreation.
That being said, our focus today is going to be on the top safety tips for solo kayakers and other ways that you can prepare for safe and enjoyable kayak trips when you are alone.
So let’s get to it!
Photo by Virrage Images on Shutterstock
How To Kayak Alone?
Photo by Dudarev Mikhail via Shutterstock
The first step to solo kayaking is to wrap your mind around the fact that you can, in fact, do it! Yes, it requires preparation and skills, but you also need the confidence to know that it is possible.
There is unfortunately no perfect recommendation for the number of hours you should spend refining your kayaking skills before you can paddle alone. It really just depends on your comfort level with the location and conditions in which you are paddling.
That said, it is our experience that preparation and kayak rescue skills can instill more confidence to kayak alone. So we are going to spend the remainder of this guide sharing what we have learned about the best safety, planning, and preparation tips for solo kayakers.
Top Safety Tips For Solo Kayaking
Safety is essential to your ability to enjoy kayaking alone for years to come. So we believe that it makes sense to begin with the ways that you can keep yourself as safe as possible as a solo kayaker.
Choose The Right Personal Flotation Device (PFD)
Photo by Rock and Wasp via Shutterstock
We have been hounding you guys about this in so many of our articles, but we are not going to apologize for being concerned about your safety. If you look into the real risks of kayaking, you will find that the majority of accidents are exacerbated by the lack of PFD use or improper PFD selection.
There are five major categories that are used to classify PFDs: Class I through Class V. Here’s a quick breakdown of what each category is designed for:
| Category | Best Use | Defining Traits |
| Class I | Rough water or stormy weather | Provides the most flotation; only PFD that will keep most unconscious wearers face up |
| Class II | Most water conditions, but best for calmer water | Provides great flotation but the wearer may need to be conscious and tread water to remain face up |
| Class III | Calm waters where rescue personnel can reasonably quick reach your location | Won’t turn unconscious wearers face up, so not designed for extended survival situations |
| Class IV | Throwable devices such as rings or throw ropes designed for overboard situations | Most easily thrown to swimmers to provide short-term flotation while a rescue vessel maneuvers into position |
| Class V | Inflatables, whitewater PFDs, and others designed for special use. | Broad category that includes those that must be worn to meet U.S. Coast Guard requirements |
Most kayakers will wear one of the best life vests that fit into the Class II or III designations. For whitewater or long-distance ocean paddling, however, you may want to look into a PFD with a Class I or Class V designation.
More importantly, though, you will want to be sure that the PFD you choose provides enough flotation for your body weight. Fortunately, we can use a simple math calculation to determine how much our body weighs when we are floating in the water.
For this calculation, we are going to use averages so please be aware that the exact calculation for you will depend on your body type.
That being said, the average human body is roughly 80% water. Again, on average, most human bodies are 15% fat, which is actually lighter than water.
That only leaves approximately 5% of your total body weight in muscles and bone, which is obviously heavier than the weight of water. So it may be surprising that we can sink when only 5% of our body weight is heavier than water, but that is exactly where our PFD comes into play.
Let’s say we have a total body weight of 200 pounds, which would mean that our body holds 160 pounds of water weight and another 30 pounds of fat. That only leaves 10 pounds of dense mass for our PFD to take care of.
Fortunately, most PFDs are rated somewhere between 15 and 22 pounds for adults and between 7 and 12 pounds for children and infants.
Wear Your PFD Properly
Photo by FtLaud via Shutterstock
Having the right PFD is all well and good, but it will do you no good unless you know how to wear it properly. I see so many new kayakers make this mistake and it usually doesn’t work out terribly well when you are paddling with others.
When you are exploring how to kayak alone, however, it is crucial for you to wear your PFD properly. Fortunately, it really isn’t too tough to do this with the right care and instruction.
For starters, you will need to put the PFD on with your arms through the corresponding holes. Make sure that the PFD is turned right-side-out and the straps on the sides and shoulders aren’t twisted.
I should note that some PFDs are a slip-on style that go on over your head and then strap down.
If your PFD has a zipper, zip it closed before you worry about the straps. Once the zipper is secure, start by pulling the straps on the sides of the PFD tight so that the vest becomes snug on your torso.
After that, you can tighten the shoulder straps to raise the PFD up on your torso depending on your preference. For reference, the side straps are the main straps that are responsible for keeping the PFD in place when you go into the water.
The shoulder straps are more designed for comfort and to help you adjust where exactly your PFD sits on your torso. These straps come in handy most for individuals with larger chests or bellies.
If our written PFD fitting instructions left you feeling slightly unclear about the process, check out the video below for a visual example!
File A Float Plan
Photo by Jillian Cain Photography via Shutterstock
It doesn’t have to be with the United States Coast Guard or another law enforcement authority, but someone should know the proposed itinerary for your paddle trips. This is a vital safety tip for all kayakers, but it is absolutely essential if you are learning how to kayak alone.
It can be as simple as sending a text message to an emergency contact. That message should have information about where you are paddling and when you plan to get off the river.
You can also plan to text your emergency contact just before getting on the river and again once you pull your kayak out at your landing location. That way, someone knows to signal the authorities if they don’t hear from you in an appropriate amount of time (in the worst-case scenario).
If you are filing a float plan with the authorities, it also helps to include some identifying information about your kayak. That might include the color, make and model, serial number, personal stickers, or anything else that is unique and personal about your kayak.
Have The Proper Safety Equipment (And Keep It In Reach!)
Photo by Jakub Stanek via Shutterstock
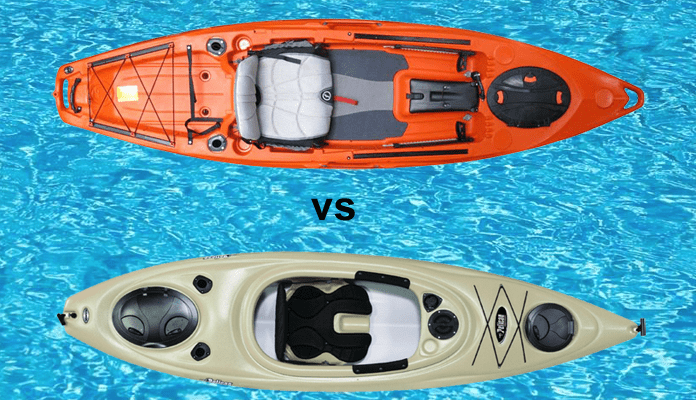
What constitutes ”˜proper safety equipment’ will change depending on the type of paddling you are doing. Owners of the best sit-on-top kayaks, for example, don’t really need to worry about carrying a bilge pump and sponge like you would need with a touring kayak.
Still, the point here is that you need to have the right safety equipment for the style of paddling that you are doing. As a solo paddler, it will give you a lot of confidence to know that you are prepared if things don’t go according to plan.
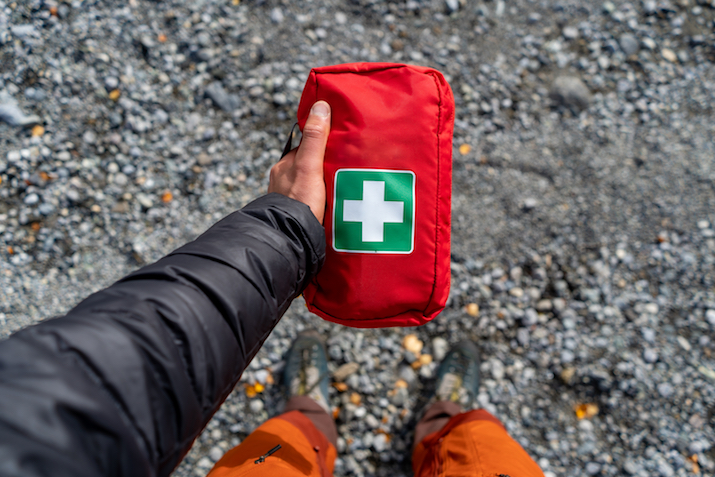
At the very least, you should have a waterproof first-aid kit stored in your kayak somewhere. If you already have a quality first aid kit that isn’t waterproof, you can always store it in a dry bag instead of buying an entirely new kit.
It should also be noted that your safety equipment and rescue gear should be strategically placed on your kayak so that you can easily reach it if the need arises.
You don’t want to stash your bilge pump or throw rope deep in a bulkhead because it will be impossible to reach when you are seated in your kayak.
Certain strategic pieces of kayak safety equipment should either be stashed in the cockpit of your kayak or strapped down to the deck. Other gear that isn’t used for emergency purposes is perfectly fine to store in a sealed bulkhead.
Choose Your Paddle Locations Wisely
Photo by Ammit Jack via Shutterstock
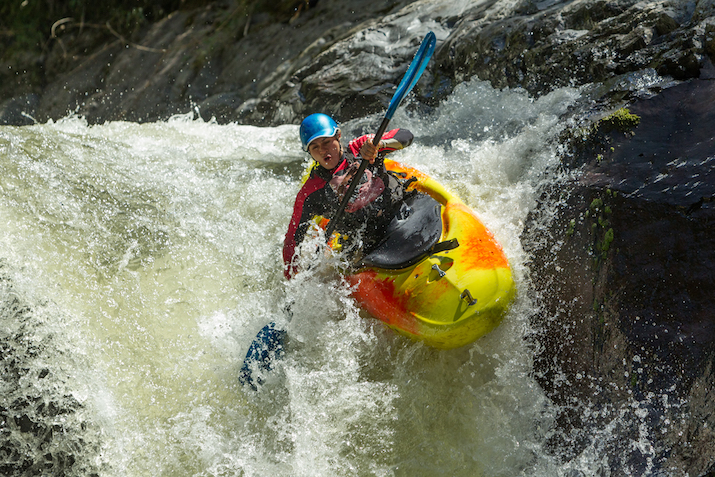
Knowing your limits is important in many things in life. Deciding to forgo a paddle on Class IV whitewater if you don’t have the skills and experience to do so safely is always a good idea (no matter how far you might have traveled to paddle on a certain river).
When you are paddling alone, it is really important to choose locations that are well within your comfort zone. There are times as paddlers that we get to stretch our comfort zone and try new things, but that is best done when we are with other paddlers that are just as skilled (or even more so) and experienced as we are.
When you are paddling solo, it is a good idea to stick to locations that won’t really test your technical skills or physical endurance. This will allow you to enjoy paddling in new places when you are alone without putting yourself in harm’s way.
Know How To Self Rescue
Photo by Pe-Lens via Shutterstock
All kayakers should know how to get themselves back into their kayak if they happen to capsize. Obviously, this is even more important if you are kayaking by yourself.
For recreational kayakers, it is much easier to climb back into a sit-on-top kayak if you happen to capsize and fall out. When you are paddling a sit-inside kayak, however, you will need to master techniques like the wet exit and the Eskimo roll.
There are actually many rescue techniques that kayakers can use to their advantage in different situations. As a solo paddler, however, the most important thing you can learn is how to self-rescue.
From a technical standpoint, the technique is not overly complicated. It just may take a good bit of practice in order to get to a point where you feel 100% confident with it.
If you don’t have much practice with self-rescuing yet, we recommend taking a course in your local area. For those that are unable to find a course, look for local kayaking groups that organize meetings via some kind of online platform.
These will not only give you a way to meet other kayakers in your area but they can also be a very affordable way to learn new skills from kayakers with more experience than you.
Prepare For The Worst ”¦ But You Can Still Expect The Best!
Photo by CherylRamalho via Shutterstock
There’s a common saying in many outdoor recreation circles that says the following: “It’s not a matter of if things will go wrong but, rather, it is simply a matter of when the unexpected will occur.”
Thankfully, you can prepare for the worst by packing cold-weather gear, snacks, emergency equipment, and other essentials when you are kayaking alone. To help you get started down that road, check out our printable kayaking checklist.
Growing up in the mountains, we always dressed in layers or, at the very least, packed them when we left the house. So it was easy for me to build this habit as a kayaker later on.
When you are kayaking solo, bringing plenty of layers is never a bad idea. You never know when you might unexpectedly get wet or have a clothing blow-out or malfunction during your paddle.
That being said, we also think it is important to maintain a positive mindset when kayaking alone. We know from experience that focusing too much on everything that might go wrong can make you anxious, nervous, and stressed when you are paddling alone.
So take the time before you get on the water to plan your route, learn as much as possible about your paddling location, and pack the appropriate gear that will allow you to relax and enjoy yourself once you are on the water.
Strap Everything To Your Kayak
Photo by Ale_Koziura via Shutterstock
Think about what will happen to everything on top (or inside) of your kayak if you capsize unexpectedly. While you should be wearing a properly fit PFD and not have to worry about keeping your head afloat, you shouldn’t have to swim all over the place to collect gear that is floating away from your kayak.
The best way to avoid this is to strap everything to your kayak in one way or another. If you have a sit-inside touring kayak with large sealed compartments, you will just need to make sure the hatch covers are secured properly before you set out.
For owners of sit-on-top kayaks, you will need to use the straps or bungee rigging on your kayak to make sure everything is attached properly. The goal here is simply to prevent everything from floating away if you capsize.
You don’t necessarily need to secure everything down so tightly so that it won’t move at all if you flip over (although doing so won’t hurt!). You should make sure that all of your gear is attached so that you only have to worry about getting yourself and your paddle back into your kayak if you flip.
Side note: you can even get a paddle leash that keeps your paddle attached to your kayak at all times!
How To Organize A Point-to-Point Solo Kayaking Trip
Most solo kayakers are limited to out-and-back paddles that launch and land from the same location. However, a little advance planning makes it possible to organize a point-to-point solo trip down a river or along a coastal shoreline.
Here are a few quick tips if you are interested in this type of kayaking:
Reach Out To A Local Outfitter or Guide Company
Photo by Andrii Oleksiienko via Shutterstock
I have had great luck finding local outfitters that will run a shuttle service for point-to-point kayakers. The availability of these shuttles may be on a set schedule or an as-needed basis, so it helps to call the outfitter well in advance of the dates you are looking to paddle.
In many cases, you will drive to the outfitter’s location where they will help you load your kayak onto their transport vehicle. From there, they will drive you to the put-in location and have a set time where they will pick you up from the pull-out spot.
In some cases, you may be able to paddle back to the outfitter’s headquarters and pull your kayak out right where you left your vehicle. This is the most convenient way to set up a point-to-point paddle, but you will need to pay a fee to the outfitter for their services.
Study The Waterway for Emergency Takeout Points
Photo by Alexander Kolomietz via Shutterstock
It is always a smart idea to have a few emergency takeout points in the back of your mind when organizing this kind of paddle trip. Hopefully, everything goes according to plan and you pull out where your vehicle (or your shuttle driver) is waiting for you.
Unfortunately, things don’t always go according to plan and not all rivers, lakes, or coastlines will offer an abundance of places where you can pull your kayak out of the water and call for an emergency pick up.
So you will need to have a few designated locations in the back of your mind before you start your paddle. If you are really struggling to come up with these, the company you use to organize your shuttle can probably be a great resource to tap into.
Don’t Be Afraid to Tag Along with Others!
Photo by Sergei Domashenko via Shutterstock
If you organize a shuttle service in a popular location, there is a good chance that you will find yourself in a transport vehicle with others that are going to be paddling the same stretch as you.
If this is your first point-to-point kayaking trip, don’t hesitate to ask others if you can paddle with them for the day. The worst they can say is that they would rather prefer their space and you will be right back to where you were when you decided to get in that transport vehicle by yourself in the first place!
Final Thoughts
Photo by Virrage Images on Shutterstock
Whether you are planning a multi-day expedition on one of the best rivers to kayak in the U.S. or simply heading out for a quick paddle on your local lake, preparation is obviously more important when you are kayaking alone.
It is still essential when you are kayaking with a partner or in a group, but certain failures in preparation can often be mitigated by your fellow paddlers in those situations. As a solo kayaker, you simply need to be as prepared as possible.
We hope that the safety and preparation tips in this guide will help you feel more confident and comfortable planning solo paddle adventures. Remember that you never know who you will meet when you paddle alone and don’t hesitate to ask others if you can tag along with their group for the day!

