Many touring kayaks and sea kayaks are built with rudders because they have to handle ocean currents and waves. If you’re interested in kayak rudder DIY, you will need to know how to add a rudder to your kayak.
If your kayak is compatible, installing a rudder is a great DIY task that you can do at home. If it’s the offseason for paddling in your area and you’re looking for a guide to help you upgrade your kayak for better tracking and steering control, you’re in the right place.
If installing a rudder isn’t super high on your priority list, you may be interested in DIY kayak rod holder ideas, DIY kayak rack ideas and plans, DIY kayak stabilizers, or a design for a PVC kayak cart you can build at home.
Now let’s talk rudder DIY!
Also Read:Â Best Kayak Carts, Wheels, & Trolleys
Photo by B.Forenius via Shutterstock
What is a Kayak Rudder?
Photo by marekuliasz via Shutterstock
The two terms pertaining to this topic that many people get confused about are rudder and skeg. While some articles out there may use these two terms interchangeably, they are not synonymous with one another.
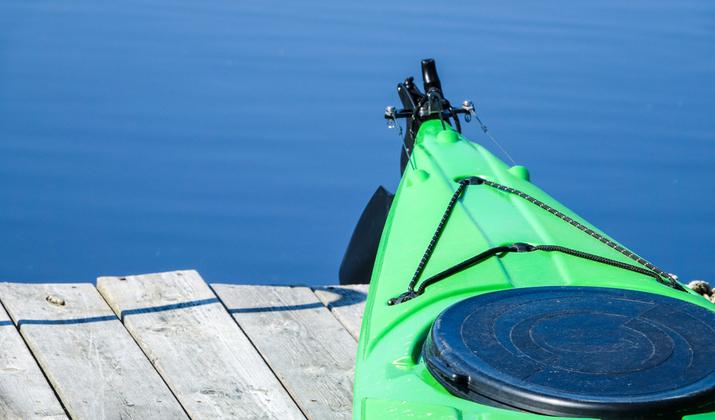
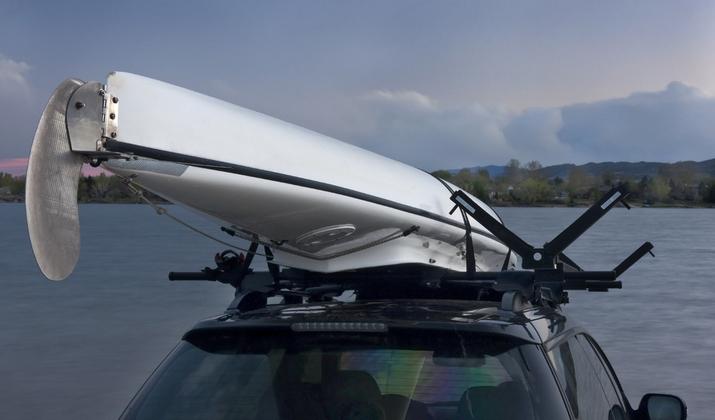
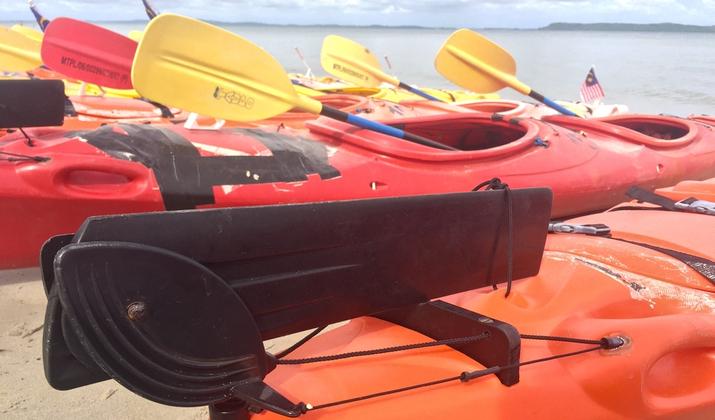
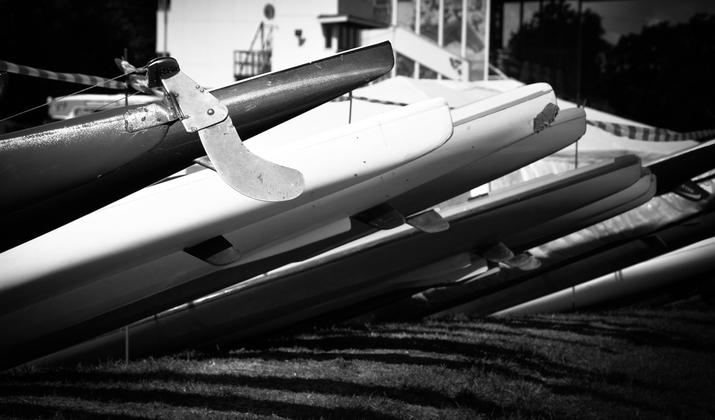
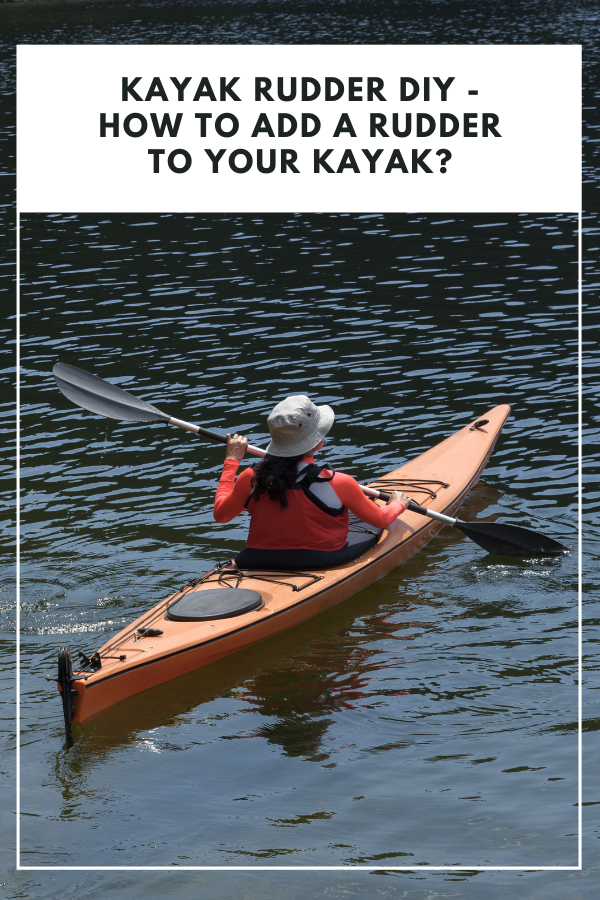
A rudder is generally a fin-shaped device that drops down from the stern of a kayak. That device is connected to steering lines that run to either a hand-controlled or foot-operated mechanism in the kayak’s cockpit to give the paddler the ability to steer as they are underway.
A skeg, on the other hand, is typically mounted somewhere along the keel of the kayak towards the stern. It is still generally a fin-shaped device that extends below your kayak but, unlike a rudder, it cannot be moved or pivoted left or right to change your course.
A skeg does move up or down and does improve your kayak’s tracking ability, but a rudder provides more control for the paddler on the whole.
Kayak Rudder Parts Explained
Photo by B.Forenius via Shutterstock
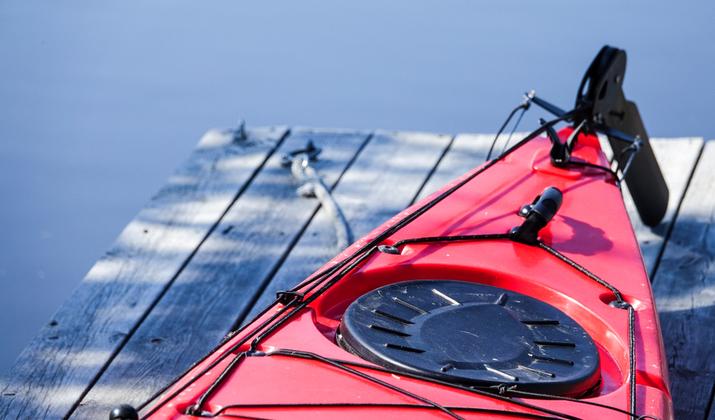
There are four primary parts of a kayak rudder that all kayakers should be familiar with. They are the rudder blade, foot pedals, lift lines, and stainless steel cables.
- The rudder blade looks sort of like the fin on a surfboard or paddleboard. It extends down into the water at the stern of your kayak and moves side to side to help you steer. Most rudder blades also move up and down so you can decide when to use them and when to store them safely on your kayak’s stern deck.
- Foot pedals are located in the cockpit and are used to control the alignment of the rudder blade. You’ll usually push on the right pedal to bring the bow of your kayak in one direction and push on the left pedal to correct in the opposite direction.
- Lift lines are attached to the blade of the kayak and extend up towards the cockpit. These lines allow you to deploy or retract the rudder blade while you’re seated comfortably in the cockpit.
- Stainless steel cables connect the foot pedals to the rudder blade. They usually run under the deck of a kayak, but they sometimes run on top of the deck on some kayak models. They are what allow you to control the blade’s orientation using the foot pedals.
Keep in mind that not all kayaks that have a rudder utilize foot pedals. This is especially true for pedal-driven kayaks where your feet are already occupied as the primary body part used to propel your kayak forward.
In this case, the rudder will be controlled by a hand-operated lever on one of the gunwales of your kayak. This lever will still be reachable from the cockpit of your kayak.
Why Add a Rudder to Your Kayak?
Photo by oksana.perkins via Shutterstock
There are many reasons why someone might want to add a rudder to the stern of their kayak. Let’s explore a few of the main motivators:
More Control
As kayaks get longer, it becomes more difficult to keep them straight. This issue becomes exacerbated when you’re dealing with gusty crosswinds, tides, or strong ocean currents.
Without a rudder, you will have to make corrective paddle strokes over and over again and it can be hard to keep your kayak pointed in the direction you want to go.
With a rudder, you’ll be able to make adjustments to your course with the rudder as well as your paddle, which ultimately gives you more control in any kind of weather.
Reduced Fatigue
Having to make those corrective paddle strokes, again and again, will tire you out more quickly than if you were maintaining a regular paddling cadence. Fatigue becomes even more dangerous if you’re battling adverse weather.
With a rudder, however, you can make course corrections without altering your paddling cadence. When you’re paddling long distances, this has a significant impact on reducing fatigue and can also make you more capable of making quick paddles if you do have to get out of a sticky situation after you have already been on the water for several hours.
Safer Paddling
You may have already gathered this from the previous benefits, but having more control combined with reducing your fatigue ultimately leads to safer paddling.
In extreme scenarios, a rudder can be the difference between you making it around the next ocean point to a safe landing spot or getting blown into a rocky section of shoreline.
While operating a rudder can take some getting used to for new kayakers, most of us would prefer to learn a new skill that gives us more control of our kayak when we need it.
It’s like learning how to drive a car with a manual transmission in that it’s not absolutely necessary, but it does give you extra control when operating in certain environments.
Can You Add a Rudder to Any Kayak?
Photo by isabela66 via Shutterstock
To put it as simply as possible, there are rudder-ready kayaks and there are non-rudder-ready kayaks. While it is possible to install a rudder on a non-rudder-ready kayak, it generally requires a bit more work.
Most rudder-ready kayaks will have multiple screw holes at the stern that are made to secure the rudder’s mounting bracket. They will also have channels that make stringing the cables and lift lines a lot easier.
If your kayak doesn’t have these two distinct features, you will have to create your own screw holes for mounting by drilling into the stern. Then, it’s usually best to run the cables and lift lines on the deck of the kayak.
The problem with this is that drilling into a kayak that’s not made for a rudder can compromise its buoyancy. So if you do go down this path, you will need a plan for resealing those drill holes so your kayak remains as buoyant as it was originally designed to be.
So maybe the better question here might actually be: what kinds of kayaks actually need rudders?
In practice, any type of kayak that is going to be used for long-distance paddling or kayak camping will benefit from having a rudder. Additionally, ocean fishing kayaks are often equipped with rudders to help you deal with tides and currents.
If you often paddle in a location where high winds can pick up at seemingly any moment, installing a rudder on your kayak won’t hurt. However, if you use a recreational kayak and only go out for an hour or two when the conditions are at their best, you are going to be okay without a rudder nine times out of 10.
How To Add a Rudder to your Kayak?
If you are intent on installing a rudder on your kayak, it’s time to look at the general steps to help you do just that. Of course, you should always follow the instructions that came with the rudder kit you’re using and consult your kayak manufacturer before drilling into your kayak.
Installing a Rudder Kit
Photo by hkhtt hj via Shutterstock
The easiest way to add a rudder to your kayak is to install a manufactured rudder kit. This process is relatively simple, but you will need to make sure you find a rudder kit that is compatible with your specific kayak model.
The best way to do that is to contact your kayak’s manufacturer directly. In many cases, manufacturers offer their own rudder kits that are specifically made for the kayaks in their fleet that are rudder-ready.
If your kayak’s manufacturer doesn’t offer their own rudder kit, there are also universal kits out there. That said, this could be a sign that your kayak isn’t compatible with a rudder kit, so it’s worth mentioning that here.
If your kayak is rudder-ready and you find a compatible rudder kit, here are the basic steps for installing one:
- Mount the rudder bracket using the screw holes at the stern of your kayak. Again, if your kayak isn’t rudder-ready, you will have to pre-drill these holes to the correct screw size before mounting the bracket.
- Install the rudder in the mounting bracket
- Thread lift lines through the designated holes, which should be pre-drilled on a rudder-ready kayak. Check to make sure they move freely once fully threaded.
- Attach the foot pedals in the cockpit. On rudder-ready kayaks, this will usually require removing old foot pedals and installing new ones that are meant to provide foot-operated control of the rudder. These new pedals should come with our rudder kit.
- Feed rudder cables through the channels of your kayak and connect them to the pedals on both sides.
Next, you can put your kayak up on a pair of folding stands to test that your new rudder is working properly. Don’t sit inside your kayak to perform this test, however, unless you are certain that your stands can handle the weight.
Simply use the lift lines to drop the rudder down. Then, you can reach inside the cockpit and press the pedals to make sure the rudder blade is moving as it is intended to do.
Building a DIY Rudder
PC uberfy via YouTube
If you can’t find a rudder kit designed for your specific kayak model, or you just want to try to make your own rudder, it is definitely possible. There are many materials you can use for the rudder blade itself.
Rudder Parts
This model utilizes plain-old plywood with a marine-grade varnish to provide water resistance. It also utilizes a little bit of rope for the cables, metal L-brackets, a metal swivel-mount, carabiners for the connectors, and a bit of ¾-inch PVC piping for the foot pedals.
Mounting the Blade
Starting at the stern, he ran a bolt through an existing hole made by the kayak manufacturer to secure an anchor line. On the top side of that bolt, he utilized a yoke end to attach to the top part of the blade and there is another bracket below to secure the bottom side.
This provides the basic pivot point for the blade and the degree to which it can pivot is dependent on the length of the rope lines it is attached to. Also, you can control how much this rudder impacts your steering by making the blade itself longer or shorter, depending on your preference.
Securing the Steering Lines
Once the blade is installed on that pivot point, he attached it to L-brackets to the top edges of the blade using bolts, nuts, and washers.
You will need to drill two holes into the top edge of the blade to do this, but make sure they are far enough down so that the top edges of the brackets are flush with the top edge of the blade when installed.
The easiest way to do this is to simply set the brackets where you want them and then mark the holes through the bracket holes. Then remove the bracket and drill your holes.
Once the brackets are installed, this kayaker secured a couple of small loops or rope through the hole in the bracket that is further away from the blade. He did this instead of attaching the carabiners directly to the holes because they had a tendency to lock up and impact the blade’s movement.
With these small loops of rope in place, you can attach one carabiner to each and then run your rope steering lines up towards the cockpit. Consider adding a small U-shaped bracket about halfway between the L-brackets and the foot pedals that the steering lines will run through.
This will keep them from falling down around the side of your kayak or getting caught by other items you are loading into your stern storage compartment. Just make sure those U-brackets are large enough that they don’t impede the rope’s ability to move back and forth freely.
Making Foot Pedals
For this design, he utilized a section of PVC pipe that runs perpendicular to the length of the kayak. It is just as sideways as the kayak’s cockpit and mounted in a location that can be controlled easily by his feet when seated in the kayak.
In the center of the kayak, he utilized an existing ScottyMount as his mounting location he crafted a PVC square that runs through the ScottyMount, and then the longer section of PVC is bolted directly to that square piece.
At the ends of that longer section of PVC, drill a couple of holes through the PVC that your other two carabiners will attach to. Make sure they aren’t too far into the PVC that your carabiners won’t be able to fit through easily.
From there, you simply need to attach the loose ends of your rope steering lines to those carabiners and you are ready to test your DIY kayak rudder!
The Video Tutorial
If you do want to take on a DIY kayak rudder project, the video below is a great resource to help you get started!
Keep in mind that different kayak models will require creative mounting solutions that may stray from the outline provided by the owner of this Perception Caster 12.5!
Final Thoughts
Photo by Wirestock Creators via Shutterstock
Because installing your own kayak rudder usually involves drilling into your kayak, this DIY project should be approached with care and caution.
Anytime you drill into the hull of your kayak, you need a plan for resealing those holes so that your kayak’s flotation is not compromised.
If you are hesitant to undertake this kayak DIY project on your own, there is no shame in contacting a professional. In many cases, it can be a good idea to pay a little more to have the job done right the first time around!

