Are you a DIY kind of person? If so, you may have been thinking about building your very own kayak launch system.
Building a kayak launch system takes some time and hard work, but it’s gratifying.
At the end of this article, you’ll have all the information you need to build a kayak launch system that you can use to get your kayak into the water.
I’ll discuss the materials you need to buy and how to put together the launch.
The short version: You’ll need wood to create a box-like or rectangular-like frame.
You’ll also need a rolling system, which you can construct with PVC (a material we feature in our DIY kayak cart guide) pipes and galvanized piping/conduit or with rubber rollers.
For complete instructions on how to build your homemade kayak launch, read on!
Also Read:Â Best Kayak Carts, Wheels, & Trolleys
What Is a Kayak Launch System?

A kayak launch system is a construction that makes it easy to get your kayak in and out of the water.
Getting your kayak from shore to the water isn’t always easy. Many people (especially seniors) have difficulty getting in and out of the kayak once it’s on the water.
A kayak launch can solve that problem. You can use the launch to get your kayak, with you in it, into the water with ease.
No longer will you have to worry about getting your feet wet while getting in and out of the kayak. You can stay nice and dry and still enjoy your kayaking trip.
Getting out of the water is easier with a kayak launch as well, as some kayak launches allow you to pull yourself back to shore.
There are different types of kayak launches, though. Most of them look like ramps, and they make it so that you can slide your kayak straight into the water from the top of the ramp.
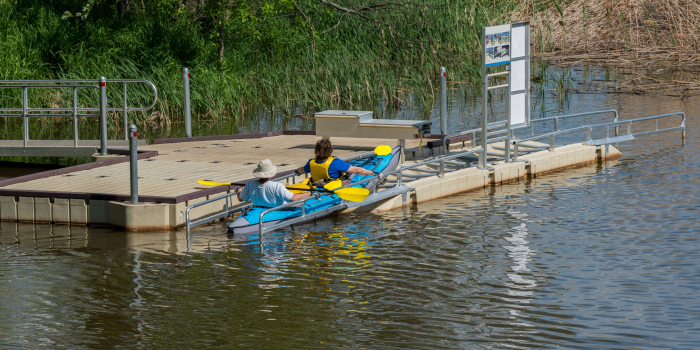
If you already have a dock, though, you can add two railings to it.
Your kayak can rest on those railings, which jut out over the water and create a sort of pocket from which you can paddle your kayak out into the water.
Also Read: Best Kayak Coolers
Benefits of Homemade Ramp Kayak Launches
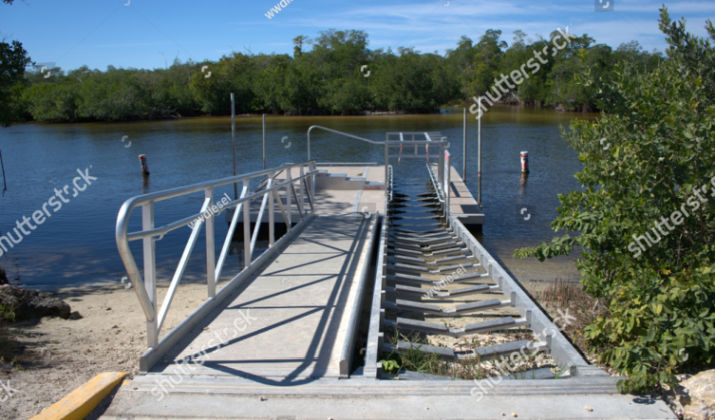
A homemade ramp launch, like a homemade kayak water cooler, is relatively easy to construct.
You don’t need to be an expert carpenter to build one – you just need time, some essential tools, and some basic wood crafting experience and knowledge.
They are also relatively inexpensive to build and won’t take too much time.
In addition, a good reason to build a ramp launch is that it makes it effortless to get your kayak into the water when needed.
You can just roll it down the ramp and be on your way – if you build it correctly. 
Are DIY Launches Safe?
You might be wondering whether it’s even safe to use a homemade kayak launch. The answer is yes! If the launch is constructed correctly, it’s absolutely safe.
However, you must make sure that all parts are securely fastened and that the launch is securely attached to the shore in some way or another.
You might want to test the launch before going in yourself. You can slide a kayak down – perhaps with some gear to add some weight.
If everything goes well and the structure doesn’t fall or break, you can use it yourself.
Homemade Kayak Launch #1
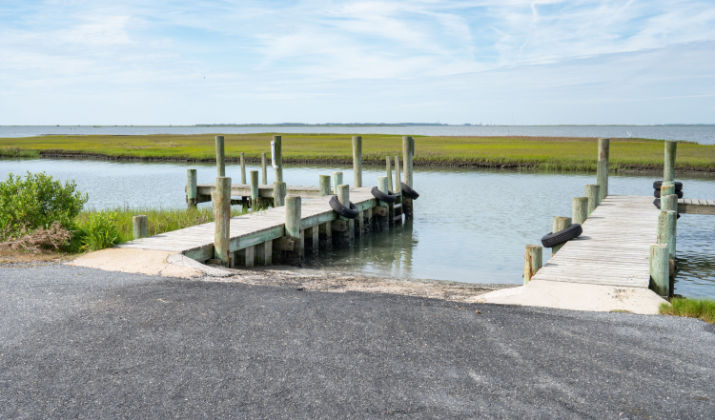
Let’s start talking about the materials you will need to build your first homemade kayak launch.
First, you’ll need wood. We will be using wood to create the frame for the ramp. Using wood for the framework is a good idea because water is bound to get onto the ramp.
Part of the ramp will jut into the water. Water can ruin metal and cause it to rust. Water can ruin wood as well, but it will be a lot easier to replace damaged wood.
Besides, wood is relatively cheap, so replacing old wooden boards with new ones won’t cost too much money. For this kind of kayak ramp, I would recommend buying a set of 2×4 wooden boards.
You will be using these 2×4s to construct the two sides of the ramp – the long parts that jut into the water and on which your kayak will slide down.

You will also need 2×4s for the width to create lateral support for your structure and connect the two side lengths.
You will also need piping for the rollers. The rollers will help your kayak roll down the ramp into the water; without them, there is no purpose for the ramp.
I recommend using galvanized piping with PVC pipe sleeves to create these rollers. However, you can also use rubber rollers.
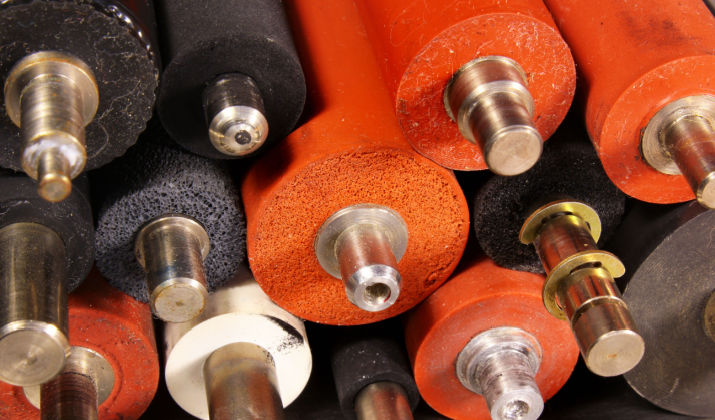
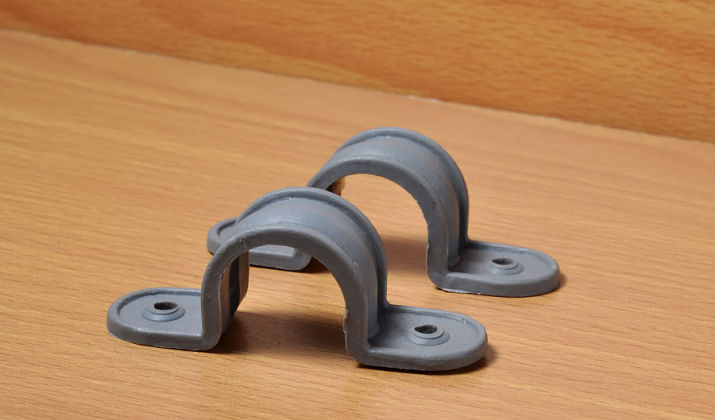
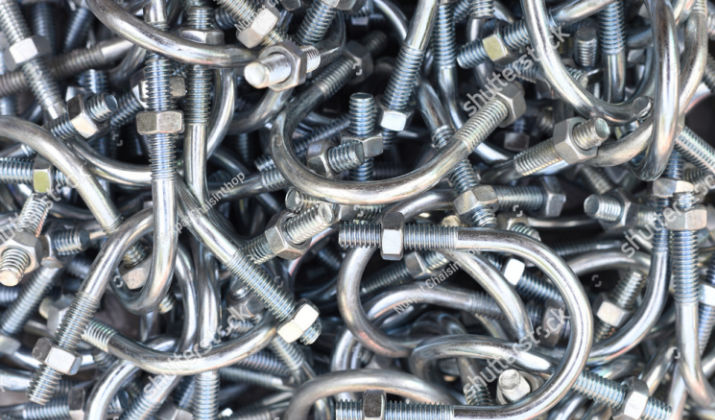
Either way, you will need something to attach the rollers to the frame. I recommend buying U-brackets/clamps for piping, but for rubber rollers, you can use lock nuts with hex bolts.
Finally, you will need a way to secure the ramp to the ground. Otherwise, the ramp will just slide down with your kayak into the water, and you don’t want that.
For that purpose, you can purchase a pair of dock eye bolts, which you will be attaching to the top of the launch. So, to keep things simple, here is a list of things you will need:
- Lumber (2×4s for the side lengths and/or 2×6s or 2×8s for lateral support)
- Galvanized pipe and PVC pipe or rubber rollers
- U brackets (U bolts can work too) or hex bolts with lock nuts
- Dock eye bolts
Building the Kayak Launch
You’ll start by creating the two side lengths for the framework. Your kayak will be sliding down on these into the water, so it’s crucial to get the length right.
They must be longer than your kayak! If they are shorter than your kayak length, it won’t work well. It doesn’t have to be that much longer than your kayak, but it does have to be a foot or two longer.
You want it to be long enough so that when your kayak enters the water while exiting the ramp, it doesn’t get stuck in the mud in the shallow area of the water.
Therefore, the ramp can not be too steep either. This is not a rollercoaster ride but a ramp. So, when you are cutting the initial lumber for the frame length support, make sure you cut it long enough.
You can trim it later, but if you trim it too short early on, you will have problems, so it’s always best to err a bit on the longer side than on the shorter side.
Next, you will be cutting the lateral support for the width. This must be wider than the width of your kayak.
You will be attaching the two long pieces that support the length and the two pieces that support the width to create a sort of box-like structure, which is the framework on which you will build the rest of the ramp.
Make sure they are screwed together correctly, and the structure is strong. The next step is to attach small lateral struts to either side of the length to provide support for the kayak on either side.
You want there to be an empty place between the lateral struts of both sides in the middle of the frame.
That is where your rollers will go, and it is what your kayak will use to roll down into the water.
If you are using piping, here’s how to build it. You will cut the galvanized piping according to the width of the overall structure, but you will be cutting the PVC piping according to the width of the inner space in between the lateral struts.
That way, you can insert the galvanized piping into the PVC piping, which will be like a sleeve over the galvanized piping.
That will allow the PVC piping to roll freely and rotate, creating a rolling system for the kayak to slide down. You need just the right amount of rollers.
The heavier the kayak, the more rollers you will need, or else the structure might break.
To attach the galvanized pipe to the struts, you will be using U-brackets. Another option, as I mentioned, is using rubber rollers instead of piping.
Rubber rollers may be less likely to damage the hull of your kayak compared to PVC piping. Rubber rollers aren’t that long, usually, which presents a bit of a problem.
Long, vertical pieces of lumber in between the struts (one on each side) that go along the length of the frame would be necessary, with a small empty space in between them for the rubber rollers.
That would provide a place for the kayak to roll down. However, our work is not yet done, as we need to ensure the ramp stays in place on the shore.
We can secure the eye bolts to the top of the ramp and then use a rope to tie them to a structure on shore so that the ramp does not slide into the water.
If that does not provide enough stability for your comfort, you can always add more eye bolts along the structure.
Homemade Kayak Launch #2

If that seems like too much work for you, I have another option that requires much less wood (but more piping).
You will need two long pieces of wood for lateral support at the top and bottom, but that’s it. You will also need long pieces of PVC or conduit piping.

I recommend four of them, but if you want to build a dual ramp that can launch two kayaks at the same time, you can definitely do that as well with double the amount of pipes.
You will basically be attaching the PVC piping to the two long pieces of wood, which will provide the base width of the structure. The kayak will slide down the pipes into the water.
While the upper piece of wood will be at the very end of the piping, the lower piece of wood can be somewhat toward the end, with the pipe jutting out beyond it into the water.
That way, the lower piece of wood can provide support for the structure to rest on the shore. To secure the pipes onto the wood, we will be using U-bolts, like before.
This is a very simple ramp that doesn’t take much time to build. You can again use eye bolts to ensure the structure is secured onto land and doesn’t slide into the water.
Homemade Kayak Launch #3
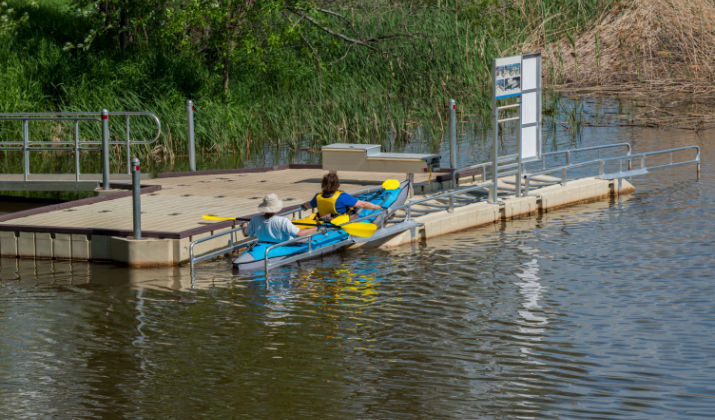
Another option is creating a single rectangular, ladder-like structure using 2×4s.
Take the wood and make a long rectangle with a length and width that is just a bit longer and wider than your kayak itself.
To make this wooden ramp more durable and stable, you should add a few lateral pieces of wood, similar to ladder steps, but you can have lots of more empty space compared to the first homemade kayak launch we looked at.
You can then use conduit piping inside PVC piping as rollers along the width of the rectangle. Just use U-bolts to install them onto the “ladder rungs.”

For optimal results, you will want the PVC piping to be slightly shorter than the conduit piping inside, so it can rotate easily.
This kind of kayak ramp is relatively lightweight and easy to build. Because it’s so light (it doesn’t have as much weight because it doesn’t have as much wood), you can also use it to roll a kayak off the back of your pickup truck.
To ensure it remains stable on the banks of the river, you can use eye bolts, as usual, to secure it.
A variation of this system would be to use a single roller – either using piping or rubber rollers – at the top of the ramp.
You can then use ropes instead of rollers for the rest, but you will still need some sort of lateral support in the form of wooden struts on the other side of the frame – the side closest to the water.
Make sure the ropes are strong enough so the kayak doesn’t sag down and hit the wooden struts.
Homemade Kayak Launch #4
If you have a dock that juts out over the water, and you only need help stabilizing yourself while you get into and out of your kayak, you can build a standing assist launch.
You can use an existing post of the dock for one side and push another post into the water, with a space in between that matches the width of your kayak.
Then, use PVC piping to cover the posts and create a small bar on top that connects the two posts, which you can use for handheld support while getting in and out of your kayak.
It’s also great for providing some stability when getting out of your kayak. Simply pull your kayak into shore so that the bow goes between the two posts and use the handheld support to get out and onto the dock.
Homemade Kayak Launch #5
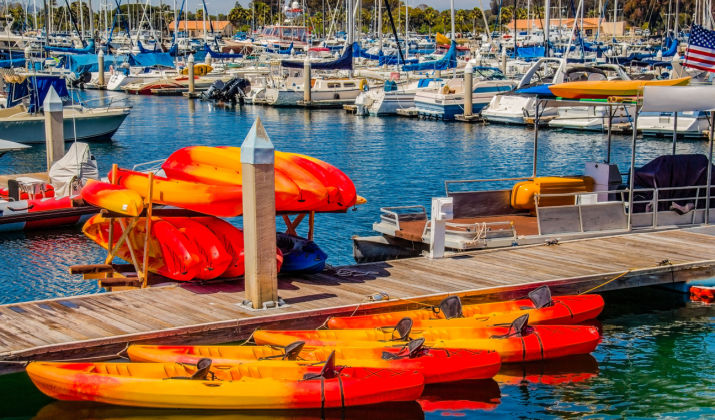
Finally, as I mentioned, you can build a simple launch system that helps your kayak stay stable when launching it from the dock.
This can even work for perpendicular launching. All you will need are two pipes that jut out from the dock, with a space in between that is just enough for your kayak.
You can place your kayak there so that it’s stable when you get in and out.
Buy A DIY Kayak Launch Kit
For some people, building an entire launch system from scratch might be a bit difficult. Fortunately, there is a company that sells launch kits to make the process a lot easier.
If you enjoy building things with your own hands, but you don’t want to worry about going to the hardware store or Home Depot and searching for all the necessary equipment, this option might be for you.
The company I recommend is called Multinautic, which sells a wooden kayak launch system that you can use to build over a lake or river.
The system comes with handrails running along the length of the launch, which makes getting in the water a lot easier.
It also makes getting out of the water easy, as you just roll into the launch pad from the water and use the handrails to get out of your kayak.
That isn’t possible when you are using a ramp to slide your kayak down into the water. It costs just over $1,000.
That is a bit more expensive than what you can expect to spend if you buy the materials yourself.
However, you will get all of the materials in one place without having to search around, and you won’t have to waste money on extra materials you don’t end up using.
You can buy the kit and see updated pricing here. The company also sells wooden and aluminum dock kits, which you can find on the website.
Tips for Launching Your Kayak

Choose a Good Location
When deciding where to launch your kayak, it’s crucial to choose a spot where the shores are smooth and not rocky and where the water isn’t choppy or rough.
This is easy if you construct a portable ramp that you can take with you everywhere, such as the ladder-type ramp I talked about.
You can find a place on the shore that seems like a nice spot to launch and then find a tree or something with which to secure the launch ramp.
If you are building a launch, and you plan to leave it there permanently, select a spot that usually has calm waters. Be aware of how different conditions, such as a rising tide or heavy rains, may influence the level of the water in that spot.
Sit in First
It’s often a good idea to sit your butt into the back of the kayak cockpit before swinging your legs in.
This tip is handy when launching from a dock because it allows you to use your feet to keep yourself close to the dock.
If you put your feet in first, the kayak can start tipping over, and if you find it hard to stabilize yourself, you can fall out of the kayak and into the water.
Secure Your Kayak Before Launching
If you are using a ramp, you might consider using a rope to secure your kayak in place at the top of the ramp until you get in.
You can tie the rope to something on shore or even to the launch if it is secure. Once you are seated in the kayak and feel comfortable, you can untie the rope so your kayak can slide down the ramp and into the water.
Another option is having someone hold your kayak while you’re getting in. Once you’re ready to launch, have them release the kayak, and off in the water you go!
Keep Your Weight Even
Whether your kayak is in the water and you are entering it directly or you are using a launch, it’s important to keep your weight even as much as possible.
That will prevent the kayak from tipping over on one side or falling off the launch. Try to balance yourself and avoid sudden movements, as that might tip over the kayak.
Use Your Paddle
Placing your paddle on the back of your kayak, perpendicular to your kayak, can help stabilize it.
You can then use your kayak to push away from shore once you are ready to launch.
You can also stick it into the ground under the shallow water if you need to stabilize yourself or if you need something to hold onto.
Be Careful When Launching an Inflatable Kayak
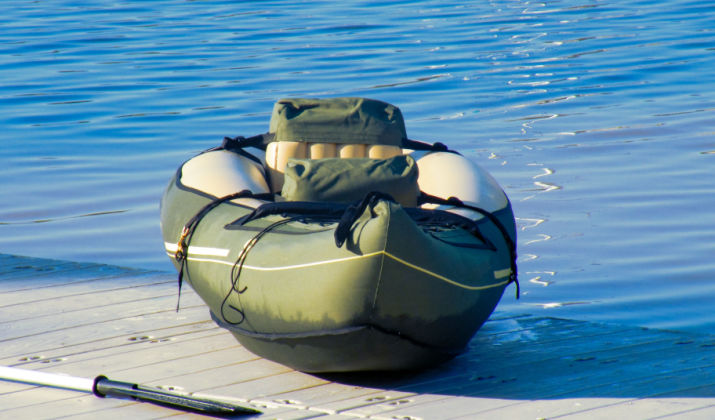
Inflatable kayaks are awesome! They are durable, cheap, safe, and easy to use.
However, for inflatable kayaks, I would recommend using pipe rollers that go along the width of your launch.
Also, make sure that there are no sharp nails sticking out, or they might puncture your kayak.
Wear a Life Jacket Before You Launch
It’s important to wear a life jacket when kayaking. It will keep you safe, and it may be required by the law where you live! Even if you know how to swim, I recommend wearing a life jacket.
Put it on before you launch, not after, especially if the riverbed is steep and the water gets deep quickly. If you don’t know which life jacket to buy, check out our list of the best life vests.
Conclusion
I hope this article gave you some ideas for your homemade kayak launch. Simplicity is key – don’t try to overcomplicate things.
All you need is a frame for a ramp and a rolling mechanism for rolling your kayak into the water. The rolling mechanism can be accomplished with pipes or rubber rollers.
With a bit of creativity, you can even come up with your own unique design.
If you liked this article, please share it with a friend! If you love DIY projects, you might also like our DIY kayak rack ideas and our guide on how to build your own kayak – we even have a list of 15 kayak plans (with PDFs) that you can build this week!

