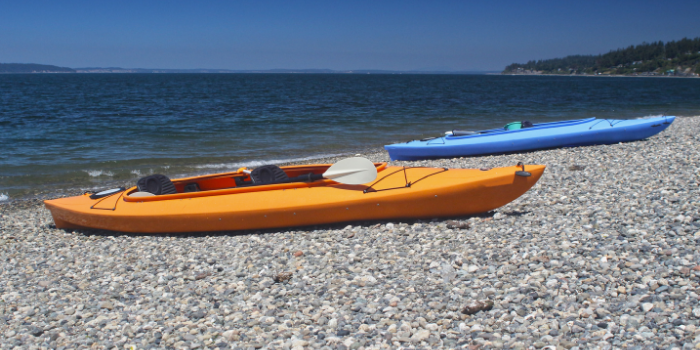
If you are a kayak owner who is comfortable tackling his own repair and outfitting projects, whether that means sealing a small crack, patching an inflatable kayak, or mounting new accessories like a rod holder or camera mount, this post is for you.
Even if you’re trying to figure out which adhesive matches your kayak’s material (PVC, fiberglass, rotomolded plastic, etc.) and your timeline for getting back on the water, this breakdown will help
Users dealing with major structural repairs or who are not confident working with epoxies and marine sealants, shouldn’t ignore the post either.
We are going to talk about some of the best glues for kayak outfitting today.
But Why Trust This Guide?
We did ample research by digging in widely available marine and outdoor adhesive brands, comparing their intended uses, cure times, material compatibility, and temperature tolerances as listed by the manufacturers.
The goal is to give you enough context about how each glue performs so you can match it to your specific kayak material and repair situation.
As with any adhesive product, always refer to the manufacturer’s instructions and safety data before use, and consider your own comfort level with DIY repairs versus seeking professional help.
Best Glue For Kayak Outfitting
From sealing torn seams on inflatable kayaks to attaching new fishing rod holders on a fly fishing kayak, there are myriad uses of a kayak glue.
Some of these glues are better for specific types of kayaks while others are made for all-purpose use.
We will also help you decide whether to make DIY repairs or seek the assistance of a professional.
Let’s begin.
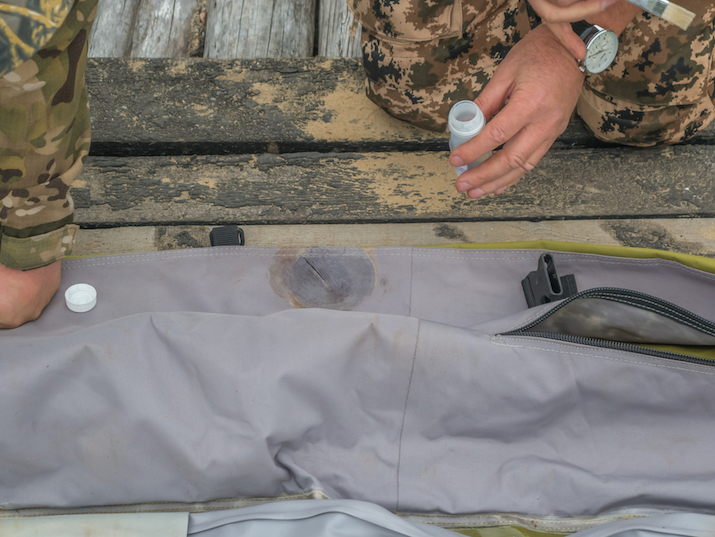
Photo by NataliaVo via Shutterstock
Best Glues at a Glance
- Gear Aid Aquaseal FD
- J-B Weld WaterWeld Epoxy Putty Stick
- J-B Weld MarineWeld Marine Epoxy
- E6000 Clear Multipurpose Adhesive
- 3M Marine 5200 Fast Cure Adhesive Sealant
- Better Boat Marine Sealant and Adhesive
- Loctite PL Marine Fast Cure Adhesive Sealant
- Sikaflex-291 General All-Purpose Fast Cure Marine Adhesive and Sealant
- Weldwood Contact Cement
- NRS H2 Glue
Reasons To Use Glue For Kayak Outfitting
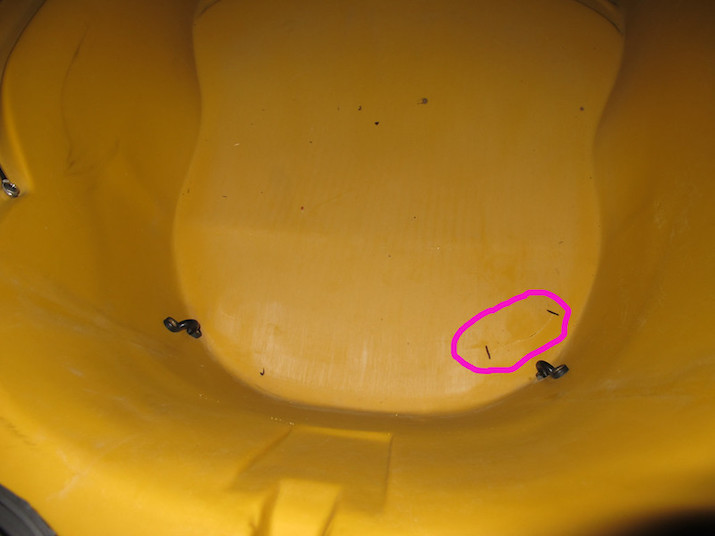
Photo by Patrick Mueller via Flickr
But first, let’s understand why do you need glue for kayak outfitting? Here are some of the main reasons experienced kayakers typically keep some type of marine-grade glue or sealant in their kayak repair kit.
Sealing Cracks
This purpose applies to rigid plastic or even fiberglass and wooden kayaks. The expansion and contraction of these materials (with changing temperatures) sometimes causes small cracks in the hull of a kayak that needs to be sealed with marine-grade glue.
Fixing Tears and Punctures
This will be the most common type of kayak repair for owners of even the best inflatable kayaks. While many of these kayaks are just as durable as whitewater rafts, they can more easily be torn or punctured than rigid plastic or fiberglass kayaks.
Resealing Bulkheads
This is only applicable to sit-in kayaks, but if you start to notice that water that enters the cockpit is making its way backward or forwards into your storage compartments, you may need to reseal your bulkheads to ensure your compartments are watertight again.
Re-attaching Foam Parts
Sometimes things like the thigh braces or seat pad in the cockpit of your kayak begin to detach over time. Even the best glue for kayak outfitting has a life expectancy, so you may need to re-attach these foam parts on an older kayak.
Mounting New Accessories
Most new accessories should be bolted or screwed into your kayak if they are going to bear any weight. However, some of these kayak glues are extremely adhesive and can be used to attach smaller accessories like a camera mount.
Making Major Modifications or Alterations
Adding a trolling motor, for example, is a major modification and often requires drilling new holes into the body of your kayak. Many DIY plans for this type of alteration will suggest kayak glue to make sure that the holes you drill are completely sealed before you put your kayak back in the water.
Building Kayak Accessories
There are also certain kayak accessories (like a PVC kayak cart or a DIY kayak cooler) that you can build yourself if you want to save some money. Most of these accessories use some sort of PVC or plastic material that will require glue to seal the joints and connection points.
Can You Make Your Own Kayak Repairs?
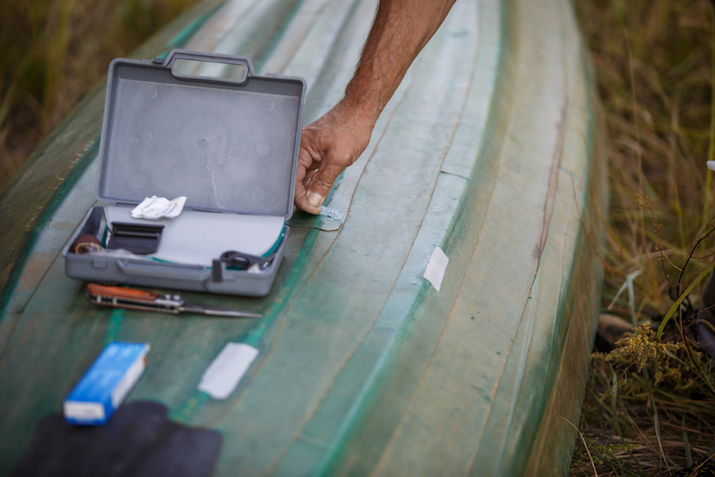
Photo by Simol1407 via Shutterstock
You absolutely can! There are so many good resources online to help you make solid repairs to your kayak even if it is your first time.
Whether you are more of a visual or audible learner, you can find step-by-step guides to most DIY projects online these days.
Fortunately, we are talking about applying glue to plastic, vinyl, PVC, fiberglass, or wooden kayaks and it is not like we are talking about plans to build your own plywood kayak from scratch.
Most of the places that wind up requiring kayak glue are also not the most visible parts of your kayak. So it tends to be more forgiving for first-timers that can simply focus on applying enough glue to get a good seal instead of worrying about how their work looks when the glue dries.
With all of that being said, we think you should go ahead and give it a try! However, we are not going to blame you if you find a local outfitter or guide company that offers professional kayak repair services.
Kayak Glue Buying Guide
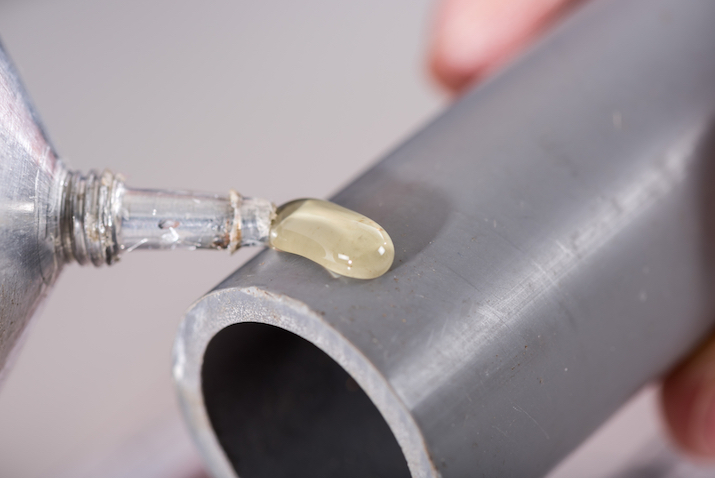
Photo by thodonal88 via Shutterstock
Before we get into our overviews of the 10 best glue choices for kayak outfitting, here’s how to choose the right type of glue for your specific needs.
What Is Your Kayak Made Of?
The material that your kayak is made out of is the most important consideration when you are choosing a kayak glue. Some are better for inflatable kayaks made of vinyl or PVC while others are designed for rigid kayaks manufactured from plastic or fiberglass.
Keep in mind that the material your kayak is made of will also dictate the other supplies and tools you will need to dry certain glues effectively.
For example, some will require the use of a heat gun to help you dry the glue quickly so that atmospheric moisture doesn’t impact and compromise the quality of the glue’s seal.
How Large Are The Repairs You Need To Make?
This will come into play as it applies to the quantity of glue you need to purchase. Some of these products come in relatively small tubes that may not be economical if you are making large repairs or adding a motor mount to the stern of your kayak.
For larger jobs, you will want to find glue that comes in the same type of tube you would typically use for caulking jobs around the house. This will also require you to have or purchase a caulking gun for a smoother and more even application.
What Color Is The Area You Will Be Working In?
The most common finish for a kayak glue is clear, but there are white, off-white, grey, black, and other colored finishes out there as well.
Color matching will come into play when you are considering how it will look when the glue dries and you back up a few feet to admire your handiwork.
For foam repairs and adhesion of darker accessories, you may want a darker glue that blends in more nicely with the accessory. If you have a bright-colored kayak, however, you will probably want clear glue so that your work doesn’t stand out when you are finished.
How Quickly Do You Need A Fix?
You should also look at the time it takes each glue to set up and cure completely. Some products have extended curing times that may not allow you to take your kayak out for a day or two after you apply the glue to the problem area.
Other products, however, are designed for quick repairs so that your kayak isn’t out of commission for very long. These products tend to be best if you ever need to make repairs in the midst of a kayak trip.
So, if you already have a need for a fix and you have pulled your kayak out of the water, you probably won’t mind a glue that takes a little longer to cure.
If, on the other hand, you are shopping for something to bring on extended kayaking trips in case of emergency, you should opt for glue with a shorter curing time if possible.



Reviews of Glues For Kayak Outfitting
1. Gear Aid Aquaseal FD
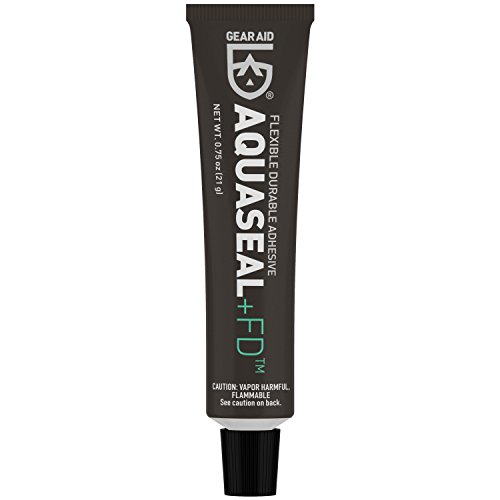
The Gear Aid Aquaseal FD kayak glue is best for inflatable PVC kayaks. It cures in eight to 12 hours and dries clear so that you don’t wind up with an ugly spot on the bottom or side of your kayak.
In addition to working on PVC material, it will also adhere well to vinyl, neoprene, nylon, canvas, leather, rubber, and GORE-TEX fabric. This makes it a viable product for patching other kayaking gear like a spray skirt or kayak booties for winter paddling.
This glue comes in a 0.75-ounce tube, but you can also purchase a two-pack if you need to stock up for future uses. In spite of its relatively long curing time, it will provide a watertight seal that won’t peel or crack for years to come.
Plus, the Aquaseal FD glue is resistant to abrasions and won’t be compromised if you use your kayak in extreme cold or hot temperatures.
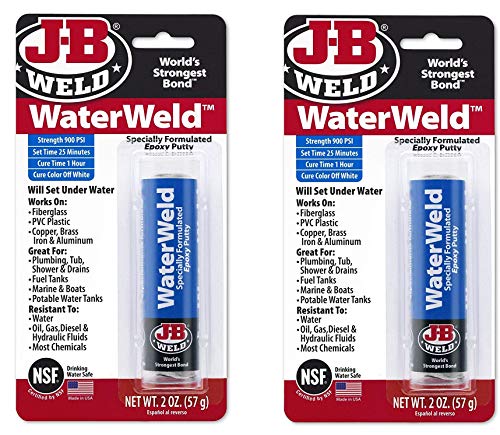
2. J-B Weld WaterWeld Epoxy Putty Stick
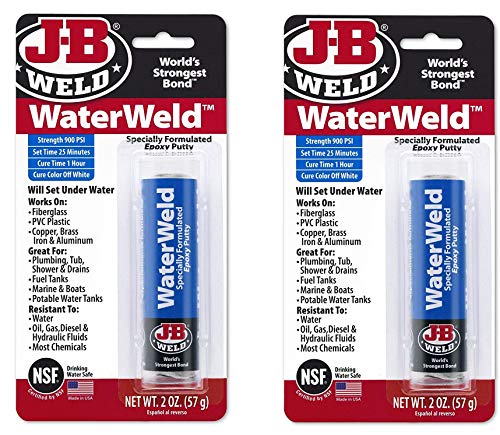
If you need something to help you make quicker, last-minute repairs, check out the J-B Weld WaterWeld Epoxy Putty Stick. This kayak glue sets in just 25 minutes and fully cures in one hour.
It is made for fiberglass, PVC plastic, copper, brass, and aluminum, and can even set up underwater if you need to make emergency repairs while you are on a kayaking trip. So this might be one to add to your kayaking emergency kit.
Once it is set and cured, this glue features a tensile strength of 900 PSI and is rated to withstands temperatures up to 300 degrees Fahrenheit. It is also resistant to oils and chemicals that can sometimes be floating on the water’s surface depending on where you paddle.
3. J-B Weld MarineWeld Marine Epoxy
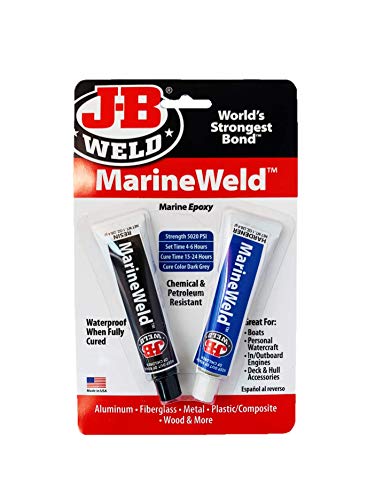
The J-B Weld MarineWeld Marine Epoxy is a slightly better product for plastic rotomolded kayaks than the WaterWeld glue. That being said, this epoxy will also work on fiberglass, aluminum, wood, and metal surfaces.
This glue dries to a dark grey color if you need it to blend with a darker kayak, but it takes a lot longer to set and cure than the WaterWeld glue. MarineWeld sets up in approximately four to six hours but doesn’t fully cure until 15 to 24 hours after application.
Just like the MarineWeld, however, it is resistant to petroleum and other chemicals once it cures and it also boasts a tensile strength of 5020 PSI once it dries. It can also handle temperatures up to 550 degrees Fahrenheit (287 degree Celsius).
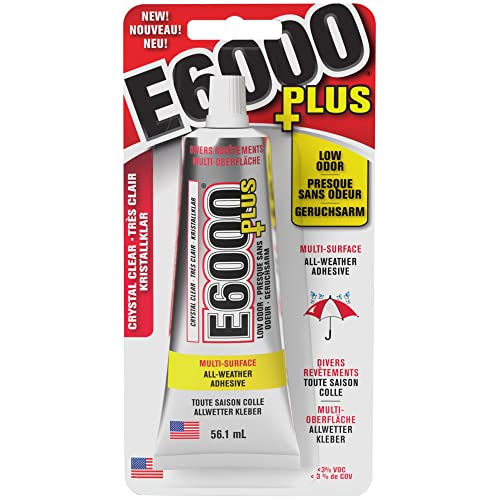
4. E6000 Clear Multipurpose Adhesive
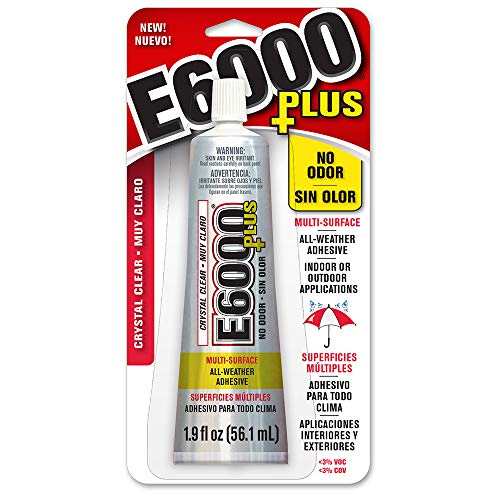
The E6000 Clear Multipurpose Adhesive is great for kayaks that you plan to paint after your glue dries. It dries completely clear and can then be painted on so that you can mask your repair job as needed.
This multipurpose adhesive lives up to its name because it works on plastic, fiberglass, wood, glass, concrete, metal, marble, fabric, and ceramic materials. It is formulated with a premium polymer technology that allows it to bond strongly to almost any substrate.
It initially requires about 24 hours to set up and then you will need to leave it for a full 72 hours to cure completely. Once it cures, this adhesive can handle temperatures down to -40 and up to 200.
5. 3M Marine 5200 Fast Cure Adhesive Sealant
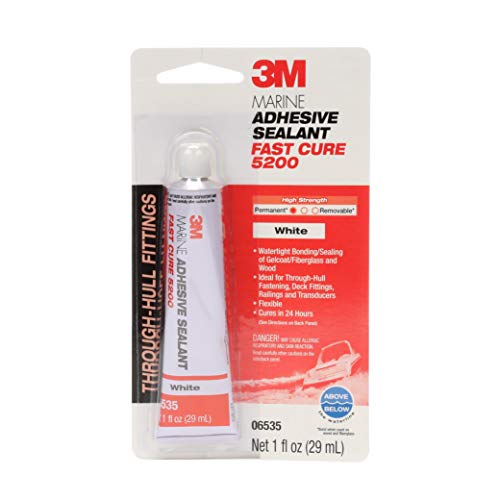
The 3M Marine Adhesive Sealant dries to white and is ideal for mounting new accessories or making major deck alterations to your kayak. It is designed primarily for through-hull fastenings, deck fittings, rails, and transducer mounting.
It is also a good choice for saltwater kayakers because it is made of a tough polyurethane polymer that is resistant to weathering and the often brutal effects of saltwater. It can be used above or below the waterline on your kayak and requires 24-48 hours to cure completely.
3M’s 5200 solution is also great for kayak outfitting because it retains a flexibility that keeps it from cracking when your kayak shakes or vibrates. It also is best for spots on your kayak where it can mostly be shielded from direct sunlight.
6. 3M 90 Hi-Strength Spray Adhesive
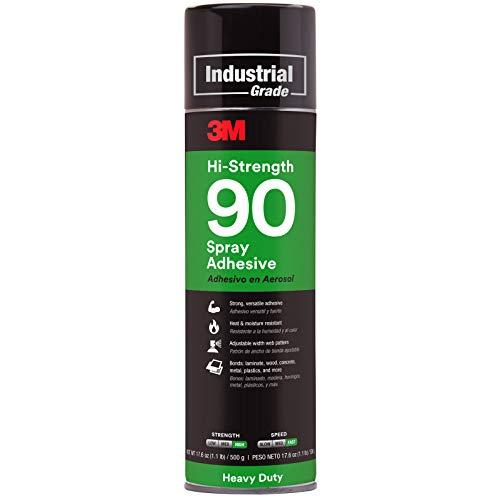
The 3M 90 Hi-Strength Spray Adhesive is a great product for making repairs to your kayak seat or other foam aspects of your vessel. It will also work on plastic, wood, paper, concrete, metal, and rubber.
It is also one of the easiest glue options on our list to apply because you won’t have to spread it with a finger or wooden spreader. If you need to re-stick your kayak seat or the padding for your thigh braces, simply spray and stick.
This adhesive spray can also feature an adjustable nozzle so that you can control the pattern of application. That way, you can ensure that you don’t use an unnecessary amount and wind up sticking other things to your kayak where you do not want them.
7. Loctite PL Marine Fast Cure Adhesive Sealant
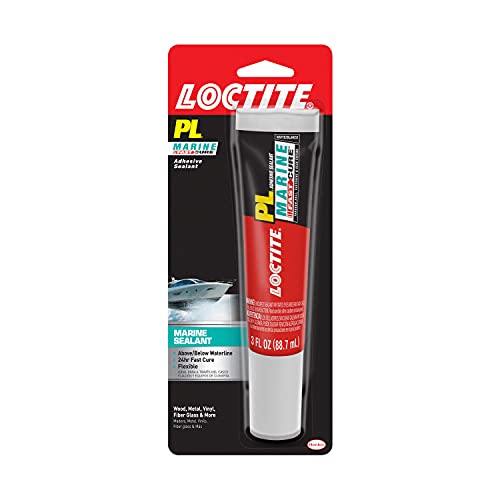
The Loctite PL Marine Fast Cure Adhesive Sealant is also a great product for areas on your kayak that don’t receive direct sun exposure. It is great for through-hull fastenings and deck fittings and it cures completely in 24 hours.
This sealant will work for applications above or below the waterline on your kayak and will adhere strongly to fiberglass, wood, metal, vinyl, and several other materials. Once it is dry, it will not bubble when it gets wet or change color when exposed to ultraviolet radiation.
It dries white and will not shrink at all during the curing process because the compound doesn’t include any solvents, phthalates, or isocyanates. This glue also works in both saltwater and freshwater environments.
8. Sikaflex-291 General All-Purpose Fast Cure Marine Adhesive and Sealant
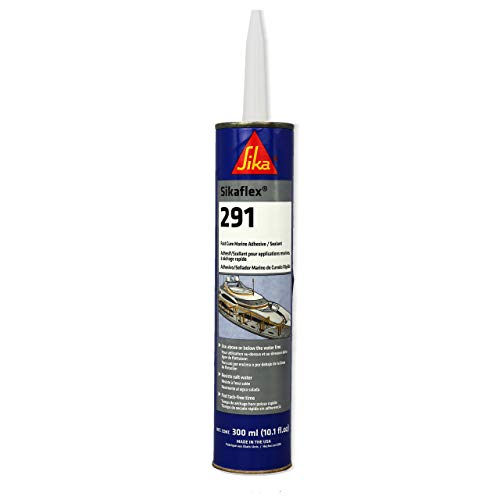
For those of you with a darker-colored kayak or in need of glue that will blend into a black kayak seat or foam bulkhead, check out this all-purpose marine adhesive and sealant from Sikaflex.
You will need a caulking gun to work with this glue, but it adheres strongly to fiberglass, metal, wood, and gelcoat surfaces.
It is also one of the most durable glues out there and provides resistance to both fresh and saltwater, as well as limewater, sewage effluent, and other minerals, oils, and diluted acids.
It works for spots both above or below the waterline on your kayak and cures completely in 24 hours. It can also be painted or sanded down the line if you want to paint your kayak without compromising the seal.
9. Weldwood Contact Cement
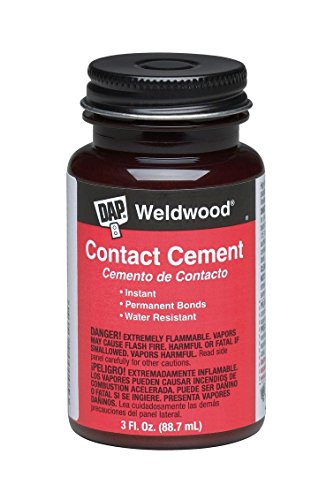
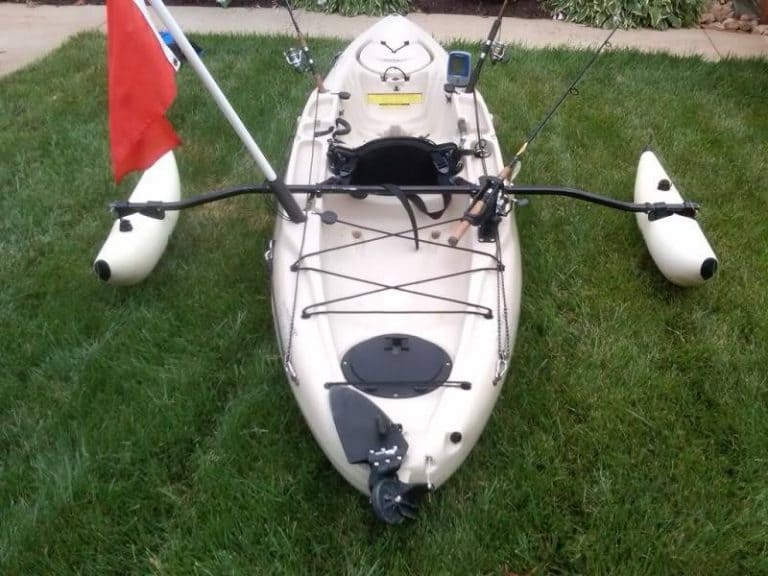
For those of you that are thinking of adding a permanent trolling motor mount or DIY kayak stabilizers to your vessel, the Weldwood Contact Cement is one of the best products for deck modifications that are going to remain above the waterline.
It is a neoprene rubber adhesive that forms an instant, high-strength bond with a wide variety of surfaces, including the plastic that most kayaks are made out of these days. It dries in 15 to 20 minutes and fully cures within 72 hours.
Although it is primarily designed for applications above the waterline, it does boast water-resistant properties to guard against splashing and rain. It is also heat-resistant and can handle the kind of UV exposure that is common when kayaking.
10. NRS H2 Glue
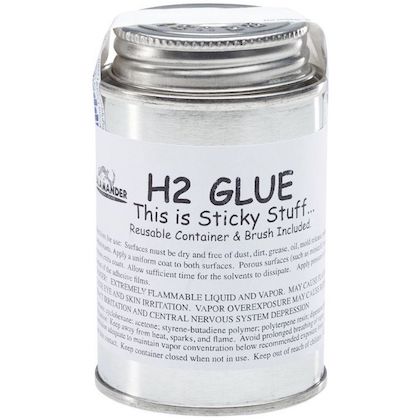
PC Northwest River Supply
“When they say this stuff sticks, they really mean it.” Yes, that is an actual testimonial from a real customer.
The NRS H2 Glue is great for all types of kayak outfitting and it also adheres well to minicell and ethafoam materials. This glue does require that you gently rough up the plastic area of your kayak with sandpaper and then clean it with denatured alcohol before applying it.
Once applied, however, it dries within two to four hours and provides an excellent, watertight seal. This product is slightly more chemically intense than some of the others on our list, so you will want to apply it in a well-ventilated area while wearing gloves and either respirator or protective mask.
FAQs
Q: Can I use regular super glue on my kayak instead of a marine-specific adhesive?
A: Generally, no. Marine-grade glues and epoxies are formulated to withstand water exposure, UV rays, and temperature swings in ways that standard household adhesives are not, so they tend to hold up much better over time on a kayak.
Q: How do I know if my repair needs an epoxy versus a sealant/adhesive?
A: Epoxies tend to be better for structural repairs and gap-filling on rigid materials like fiberglass or plastic, while sealant/adhesives are often better suited for flexible joints, seams, and areas that need to move slightly without cracking.
When in doubt, check the manufacturer’s recommended use cases.
Q: Is it safe to repair my kayak myself, or should I go to a professional?
A: Many small to mid-size repairs (cracks, seam tears, foam reattachment) are manageable as DIY projects with the right glue and some patience.
For major structural damage or if you’re unsure about the integrity of the repair, it’s worth consulting a professional outfitter or repair service.
Final Thoughts
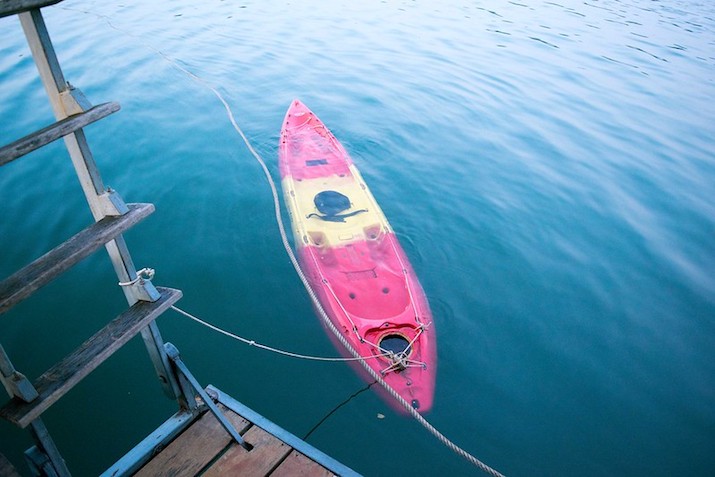
Photo by Christian via Flickr
The worst-case scenario, if you avoid making repairs to a cracked or ripped kayak, is a sunken kayak. If you get lucky, your kayak will only sink a little way under the water like the one in the image above, but you might not get so lucky.
The best glue for kayak outfitting is something you should always have on hand just in case you need it. The difficulty is that there are so many different types of kayak hulls out there that will require different types of kayak glues.
We hope that you read through our buying guide to help you learn more about the exact type of glue that is best for your specific kayak type. If you glossed over that section, however, here is a brief breakdown of the best kayak glues for four major applications.
- Best For Hull Repairs: J-B Weld MarineWeld Marine Epoxy
- Best For Deck Modifications (above the waterline): Weldwood Contact Cement
- Best For Kayak Seats and Foam Repairs: 3M 90 Hi-Strength Spray Adhesive
- Best For Inflatable Kayaks: Gear Aid Aquaseal FD
We hope that this clears up any remaining confusion and provides you with a path forward to make the requisite repairs on your kayak. As always, we encourage you to seek the assistance of a more experienced kayaker if this is your first time making repairs to your vessel.
That being said, there are plenty of online resources to help you these days. Check out a few videos about how to use glue for various kayak repair and outfitting applications below!


Thank you for checking out this guide today and, as always, we wish you the best, safest, and happiest kayak adventures in the coming months!